Icon Tutorial 05.
I've been asked about the colouring I use in my Skins icons a couple of times, so I thought I'd post a quick tutorial up =)
Icon Tutorial 05
We'll be going from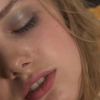
to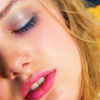
in 8 steps, using PSP9.
1. Start with your image and then crop and resize to 100x100. This will give you your base.

2. Duplicate your base and sharpen it. Set the opacity to 80%.
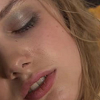
3. Duplicate your base, drag to the top and soften it. Now using the eraser tool, erase her lips, eyelids and hair.
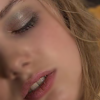
4. Duplicate your base, drag to the top and set to screen at 100%.
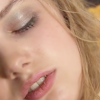
5. Create a new raster layer and set to soft light at 100%. Fill with a bright blue. I used #93C9E7.
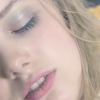
6. Create a new hue/saturation/lightness adjustment layer and set the saturation to 50. Set the layer itself to saturation (legacy) at 100%.
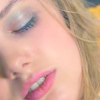
7. Duplicate your base and drag to the top, set to soft light at 100%.
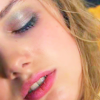
8. Finally, repeat step 6, but setting the layer to soft light at 50% this time. This step isn't essential, it depends how bright you want the icon to look. And there we are, done!

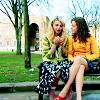
Other icons made using a similar technique. Feel free to have a play with the settings.


.x.
Icon Tutorial 05
We'll be going from
to
in 8 steps, using PSP9.
1. Start with your image and then crop and resize to 100x100. This will give you your base.
2. Duplicate your base and sharpen it. Set the opacity to 80%.
3. Duplicate your base, drag to the top and soften it. Now using the eraser tool, erase her lips, eyelids and hair.
4. Duplicate your base, drag to the top and set to screen at 100%.
5. Create a new raster layer and set to soft light at 100%. Fill with a bright blue. I used #93C9E7.
6. Create a new hue/saturation/lightness adjustment layer and set the saturation to 50. Set the layer itself to saturation (legacy) at 100%.
7. Duplicate your base and drag to the top, set to soft light at 100%.
8. Finally, repeat step 6, but setting the layer to soft light at 50% this time. This step isn't essential, it depends how bright you want the icon to look. And there we are, done!
Other icons made using a similar technique. Feel free to have a play with the settings.
.x.