For next Hallowe'en: how to make a turnip/swede/rutabaga lantern
I get asked about making these every year, so this time I thought I'd take pictures during the process and make a tutorial. This is probably more than you need to know (in the later stages it's not unlike working with pumpkin; there's just more resistance), but here's something to bookmark in case you make one next year or for some other festival with lanterns. And please post a picture if you do!
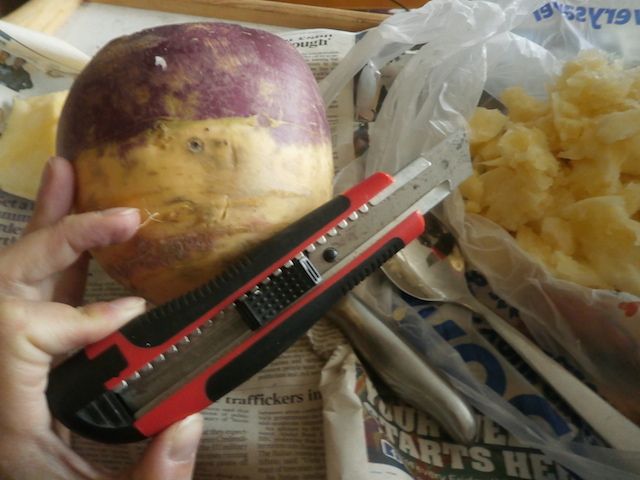
You'll that vegetable which goes by one of the above names, depending where you live, plus a good sturdy vegetable knife (whatever you use to cut carrots will work; they're of a similar density/brittleness) and a dessertspoon or tablespoon, and it helps a lot to have a craft/hobby/breakaway knife for the detail work.
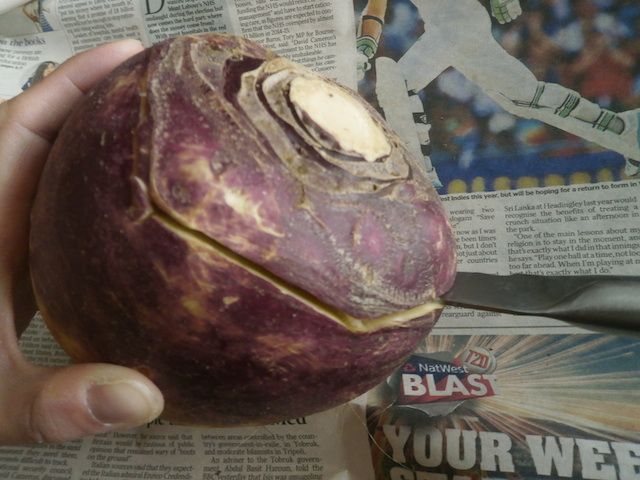
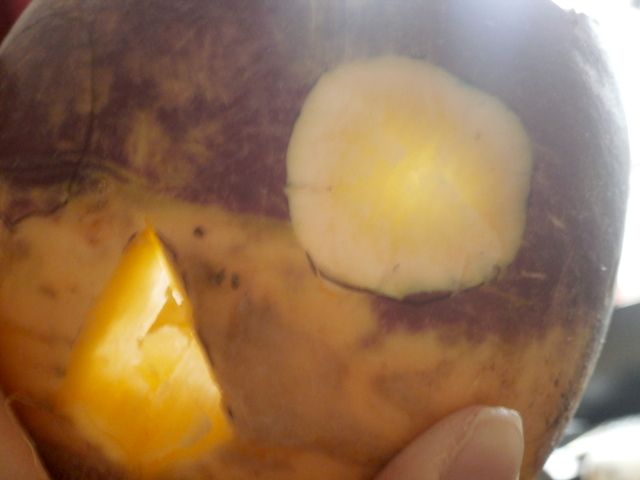
As with a pumpkin, you'll want to dig under the stalk stump from all directions, and at quite a steep angle, in order to remove the "lid". Unlike with a pumpkin, you'll feel like you're not getting anywhere for ages, and you'll need to wiggle the knife around each time. Don't be disspirited if you need to go round a second time - once you hear a loud crack, you'll know you're close...
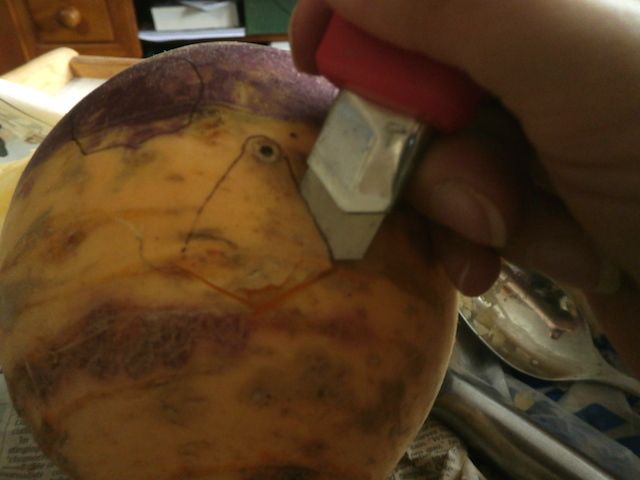
Mark a perimeter with your knife - I like to keep it at least a centimetre (metric/imperial conversion) from the outside, but if you're not confident, you can always make it larger and then slowly shave the perimeter down later. Turnip carving is fraught with "oh help, I've just stuck my knife tip through to the outside from the inside" accidents. Indeed, I had one while making this lantern, so I philosophically decided that that would be the location of the nose hole. Anyway, work your way around that perimeter, pushing the knife in a few centimetres and wiggling to free the flesh from the walls around the edges.

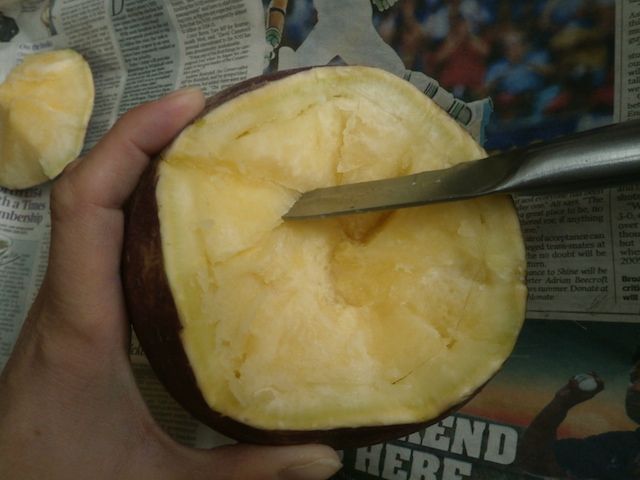
Now you can cut it at an angle from the centre, so that your knife is going down and in and meeting the gap you've made around the perimeter:
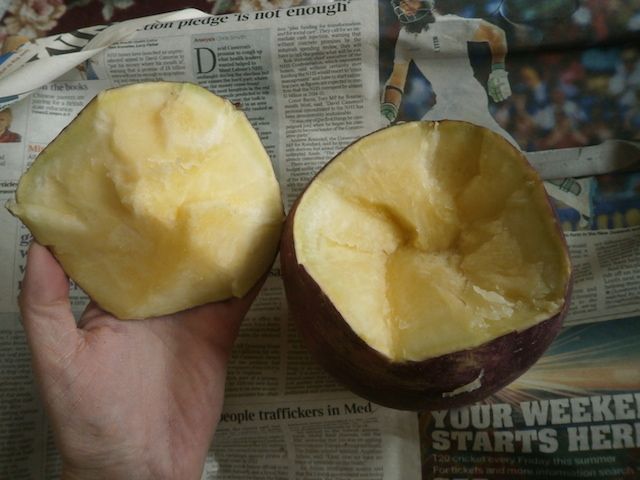
A bit of cutting and twisting, and you can remove large chunks at once: here's what mine looked like a couple of minutes in:
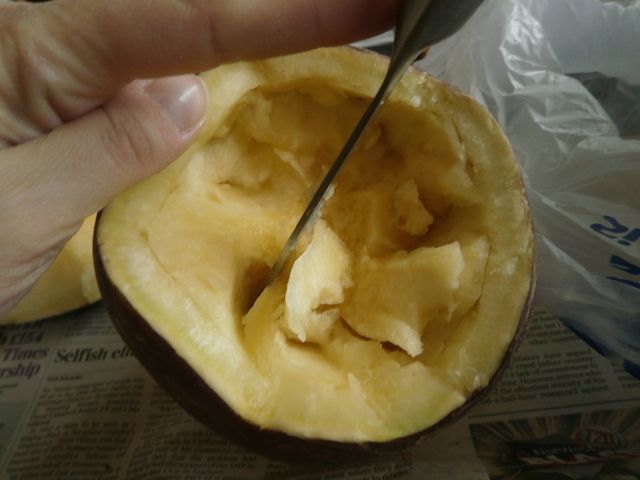
After ten minutes (admittedly, this was a small turnip) I had this:
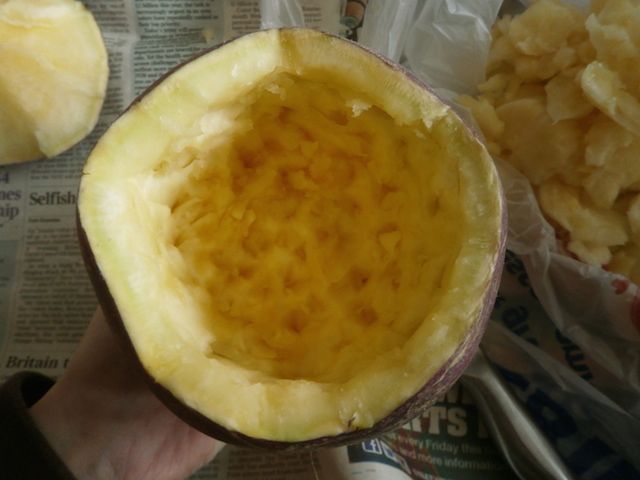
You can level that off by using your knife to crosshatch the bottom, and your spoon to scrape out the little bits. You'll also find it useful at this point to hold the turnip up to a light source (with the inside facing you) to see where the walls/base have become thinner. At this point, I like to switch to a more precise tool, but you might want to use your original knife to carve the rough feature shapes; it's up to you:
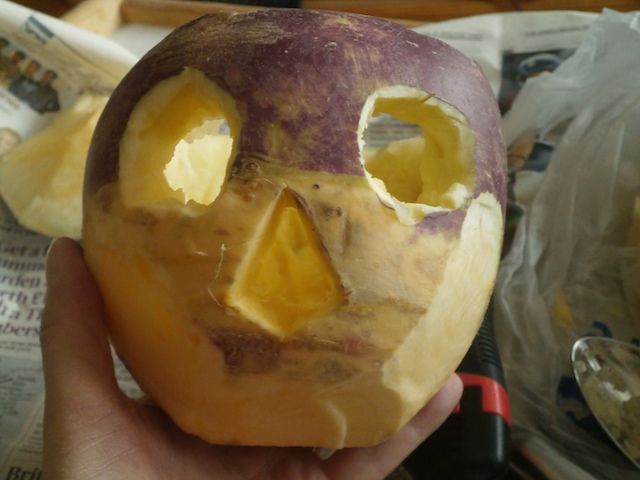
I drew the eyes and nose really roughly and cut the nose out at a steep angle and the eyes out at a very shallow angle, to show the effects you can get by exposing different depths of turnip flesh:
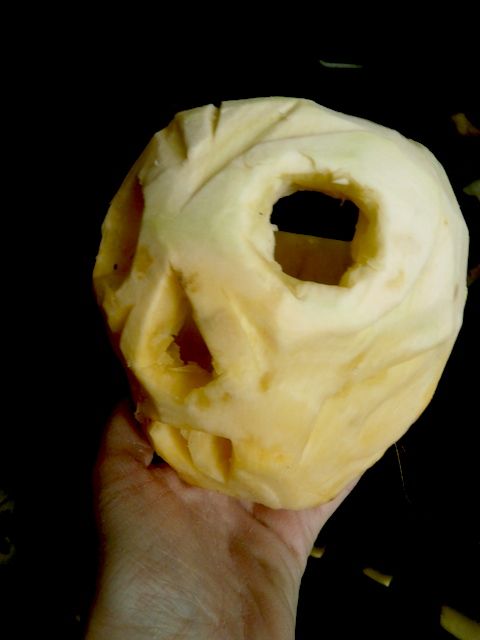
I was planning to make a skull, so I opened the eye sockets up completely and also started shaping the lower part of it a bit, which included cutting into the base itself at an angle, though you don't have to try that part:
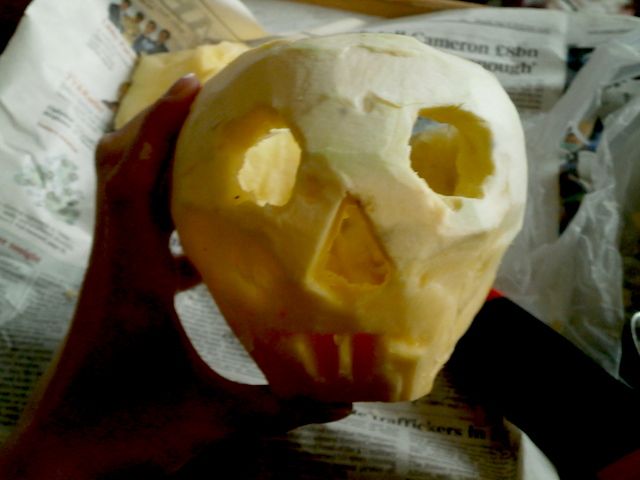
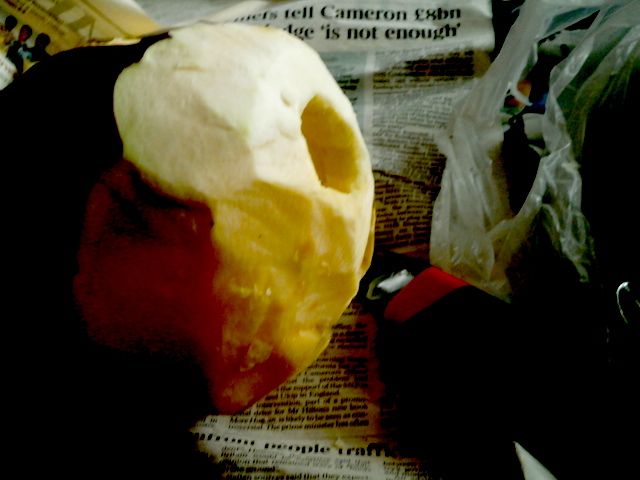
Then I did some more shaping, cutting shallow slices off the cheeks and shaving down the upper jaw area. He also acquired Nosferatu fangs at this point. I've pushed the contrast on the next couple of pics to make the angles show up better:
If you've got a lamp handy it can be useful to have a quick look at how it'll work with a candle in it:
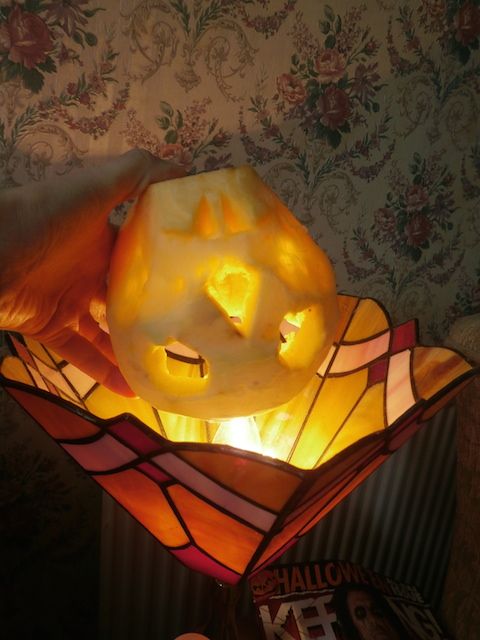
Later my boyfriend came in and added more lines to emphasise the features a bit:
The camera has gone walkabout and the laptop whites everything out horribly, but I'll edit tomorrow with a photo of it all lit up properly!
Happy Hallowe'en! :D
You'll that vegetable which goes by one of the above names, depending where you live, plus a good sturdy vegetable knife (whatever you use to cut carrots will work; they're of a similar density/brittleness) and a dessertspoon or tablespoon, and it helps a lot to have a craft/hobby/breakaway knife for the detail work.
As with a pumpkin, you'll want to dig under the stalk stump from all directions, and at quite a steep angle, in order to remove the "lid". Unlike with a pumpkin, you'll feel like you're not getting anywhere for ages, and you'll need to wiggle the knife around each time. Don't be disspirited if you need to go round a second time - once you hear a loud crack, you'll know you're close...
Mark a perimeter with your knife - I like to keep it at least a centimetre (metric/imperial conversion) from the outside, but if you're not confident, you can always make it larger and then slowly shave the perimeter down later. Turnip carving is fraught with "oh help, I've just stuck my knife tip through to the outside from the inside" accidents. Indeed, I had one while making this lantern, so I philosophically decided that that would be the location of the nose hole. Anyway, work your way around that perimeter, pushing the knife in a few centimetres and wiggling to free the flesh from the walls around the edges.
Now you can cut it at an angle from the centre, so that your knife is going down and in and meeting the gap you've made around the perimeter:
A bit of cutting and twisting, and you can remove large chunks at once: here's what mine looked like a couple of minutes in:
After ten minutes (admittedly, this was a small turnip) I had this:
You can level that off by using your knife to crosshatch the bottom, and your spoon to scrape out the little bits. You'll also find it useful at this point to hold the turnip up to a light source (with the inside facing you) to see where the walls/base have become thinner. At this point, I like to switch to a more precise tool, but you might want to use your original knife to carve the rough feature shapes; it's up to you:
I drew the eyes and nose really roughly and cut the nose out at a steep angle and the eyes out at a very shallow angle, to show the effects you can get by exposing different depths of turnip flesh:
I was planning to make a skull, so I opened the eye sockets up completely and also started shaping the lower part of it a bit, which included cutting into the base itself at an angle, though you don't have to try that part:
Then I did some more shaping, cutting shallow slices off the cheeks and shaving down the upper jaw area. He also acquired Nosferatu fangs at this point. I've pushed the contrast on the next couple of pics to make the angles show up better:
If you've got a lamp handy it can be useful to have a quick look at how it'll work with a candle in it:
Later my boyfriend came in and added more lines to emphasise the features a bit:
The camera has gone walkabout and the laptop whites everything out horribly, but I'll edit tomorrow with a photo of it all lit up properly!
Happy Hallowe'en! :D