Мурёна

Источник.
И на всякий случай копирую описание в журнал.
Free Knitting Kitty Cat Pattern
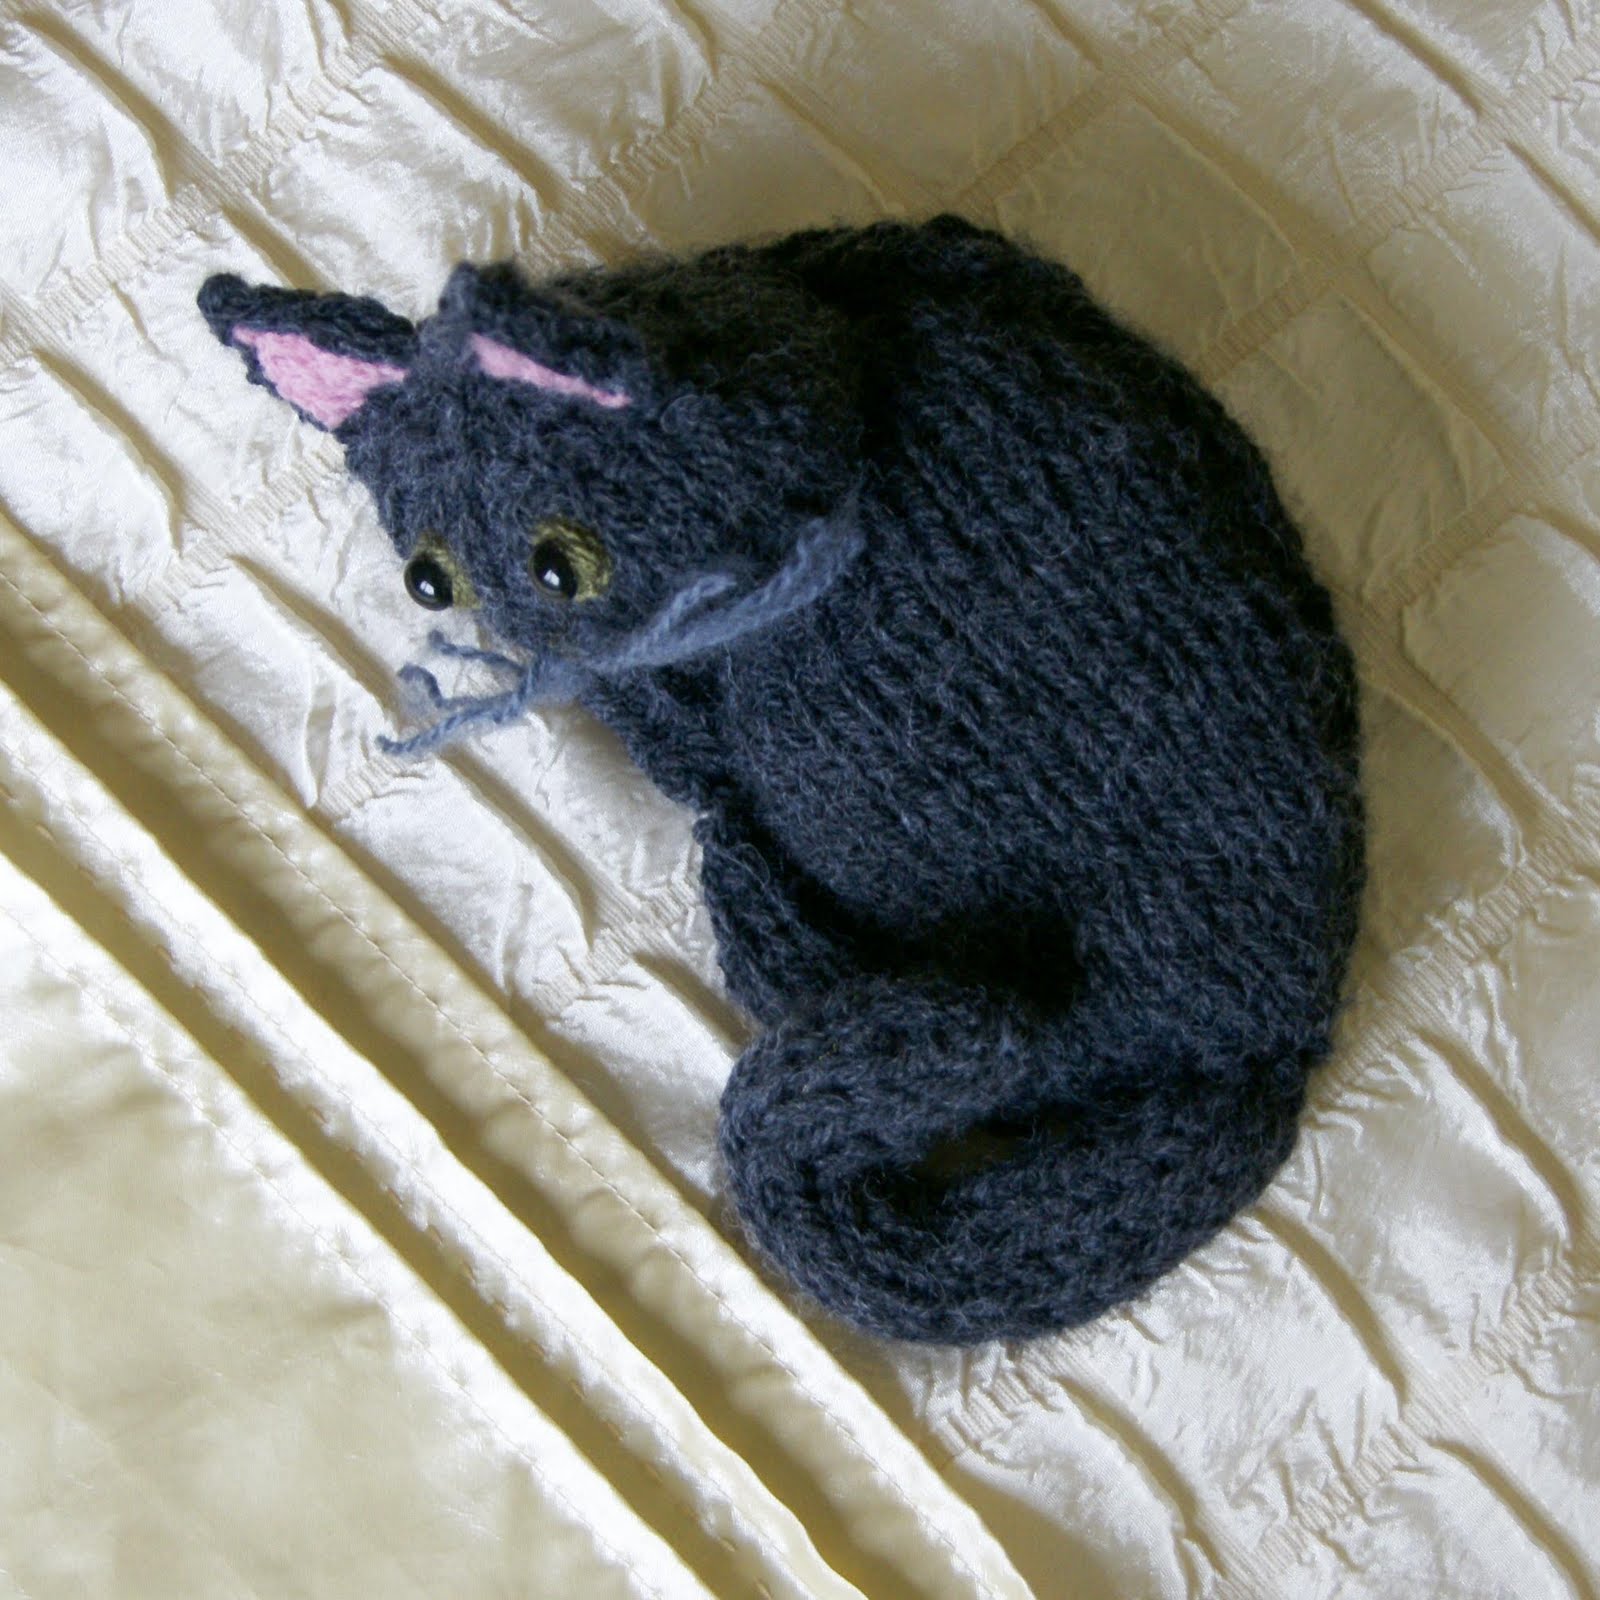
Knitted Kitty Cat

This is my first ever documented pattern. It is for this lovely kitty cat I recently made for a friend! I hope you enjoy it and any feedback and comments are welcome!
****If you have enjoyed or are about to enjoy my knitting pattern don't forget you can follow my blog for more patterns, 'like' my facebook page and follow me on twitter! Thank you :)****
Abbreviations:
CO - Cast On
K - Knit
P - Purl
KFB - Increase by knitting into the front and back of the stitch
K2TOG - Knit two stitches together to decrease
P2TOG - Purl two stitches together to decrease
SS - Stockinette Stitch (K one row, P one row)
TURN - Turn Piece
BO - Bind Off
Materials
7mm Knitting Needles
4mm Knitting Needles
100g Ball of Chunky Knit Wool/Yarn in Grey or a colour of your choice
A small amount of pink DK wool
Plastic Eyes x 2
Plastic Nose x 1
Spare wool for the whiskers
Toy Stuffing
Pipe Cleaner x1
Finished Cat Approximately 6in long
Make body, head, legs and tail on 7mm needles using chunky knit wool
Body
(Make two)
CO 8
1. K
2. P
3. K1, KFB, K4, KFB, K1 (10 stitches)
4. P
5. K1, KFB, K6, KFB, K1 (12 stitches)
6. P
7. K1, KFB, K8, KFB, K1 (14 stitches)
8. P
9. K1, KFB, K10, KFB, K1 (16 stitches)
10. P
11. K
12. P
13. K
14. P
15. K1, KFB, K12, FFB, K1 (18 stitches)
16. P
17. K
18. P
19. K
20. P
21. K1, K2TOG, K12, K2TOG, K1 (16 stitches)
22. P
23. K1, K2TOG, K10, K2TOG, K1 (14 stitches)
24. P
25. K12, TURN, P10, TURN, K9, TURN, P8, TURN, K to end
26. P
27. K1, K2TOG [twice], K4, K2TOG [twice] K1 (10 stitches)
28. P
29. K, K2TOG, K4, K2TOG, K1 (8 stitches)
30. BO P-wise.
Head
C0 8
1. K
2. P
3. KFB all stitches (16 stitches)
4. P
5. KFB all stitches (32 stitches)
6. P
7. K
8. P
9. K
10. P
11. K
12. P2TOG [all stitches] (16 stitches)
13. K
14. P2TOG [all stitches] (8 stitches)
15. K
16. BO P wise
Tail
CO 10
Work SS for 20 rows
BO
Front Leg
CO 6
Work SS for 12 rows
BO
Back Leg
CO 6
Work SS for 8 rows
BO
Ears
(Make two)
CO 8
1. K
2. P2TOG, P 4, P2TOG (6 stitches)
3. K
4. P2TOG, P2, PTOG (4 stitches)
5. K
6. P2TOG [twice] (2 stitches)
7. K
8. P2TOG (1 stitch)
BO
Inner Ears
(Make two in pink DK on 4mm needles)
CO 6
1. K
2. P2TOG, P2, PTOG (4 stitches)
3. K
4. P2TOG [twice] (2 stitches)
5. K
6. P2TOG (1 stitch)
BO
Sewing Up

Body Pieces
Take the two body pieces and sew them up so the right sides are facing in, leave a small opening and turn the piece once you have sewn round the edges.
With the right sides now facing outwards stuff the body and sew up the hole.

Legs and Tail Pieces
With the tail and legs take the rectangular pieces and sew together on the wrong side to make a tunnel. Turn the pieces and stuff the legs then sew up.
With the tail place the pipe cleaner inside and sew up, this gives the tail extra shaping.

Head
Sew half the head together on the wrong side. Then turn so the right side is facing, half should be open.
Then take the eyes and nose and place them on to the head.
For my eyes I wrapped a small amount of green wool around the plastic and sewed it in, however this is not necessary, you can use just plain black eyes or coloured ones.
Once the eyes and nose are secure add the whiskers but just sewing the wool next to the nose. I tie mine on the insdie after putting each one in to make sure it stays in place!
Stuff the head and sew up.

Ears
With the ears place the pink insides on top of the grey eyes, use grey wool to sew up along the ears, keeping it neat and flat.
Sew the ears on to the head.

How to place your cat together
Place font leg along side the body, sew it at the top of the body and the middle, leaving a slight gap so it curves around.
Place the back leg on to the lower side of the body and sew there and in the middle, meeting up with the front leg. Giving the same kind of gap and curving.
Sew the tail on to the end of the body. With it in place curve it round slightly over the back leg and sew it into place so it looks all snuggly.
To sew the head on place it over the body and tack it into place, position its face looking straight on. It should rest over the front leg. Sew it into the position you are most happy with and admire your finished cat!