Photoshop/Manga Coloring Tutorial for Beginners

There are a few things I'd like to teach for beginners to Photoshop. Keep in mind this tutorial is for people with no or very little knowledge of how photoshop works. I am going to try to explain the very very basics to photoshop. I'm trying to take nothing for granted in here so I apologize if this is way too elementary. I want it to be used for people that know nothing about altering images and perhaps those who English is a second language. If you have any questions or need anything explained better or differently. Please please don't hesitate to ask! That's what this tutorial is here for!
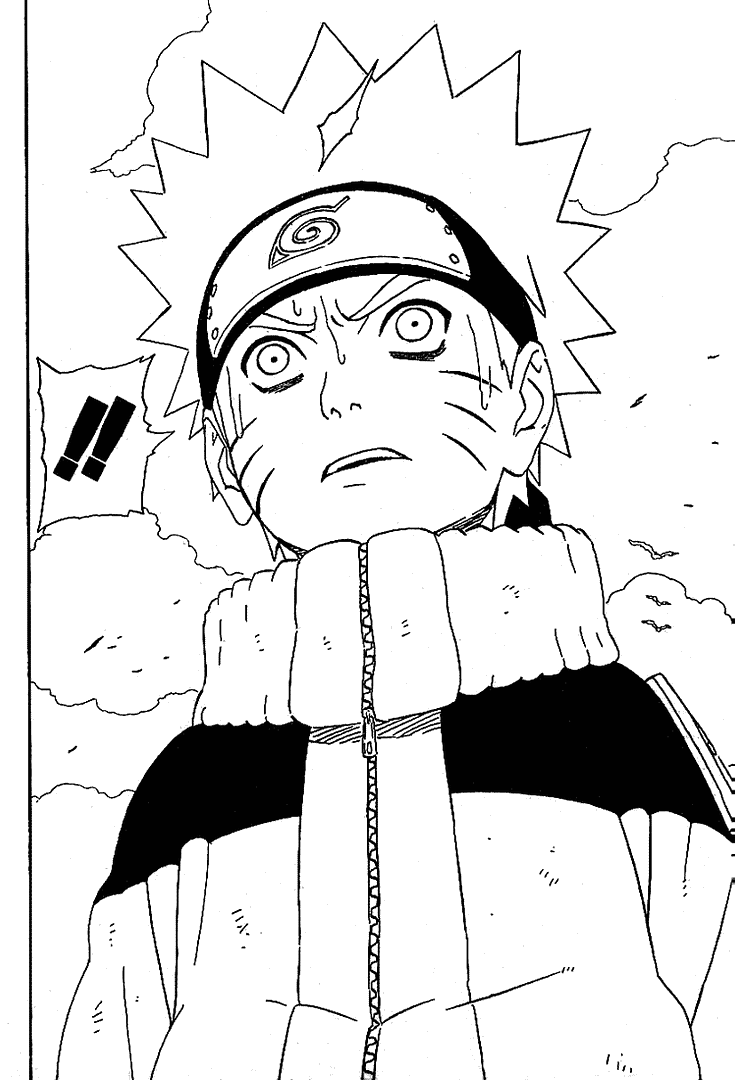
HERE is the image I used if you want to work with it! THIS TUTORIAL USES PHOTOSHOP CS3 EXTENDED.
The things I'll be going over are:
--> Indexed Images
--> The Toolbar
--> Brushes
--> Layers
--> Changing Image Size
--> A Few Other Tips
1. INDEXED IMAGES
Although an image will have a file name of .png or .jpeg. Sometimes when you open it in photoshop, it will be in 'index mode'. Index mode will not allow you to alter the image with layers or painting, etc.
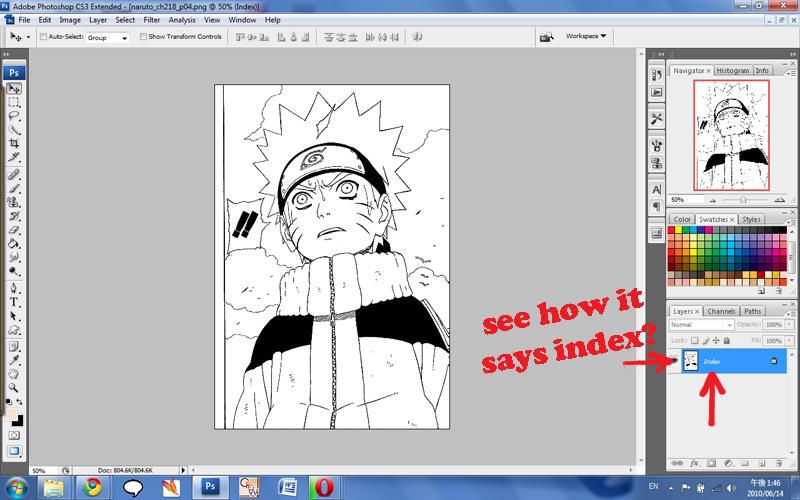
This is what an image looks like if it is in Index Mode. INDEX IMAGE SCREENCAP.
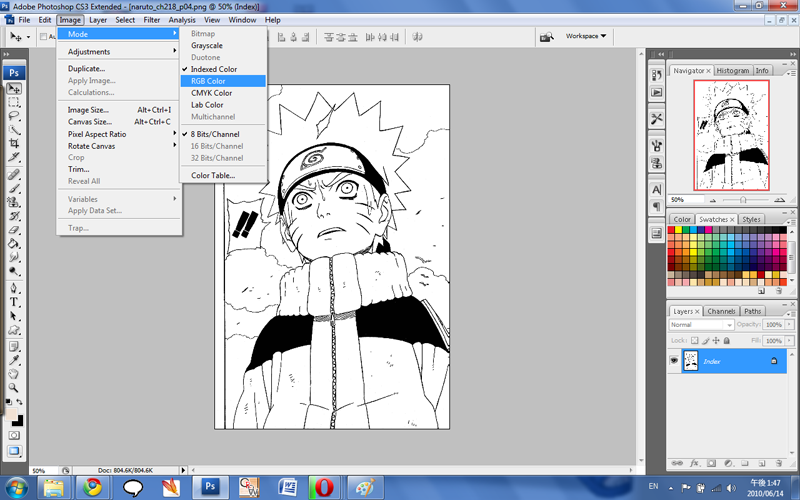
Changing an image so that it can be altered is easy. See these options?

We are going to go to Image, then Mode, and then RGB Color. Most people write this out like this: Image>Mode>RGB Color. SCREENCAP OF THIS STEP.
By changing our image to RGB Color we can now alter the image and it will be in color. If we had chosen for instance Grayscale then our image would be in Black and White.
So remember how on our Index Image Screencap it said 'index'? Well now its going to say "Background". SCREENCAP.
2. THE TOOLBAR
A quick run-through of what the different symbols on the toolbar mean. THIS IS THE TOOLBAR.
I'll just do the ones I use the most.
The first icon,

is the arrow which you'll use a lot to switch between things and such, pretty easy.
The selection tool,

can be used for selecting a certain part of an image, for instance, just the hair or just the background. After the part of the image you want is highlighted, you can move it, crop it, copy it, etc. Just right click on your selection to do so.
The brush tool,

we will go into later.
This is for making patterns:

You can download patterns from DA, etc. They work like a paintbrush but instead of a solid color, the pattern you chose will be used.
Paintbucket Tool:

Isn't the best at selecting large sections but works good for backgrounds.
This is the Smudge Tool.

If you want a softer look to what you have colored. You can smudge it.
You probably noticed that certain icons have little arrows, those arrows open to give you other choices. For instance, with the smudge tool, you can also blur, or sharpen an image.
The pen tool,

is your best friend and your enemy. It can be quite daunting at first but it can do amazing things. The pen tool can primarily be used for beginners as a way to redraw sections of a manga that maybe had a big word bubble or was cut off, etc. There are tons of tutorials out there dedicated to just the pen tool.
Text Tool:

Crop Tool:

Lastly, this shows you what color you have selected.

The color in the background is what will be used when you erase. By clicking on the tinier version that is in black and white, your colors will change to those. By clicking on the arrow next to that, it will swap your foreground and background colors.
3. BRUSHES
Well you want to color an image, right? So let's get to how to do that! The brush tool!
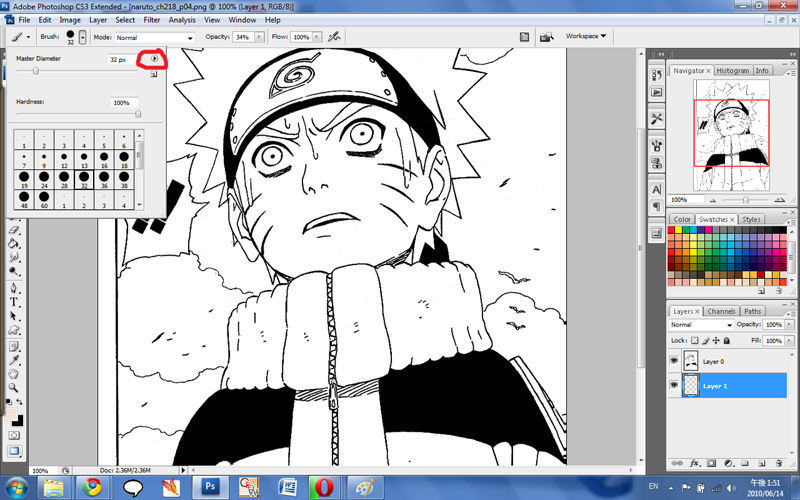
First off, click on the brush icon on the toolbar. Now at the top, it will show you what current size of brush you are using.

Click the arrow next to that and a drop down will show you the different sizes. You can either click on the pre-chosen sizes or move the 'master diameter' to manually change the size.
See that arrow I circled in red? If you click it, it will show you other brush options. Photoshop comes with square brushes, faux brushes, etc. You can also download more brushes like at DA for everything, clouds, Bleach, flowers, frames, etc.
Just click 'OK' when it asks you if you want to replace the brushes.
There are two ways to change the color of your brush. You can use the swatches located on the right side by clicking on each color. Or you can click on the color on the left side
and choose from the box that comes up showing you all the colors available.
Lastly, there are many different ways to color with your brush. Right now, our brush is in normal mode. But we could change it to other things to by changing the mode at the top. For instance, if we changed our brush to lighten mode, only colors that are darker that the color we are using would be changed. This is great for changing the color of lineart and is explained in my OTHER TUTORIAL.
4. LAYERS
So we have our image in the right mode, we've got an understanding of the toolbar, and we've chosen our brush! Now lets color!
There are many ways to color an image. Some people just color right on the image itself which is what I did when I first started. By putting your brush on 'multiply mode' you're lineart will stay visible.
There are problems with that method however so I'm going to teach you about layers.
Layers are exactly what it sounds like, they are layers of your image. With layers, if you mess up on one part, it won't effect the other if its on a separate layer. Advanced photoshop users will normally have 10-20 layers on a simple coloring.
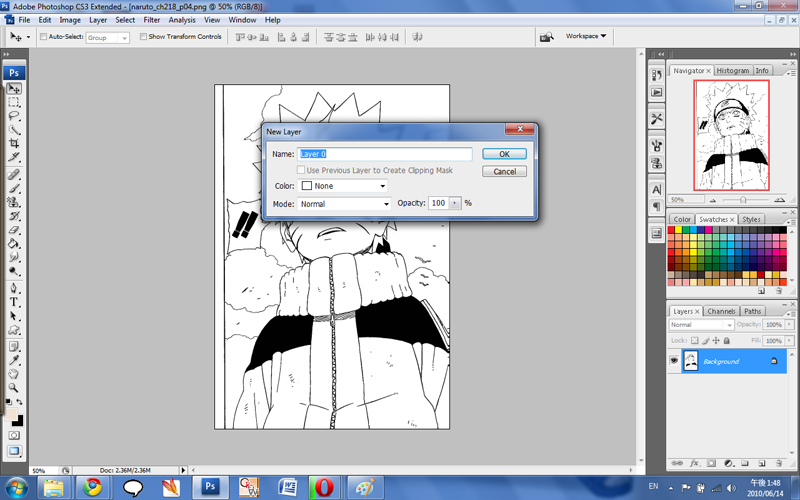
The first thing we have to do is unlock our image. See the little lock next to the word 'background'? (On the right hand side of the screen, the same place where we saw our image said 'index' and then it said 'background) That means we can't put any layers under our image.
Doubleclick on that lock and a pop-up will appear. SCREENCAP. Click "OK"
Now our image is open. And 'background' will now say 'Layer 0'
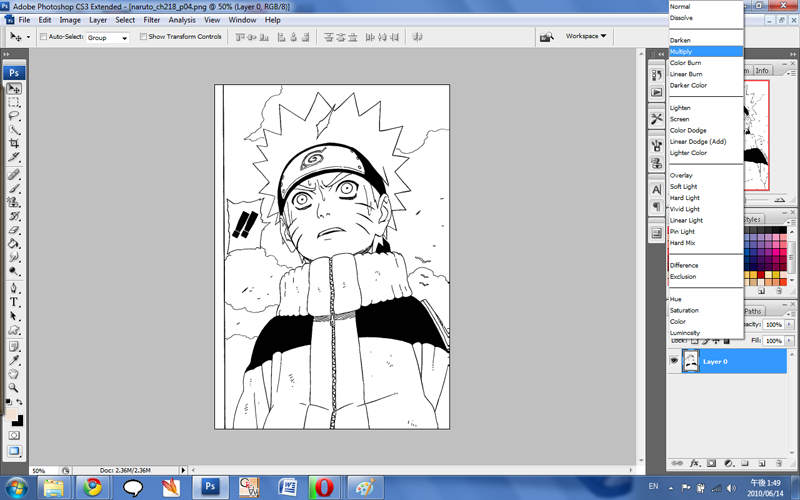
Now we need to change the mode our image is in. See how it says normal?
Click on it, and change it to multiply mode by clicking on what I've circled on the image below. SCREENCAP.
Now we need to start adding layers underneath this layer so we can color. NEVER color on Layer 0. ALWAYS put layers UNDER Layer 0.
To add a new layer, click on the icon that looks like a post-it note.

"Layer 1" appears above Layer 0. Drag it so it is under Layer 0.
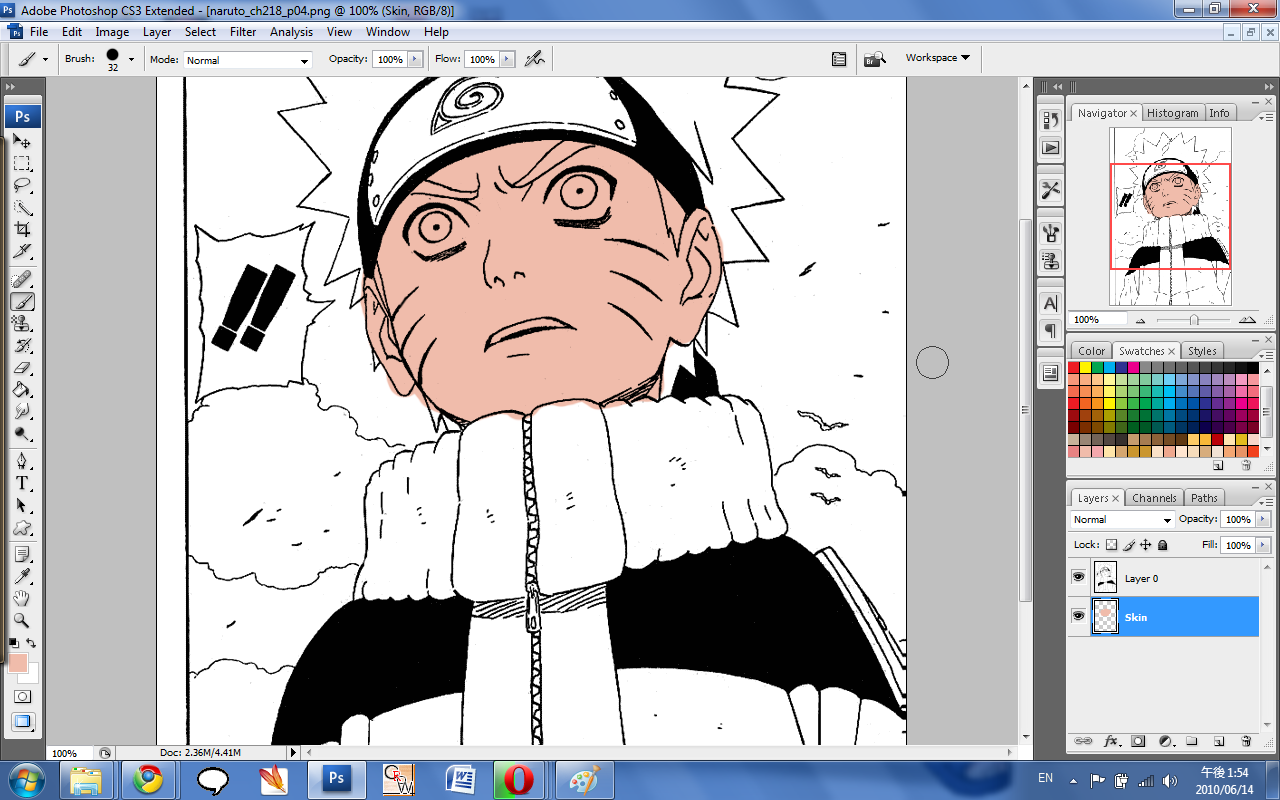
On Layer 1. You can now begin coloring the skin. SCREENCAP.
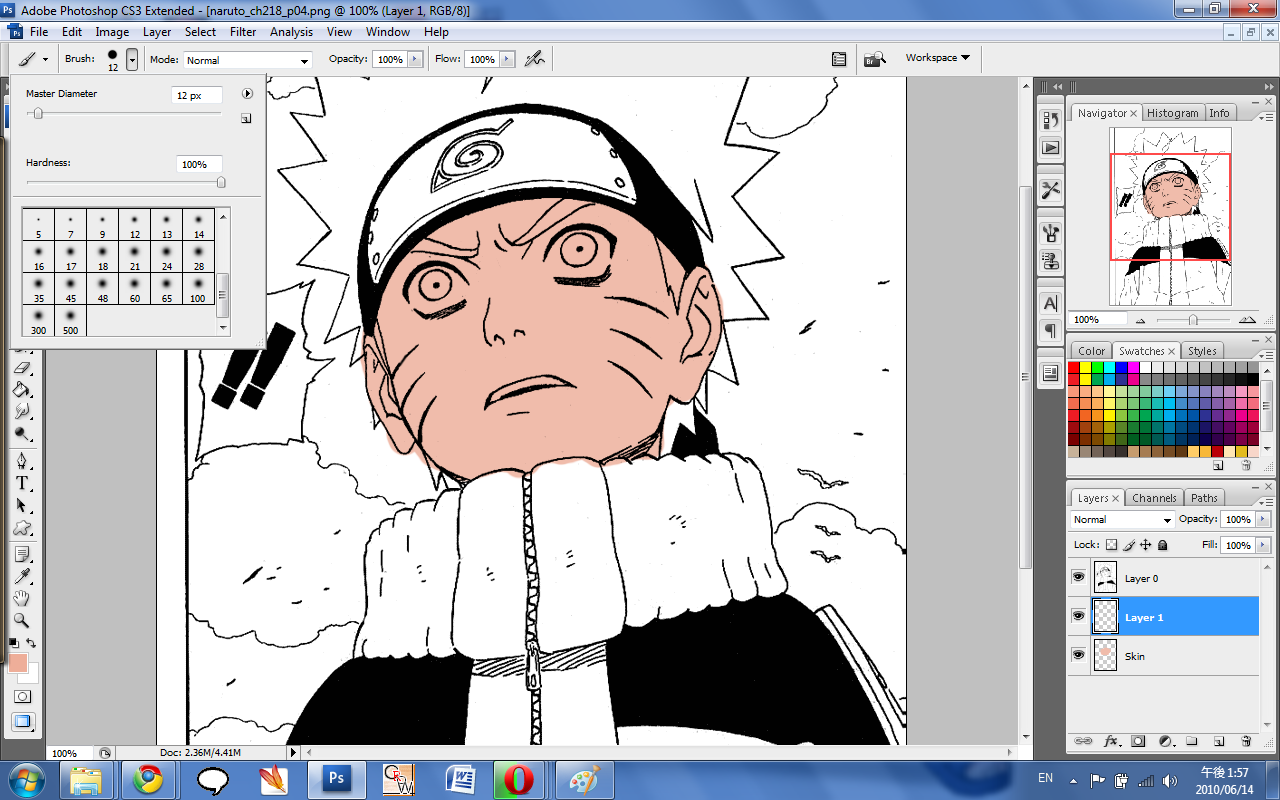
You can be sloppy, because when you put a new layer above the skin layer, its going to color over anything below it.
So let's say I've finished my skin, (Layer 1) and now I want to add some shading. So I create a new layer that will sit above teh skin layer and under the original image.
Shading can be done easily for beginners by using the 'fuzzy brushes' as I'm going to call them. They are located with the "Basic Brushes". SCREENCAP.
This will give a softer look for blending than the hard brushes. Choose a color darker than the skin and add some shading to the jawline, nose, creases, etc.
So now lets change the teeth and eyes to white. Add a new layer and and color these in, see how it colored over the skin? SCREENCAP.
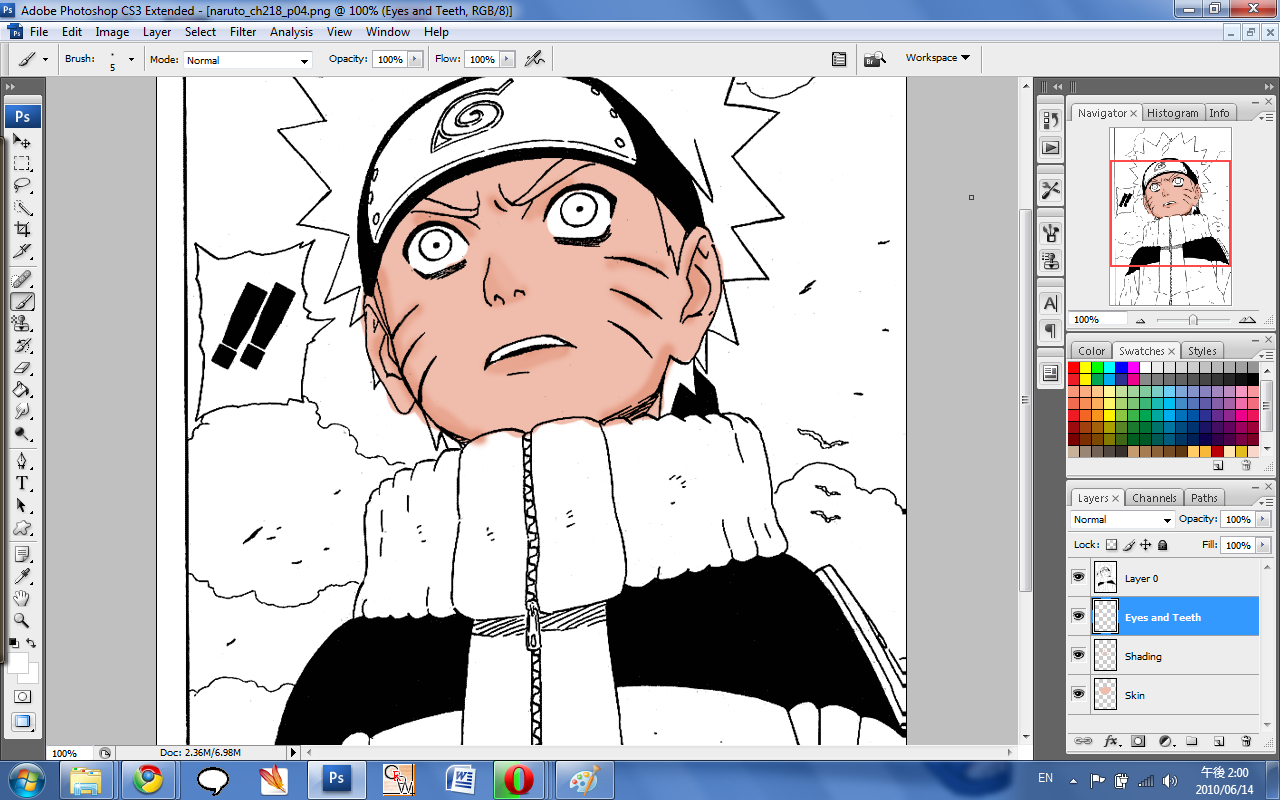
Just continue doing that until your image is fully colored in!
When you are done coloring. You can right click on any of the layers and choose 'Flatten Image'. When you flatten your image all the layers will combine and you can save your image.
5. CHANGING IMAGE SIZE
The shortcut for changing the size of an image is CTRL + ALT + I. This screen will appear: SCREENCAP.
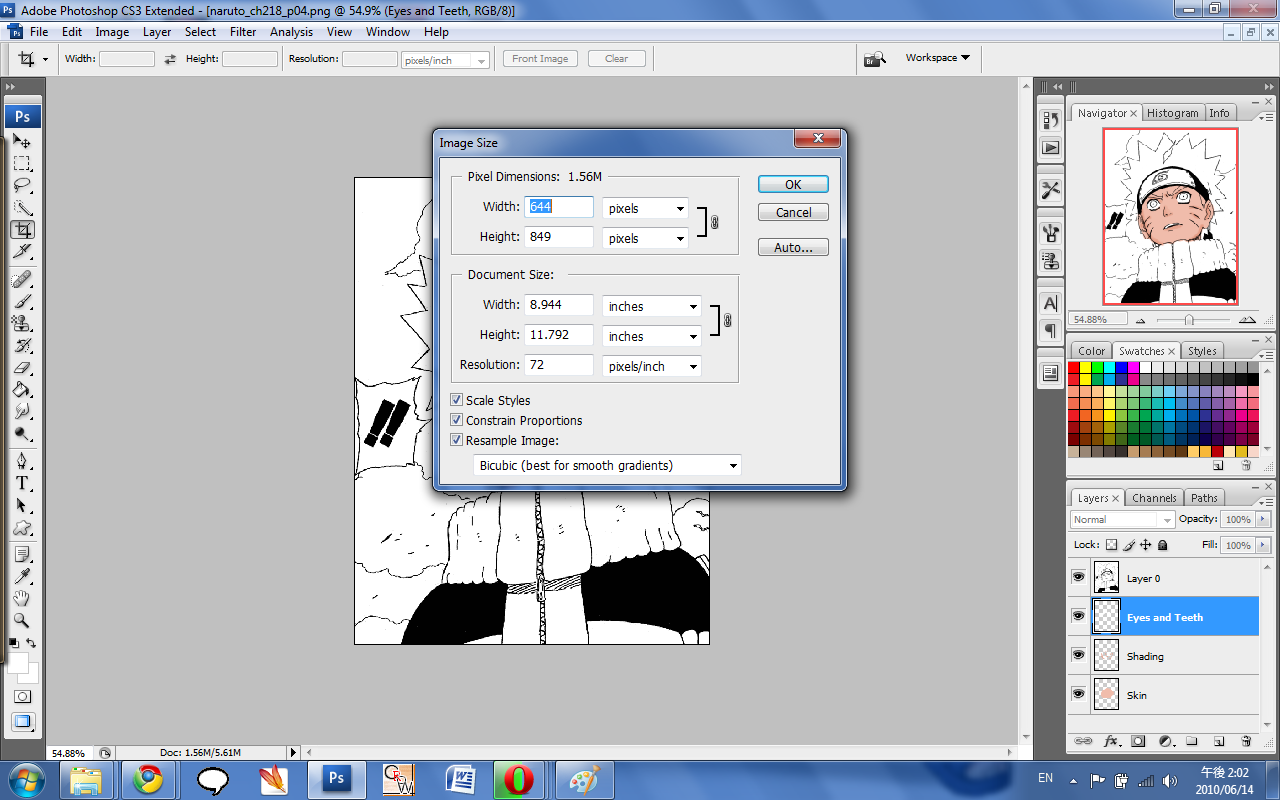
You can also go to Image > Image Size. SCREENCAP.
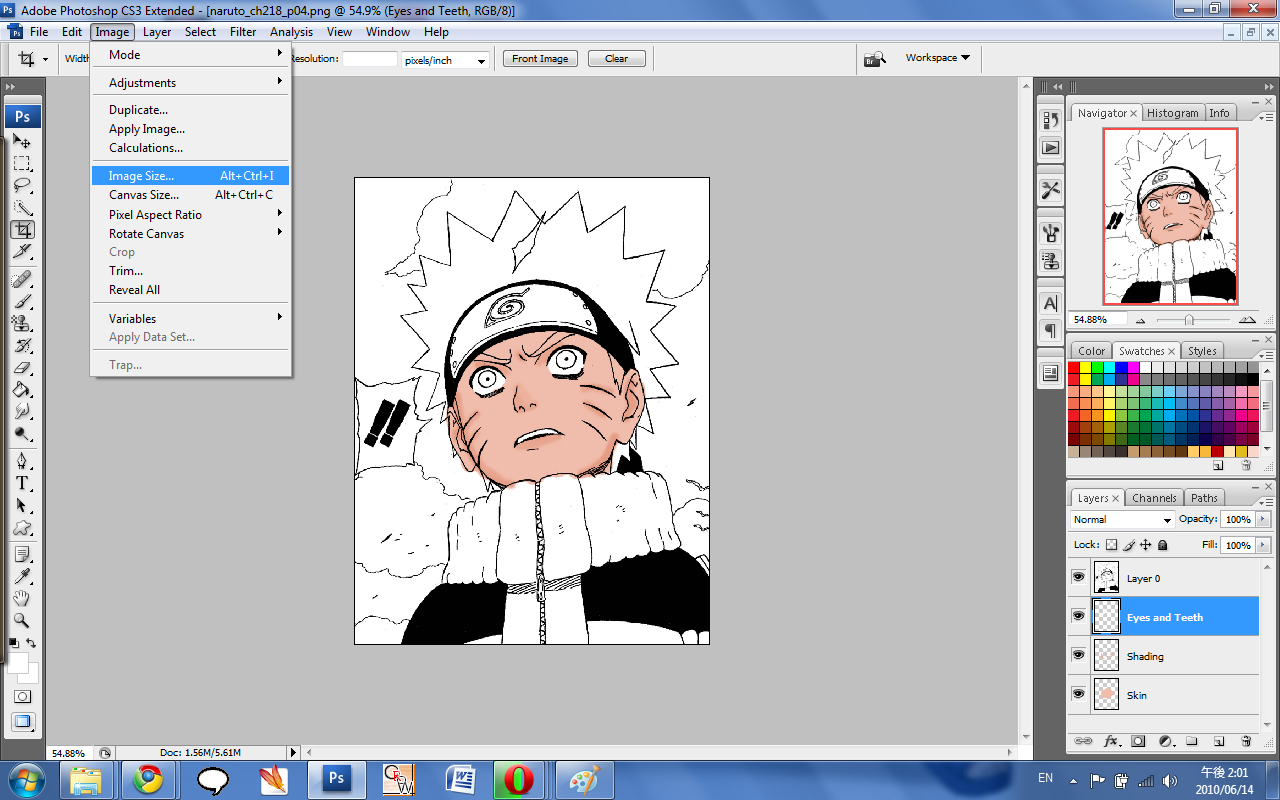
Normally when you try to change the width, the height will automatically change to keep your image with the proper proportions.
Uncheck "Constrain Proportions" if you want to manually change both.
6. A FEW OTHER TIPS
To magnify or demagnify your image: On the right hand under the thumbnail version of your image, move the lever to the right to make it bigger or the left to make it smaller.
To duplicate a layer: CTRL + J
Changing Text tricks: On the right hand side, there are some options.

After you have typed in some text on an image, clicking on the icon of an A will you give some additional options to alter the text including, all caps, strikeout, italics, changing the spacing between each letter and between each line, etc. You can also change the font, color and size here.
--------------------------------------------------------------------------------------------------------
Well that's all I have for now. I hope to continue to add on to this as people ask me questions for things or things need clarification. I hope this helps those that want to understand photoshop.
Again, please don't hesitate to ask me anything, even if you think its silly! :P