Icon Tutorial 002
Time for another tutorial!

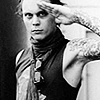
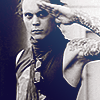
from this.
I C O N.T U T O R I A L
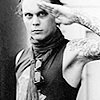
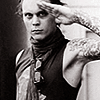
Now I'll show you how to make:
from this.
*I made this tutorial for grayscaled images. You can use a colored image for this tutorial simply by desaturating it (ctrl+shift+u) and continuing on with this tutorial.
If you opened up a picture that was taken in grayscale (such as mine), you might need to convert it to RGB color in order to use colors on the image. Do this by going to Image>Mode>RGB Color.
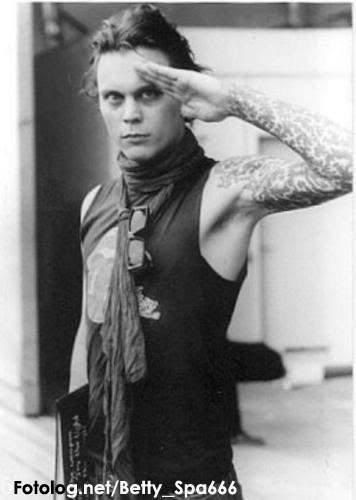
1. Open up your picture. I'll be using this one of Ville Valo from HIM.
Once it's opened, crop, resize, ect. Sharpen if you'd like (I love crisp icons; I always sharpen once then unsharp mask).
2. Duplicate the base and set it to screen at 30% opacity (or whatever looks best for your picture). Merge visible (ctrl+shift+e).
3. Duplicate the base and set it to soft light at 100% opacity. Do NOT merge visible.
4. Create a new layer and fill it with #E1E1E1. Set this layer to soft light at 80% opacity.
5. Create a new adjustment layer - Curves (Layer>New Adjustment Layer>Curves).
Input: 141
Output: 119
6. Create a new adjustment layer - Color Balance (Layer>New Adjustment Layer>Color Balance).
Midtones
+31, -20, -21
Shadows
+10, +4, -6
Set the layer opacity to 30%.
7. Create a new layer and fill it in with #25282A. Set this layer to soft light at 70% opacity.
8. Create a new layer and use this gradient. Set this layer to lighten at 100% opacity.

9. Create a new layer and use this gradient. Set this layer to lighten at 100% opacity.


10. Add text, borders, brushes, ect. I added a border, and ended up with this as my result:
Icon made with this tutorial:
If you have any questions, just ask. :)
Did you like this tutorial? Join catharsis___ to see the rest of my graphics.
from this.
I C O N.T U T O R I A L
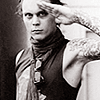
Now I'll show you how to make:
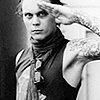
from this.
*I made this tutorial for grayscaled images. You can use a colored image for this tutorial simply by desaturating it (ctrl+shift+u) and continuing on with this tutorial.
If you opened up a picture that was taken in grayscale (such as mine), you might need to convert it to RGB color in order to use colors on the image. Do this by going to Image>Mode>RGB Color.
1. Open up your picture. I'll be using this one of Ville Valo from HIM.
Once it's opened, crop, resize, ect. Sharpen if you'd like (I love crisp icons; I always sharpen once then unsharp mask).
2. Duplicate the base and set it to screen at 30% opacity (or whatever looks best for your picture). Merge visible (ctrl+shift+e).
3. Duplicate the base and set it to soft light at 100% opacity. Do NOT merge visible.
4. Create a new layer and fill it with #E1E1E1. Set this layer to soft light at 80% opacity.
5. Create a new adjustment layer - Curves (Layer>New Adjustment Layer>Curves).
Input: 141
Output: 119
6. Create a new adjustment layer - Color Balance (Layer>New Adjustment Layer>Color Balance).
Midtones
+31, -20, -21
Shadows
+10, +4, -6
Set the layer opacity to 30%.
7. Create a new layer and fill it in with #25282A. Set this layer to soft light at 70% opacity.
8. Create a new layer and use this gradient. Set this layer to lighten at 100% opacity.
9. Create a new layer and use this gradient. Set this layer to lighten at 100% opacity.
10. Add text, borders, brushes, ect. I added a border, and ended up with this as my result:
Icon made with this tutorial:
If you have any questions, just ask. :)
Did you like this tutorial? Join catharsis___ to see the rest of my graphics.