"First Flight" Sculpture for FFXIV Fan Fest 2016
After much contemplation, I’ve decided to enter the FFXIV art contest again. Since they removed the comic strip category I went for sculpture. It’s been a while but it’ll be fun. Besides, I have a better chance at making it to the finals after seeing the graphic works from the previous contest. I have much to learn in graphic design. Thankfully they gave a month this time to work on our project. That’s way better than the week and a half. So on to the progress entry!
September 31
It took me a while to come up with the concept since one idea came after another. Considering how I haven’t done any sculpture for a long time and not sure what materials to use, I stuck with my first concept: First Flight (little moogles helping out a fat one learn how to fly). Once I got the concept, it was time to get the materials. The materials weren’t cheap for sure.
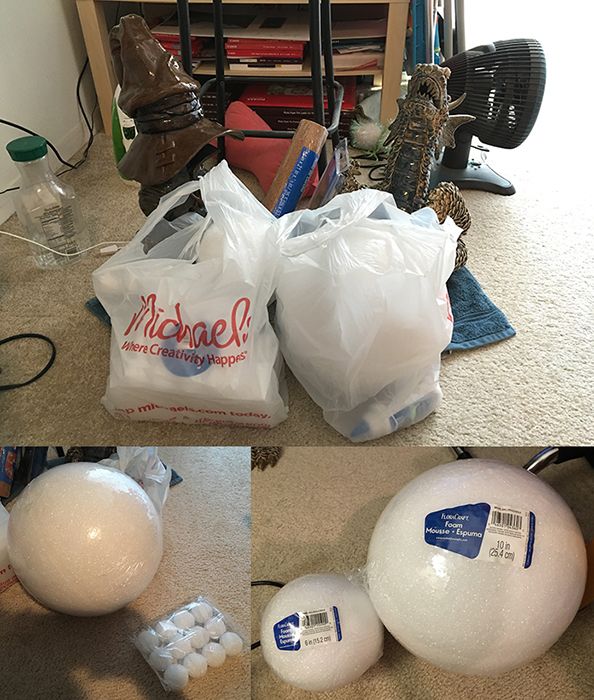
August 1 - Day 01
On the first day I played it safe and started on the little ones. Just the basic structure for now.
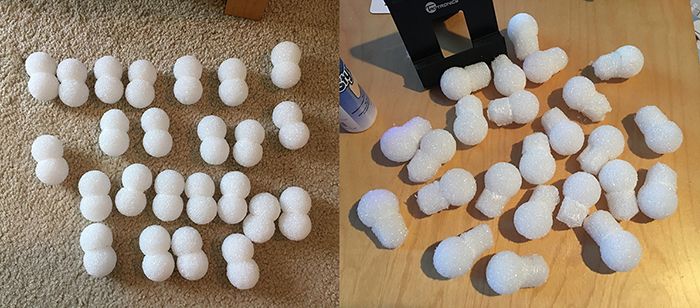
August 2 - Day 02
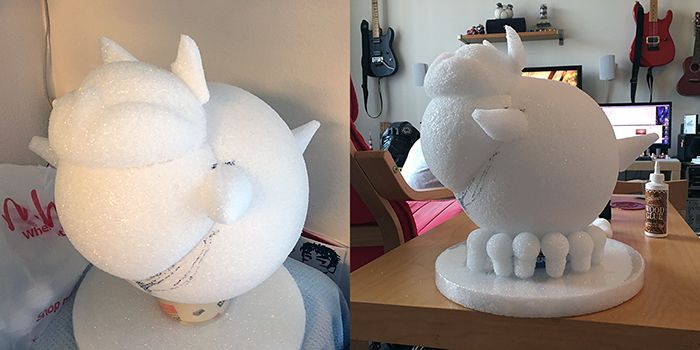
Time for the big one. Now this required a lot of arm work since I already broke my cheap heating foam carver on the first day. It also took a lot of calculations but I believe I got it down right.

August 3 - Day 03
Carving out the fat one’s face structure.
August 4 - Day 04
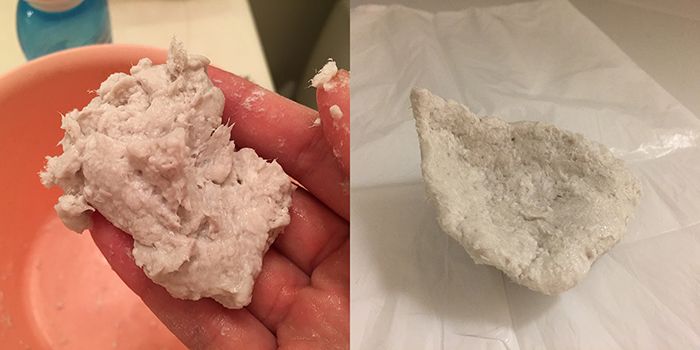
No carving for this day but just testing out the paper mache. I’m more familiar with the strips so this is new to me.
And finally the base. I needed to make it stronger knowing how the sculpture’s weight might easily break it off.
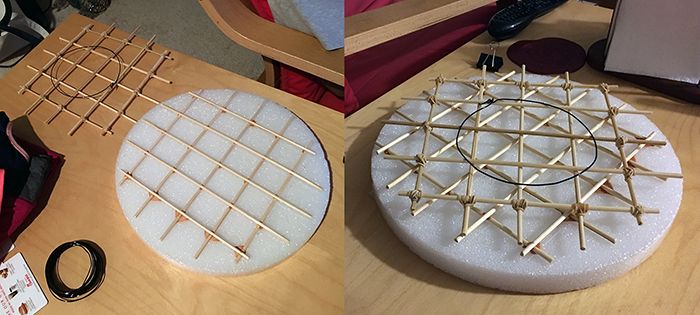
August 5 - Day 05
Paper mache time for the fat one! I only did the top part where it needed the most meat. This was a fun day!
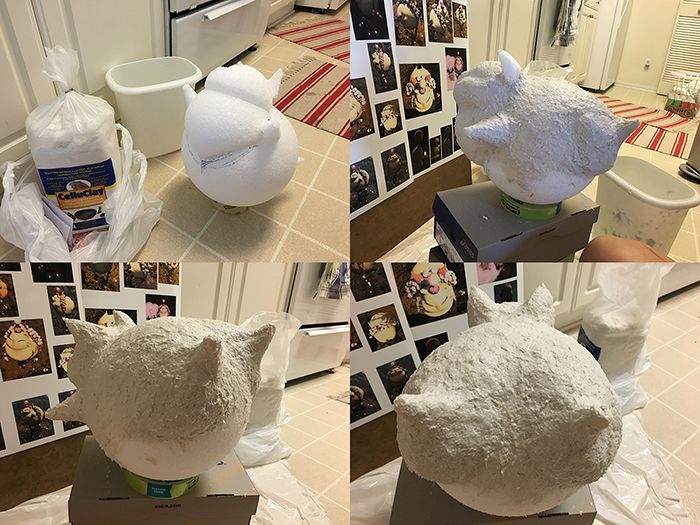
August 6 - Day 06
While the fat one was drying, it was time to work on the base. It was hard to figure out how to make the structure stronger. The little moogles definitely couldn’t hold the fat one by themselves and I will need to come up with a complicated plan. That is until I found what I needed: a clear candleholder to hold the fat one’s weight. This solved the first huge problem for me.
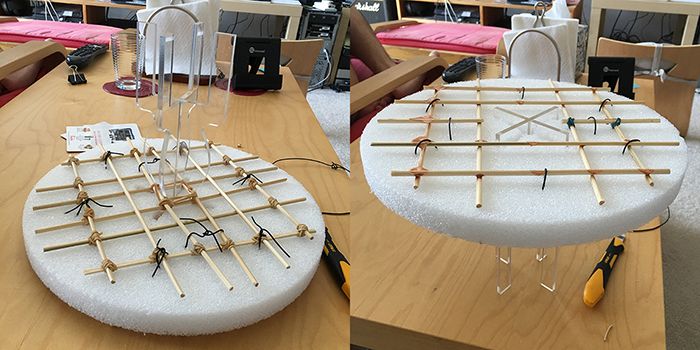
Afterwards I plastered the paper mache at the bottom of the base. I felt like I was baking.

August 7 - Day 07
X marks the spot. Time to finish up covering the fat one with paper mache.
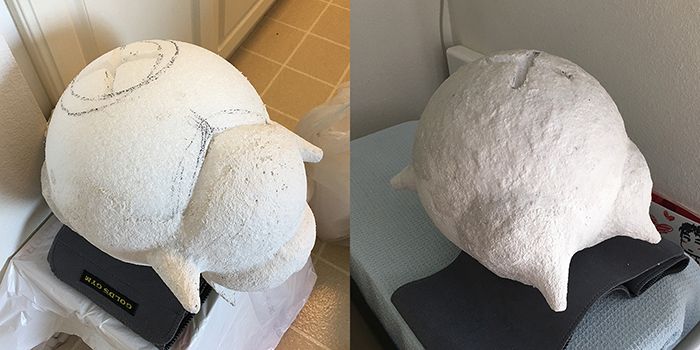
August 8 - Day 08
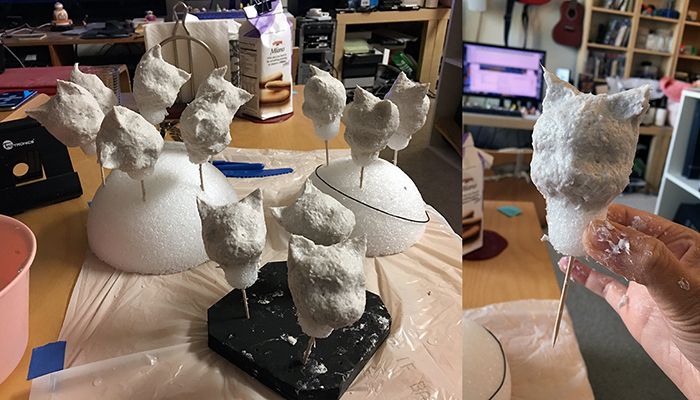
Back to the little ones. Since they came out a lot bigger than I expected, I only worked on 12 out of the 24 I created.
August 9 - Day 09
When the little ones dried up, they weren’t as smooth as the fat one so I had to add another layer of paper mache. If it still doesn't smoothen out, I’ll have to go with Plan B.
August 10 - Day 10
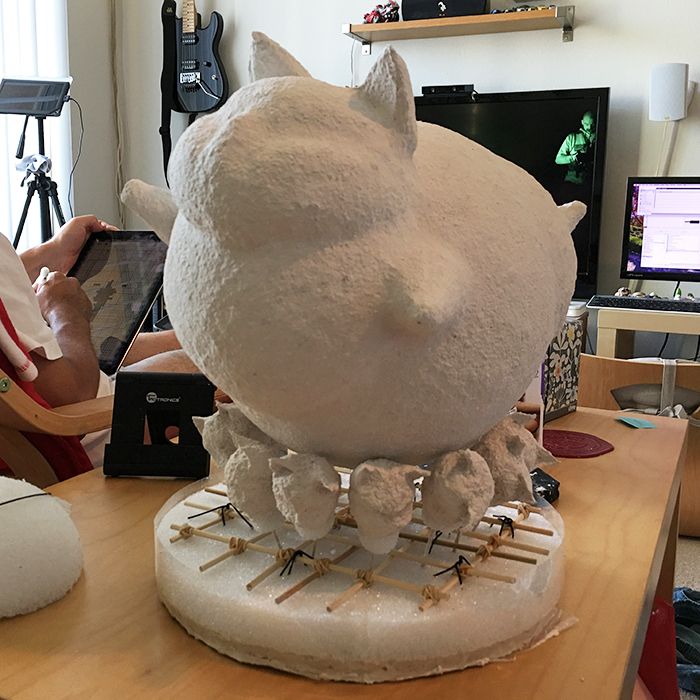
Not wanting to take too much time on the little ones’ heads, I started on their body.

August 11 - Day 11
On to their arms and legs!
August 12 - Day 12
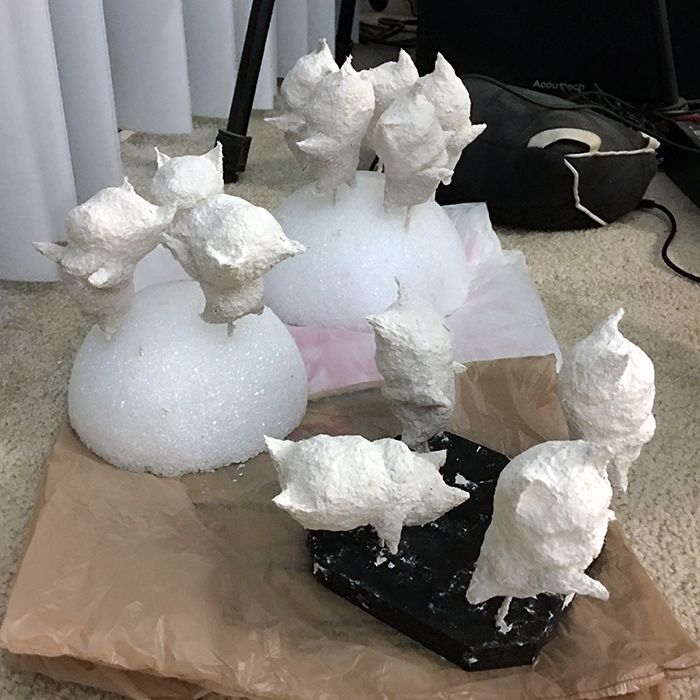
They're still not as smooth as I wanted to be so more layers of paper mache. However, I doubt I’ll get them as smooth… Sigh, might have to go to Plan B after all.
August 13 - Day 13
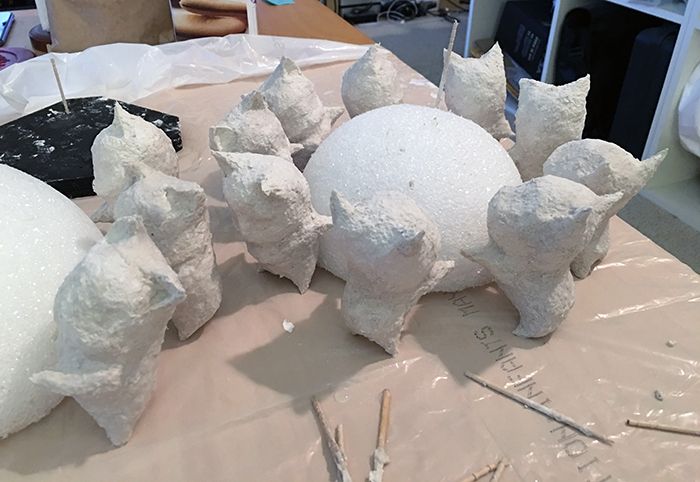
This was probably not my best day. I was right to be nervous because the outcome may not be something I like and I was right. The paper mache gave it a soft texture but after painting the fat one, it looked very plastic…
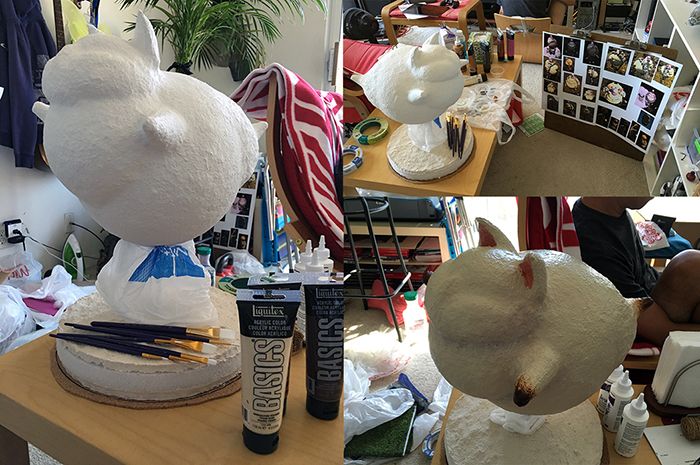
So I opted for Plan B and give it an organic look by covering it with cotton batting and sure enough, I have no idea what I was doing…

August 14 - Day 14
After the previous day’s struggle, I went back to working on the little ones. This was a much better progress and I’ve regained my confidence in my sculpture skills again. The little ones turned out great!

I also did a little bit of the base. Yep, things are going according to plan!
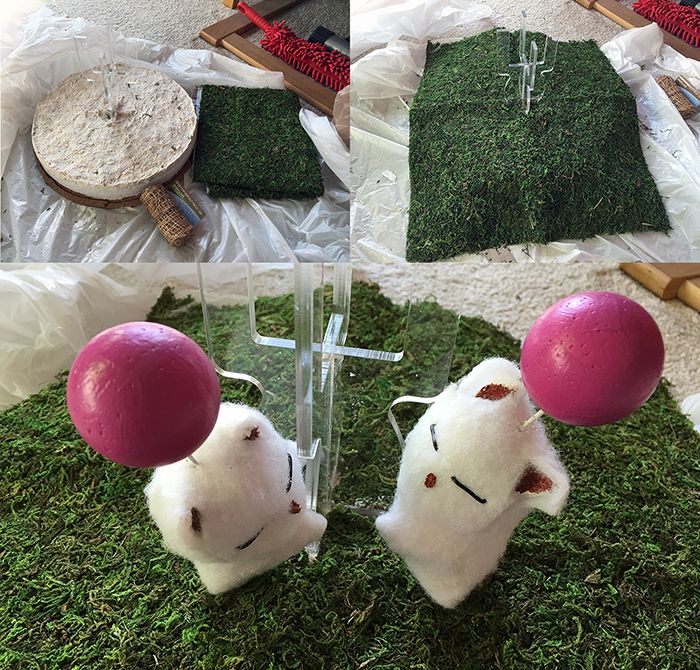
August 15 - Day 15
Time for the little ones to get their wings!
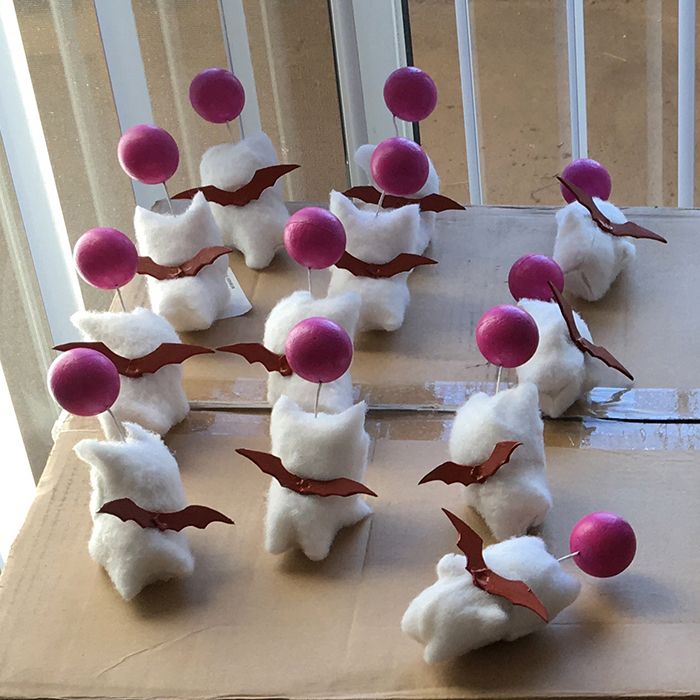
August 16 - Day 16
Now that I’m more self-assured, it was time to work on the fat one again. One of the things that annoyed me with putting on the cotton batting on it was the jagged cuts I’ve made. Well, the solution easily came to me: sew the edges to make it smooth and man did that do the job.
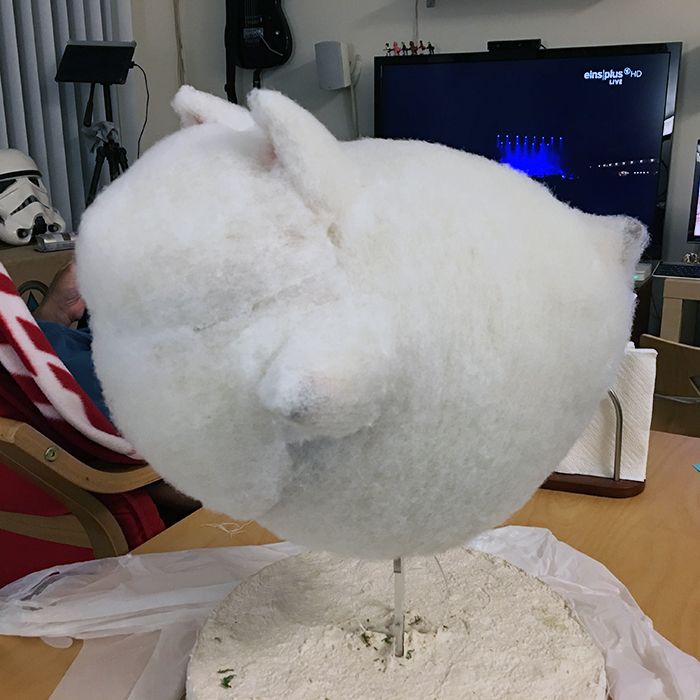
August 17 - Day 17
The little ones were much whiter than the fat one so I whitened the fat one by using fabric spray paint. It sure gave it a Jerry Curls look to it.
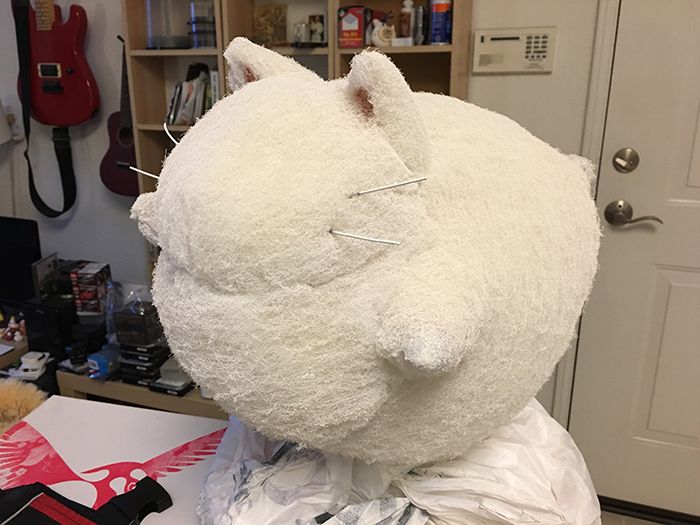
August 18 - Day 18
Now for the bling! It’s been 15 years since I’ve worked on jewelry so this is definitely not my best piece. It’ll have to do.
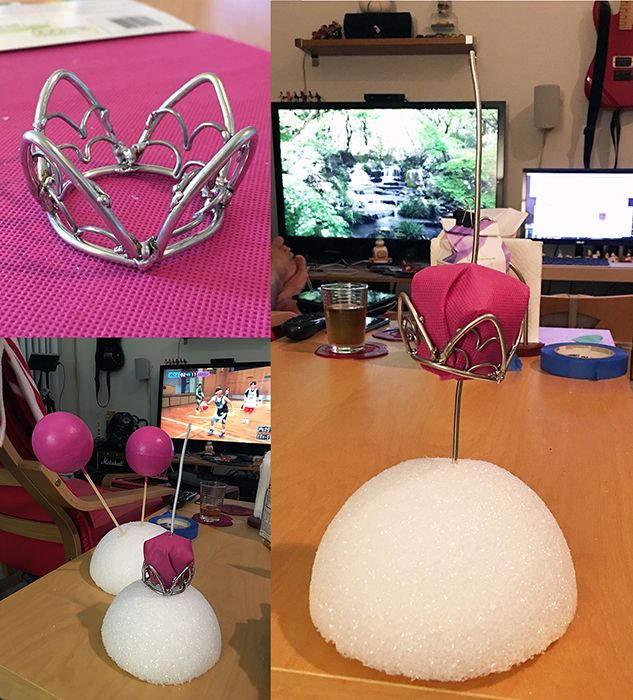
August 19 - Day 19
More details! It’s really starting to come together!
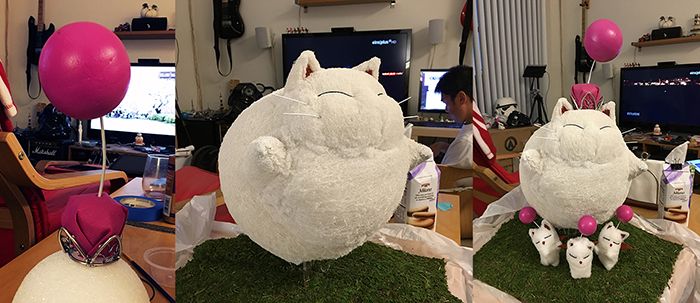
August 22 - Day 20
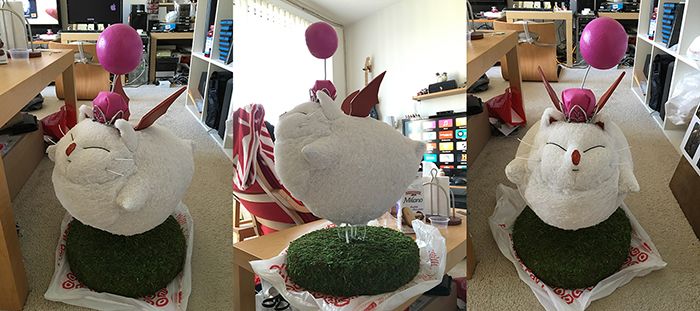
And the base is done.
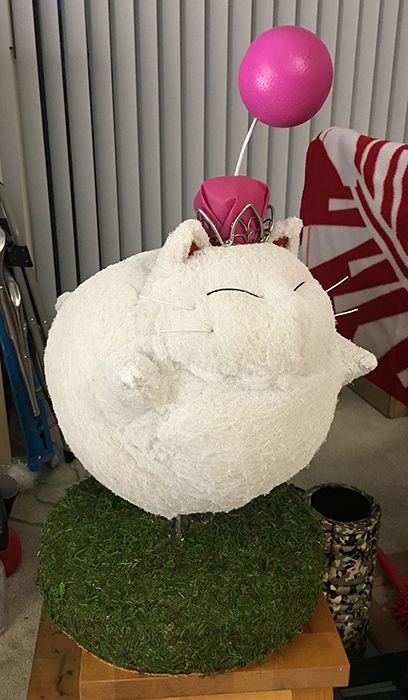
And the face is complete!
August 23 - Day 21
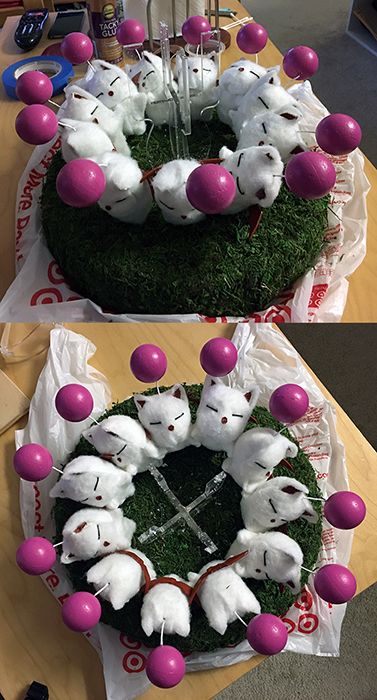
The little ones are now embedded on the base.
August 26 - Day 22
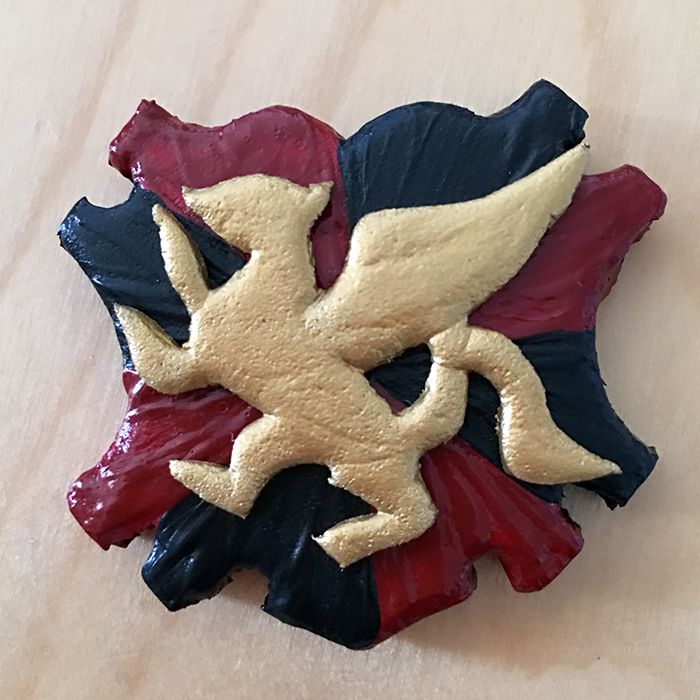
And some final touch: Legion of Doom Crest
August 27 - Day 23
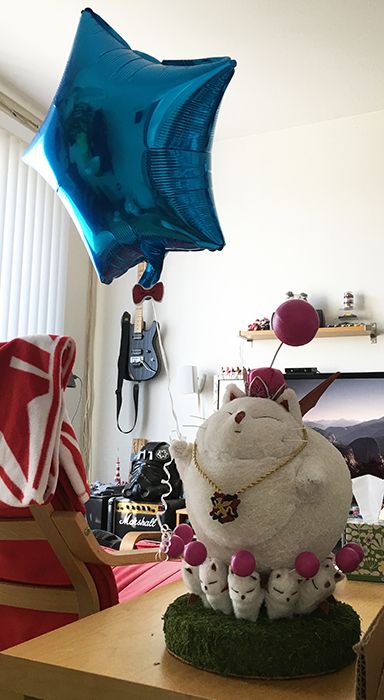
First Flght is finally complete!
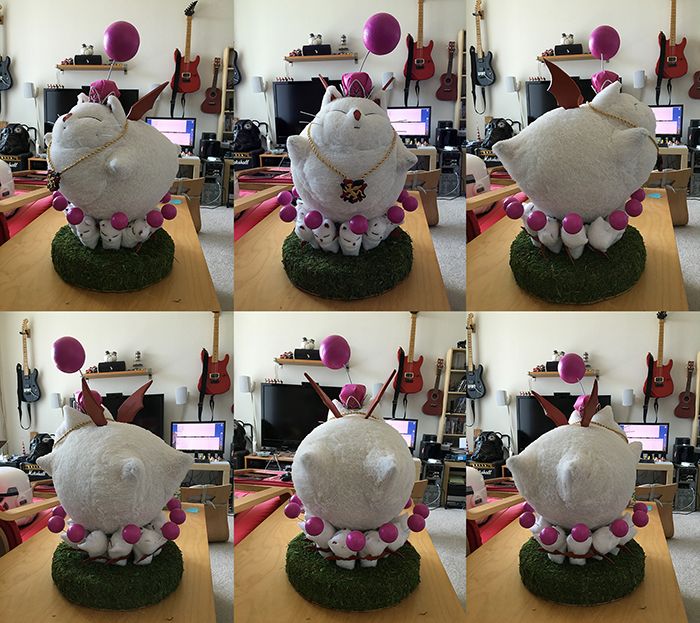
And the fellow brethrens approved!
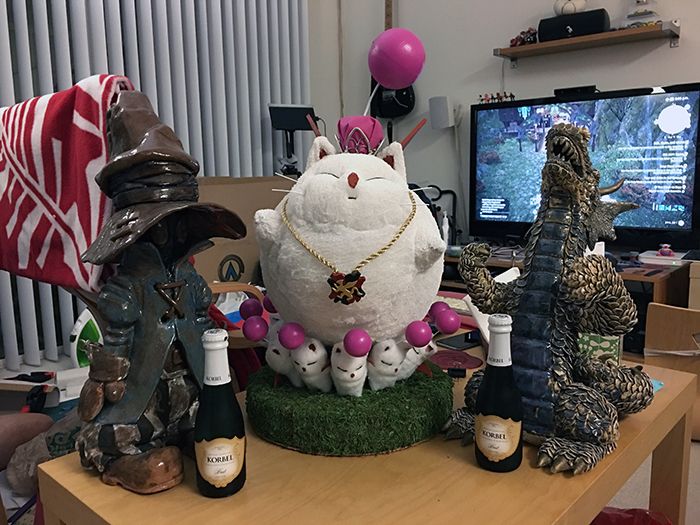
Yep, that was one hell of a sculpture. Perhaps the most expensive one too (around $300 worth of materials). Hopefully it makes it to the finalists but yeah, it felt so good working on it. I’m definitely going to miss it. Good luck, buddy! Whether you make it or not, you’ll always be my shining star!
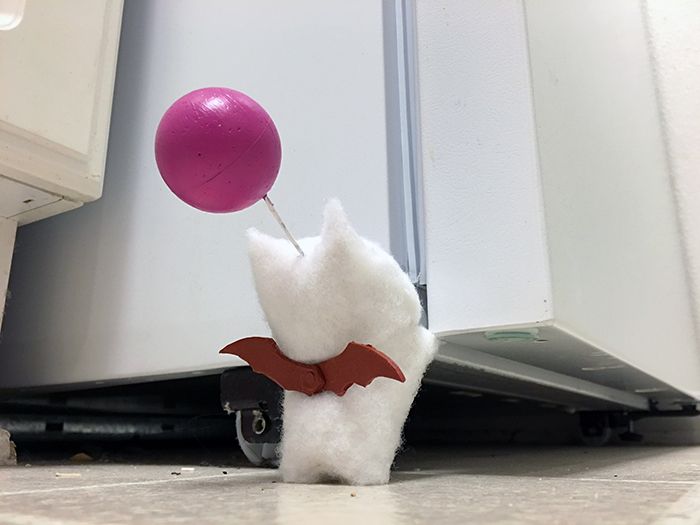
Note: I actually have an extra small moogle since I could only fit in one. So now I have this little guy with me as a memento. I still need to give it a name.
September 31
It took me a while to come up with the concept since one idea came after another. Considering how I haven’t done any sculpture for a long time and not sure what materials to use, I stuck with my first concept: First Flight (little moogles helping out a fat one learn how to fly). Once I got the concept, it was time to get the materials. The materials weren’t cheap for sure.

August 1 - Day 01
On the first day I played it safe and started on the little ones. Just the basic structure for now.

August 2 - Day 02
Time for the big one. Now this required a lot of arm work since I already broke my cheap heating foam carver on the first day. It also took a lot of calculations but I believe I got it down right.

August 3 - Day 03
Carving out the fat one’s face structure.

August 4 - Day 04
No carving for this day but just testing out the paper mache. I’m more familiar with the strips so this is new to me.

And finally the base. I needed to make it stronger knowing how the sculpture’s weight might easily break it off.

August 5 - Day 05
Paper mache time for the fat one! I only did the top part where it needed the most meat. This was a fun day!

August 6 - Day 06
While the fat one was drying, it was time to work on the base. It was hard to figure out how to make the structure stronger. The little moogles definitely couldn’t hold the fat one by themselves and I will need to come up with a complicated plan. That is until I found what I needed: a clear candleholder to hold the fat one’s weight. This solved the first huge problem for me.

Afterwards I plastered the paper mache at the bottom of the base. I felt like I was baking.

August 7 - Day 07
X marks the spot. Time to finish up covering the fat one with paper mache.

August 8 - Day 08
Back to the little ones. Since they came out a lot bigger than I expected, I only worked on 12 out of the 24 I created.

August 9 - Day 09
When the little ones dried up, they weren’t as smooth as the fat one so I had to add another layer of paper mache. If it still doesn't smoothen out, I’ll have to go with Plan B.

August 10 - Day 10
Not wanting to take too much time on the little ones’ heads, I started on their body.

August 11 - Day 11
On to their arms and legs!

August 12 - Day 12
They're still not as smooth as I wanted to be so more layers of paper mache. However, I doubt I’ll get them as smooth… Sigh, might have to go to Plan B after all.

August 13 - Day 13
This was probably not my best day. I was right to be nervous because the outcome may not be something I like and I was right. The paper mache gave it a soft texture but after painting the fat one, it looked very plastic…

So I opted for Plan B and give it an organic look by covering it with cotton batting and sure enough, I have no idea what I was doing…

August 14 - Day 14
After the previous day’s struggle, I went back to working on the little ones. This was a much better progress and I’ve regained my confidence in my sculpture skills again. The little ones turned out great!

I also did a little bit of the base. Yep, things are going according to plan!

August 15 - Day 15
Time for the little ones to get their wings!

August 16 - Day 16
Now that I’m more self-assured, it was time to work on the fat one again. One of the things that annoyed me with putting on the cotton batting on it was the jagged cuts I’ve made. Well, the solution easily came to me: sew the edges to make it smooth and man did that do the job.

August 17 - Day 17
The little ones were much whiter than the fat one so I whitened the fat one by using fabric spray paint. It sure gave it a Jerry Curls look to it.

August 18 - Day 18
Now for the bling! It’s been 15 years since I’ve worked on jewelry so this is definitely not my best piece. It’ll have to do.

August 19 - Day 19
More details! It’s really starting to come together!

August 22 - Day 20
And the base is done.

And the face is complete!

August 23 - Day 21
The little ones are now embedded on the base.

August 26 - Day 22
And some final touch: Legion of Doom Crest

August 27 - Day 23
First Flght is finally complete!

And the fellow brethrens approved!

Yep, that was one hell of a sculpture. Perhaps the most expensive one too (around $300 worth of materials). Hopefully it makes it to the finalists but yeah, it felt so good working on it. I’m definitely going to miss it. Good luck, buddy! Whether you make it or not, you’ll always be my shining star!

Note: I actually have an extra small moogle since I could only fit in one. So now I have this little guy with me as a memento. I still need to give it a name.
