3rd Tutorial; Christine Daae
As Requested by: ladydemando
Tutorial for Photoshop7.0
Should be easily translated.
Go from: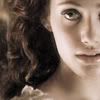
to: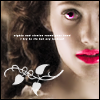
Resources found: HERE
Please comment and tell if it's easily understood and etc. ^_^
Okay, I did all the bas touch ups already. Smoothing out her skin with the smudge tool, duplicating and screening the layers, etc.
PS: I did this the stupid, long way. It's one of the first icons I've ever done like this. But I think it works better than the "lazy" way.^_^
So, starting with this:

You need to duplicate Layer 1, and then hit "Ctrl+U" then on the bottom right, hit the colorize square. Now muck around until you get a color you like. This will be the color of your lips.
I finished up with:
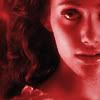
Now, hit the "Mask" button on the bottom of the layer palete:

You'll notice that the only colours are black and white. Well, flood fill your Mask layer with black. Now, using a soft edge brush, with the color white. Just color in her lips. You'll notice the red shows up again. Now, she has bright red lips.
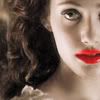
Well that's a LITTLE too bright, sooo..Set the layer to Darken

Now that we're done with the lips - it's time to fix up her eye.
Hit "Ctrl+U" again, and colorize.

Now, use the mask tool again, but this time on her eyes.
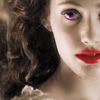
Well, the eyes are a tad dark, sooo...I made the Blend more to "Color Dodge"
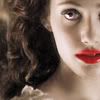
But, that makes it look like she has beady eyes, so let's duplicate the layer. Yes, this one is on Color Dodge as well.

Time for the extras.
Now, grab this brush:
and whack it in your icon.
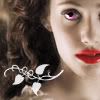
Grab this:
Now, mash it somewhere across her face, in the center of the icon.
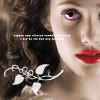
We all love borders.

Because, it's a simple icon, just give it a plain black border.
Dada: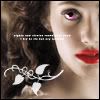
There's one extra option.
If you want your icon darker, like this:
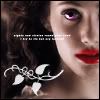
I used #13102D

and set it to Soft Light, opacity: 80%. UNDER the brushes.
Final layers palete:
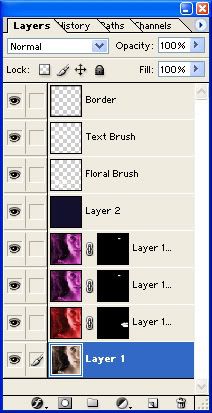
Brush Credits: HERE
Tutorial for Photoshop7.0
Should be easily translated.
Go from:

to:

Resources found: HERE
Please comment and tell if it's easily understood and etc. ^_^
Okay, I did all the bas touch ups already. Smoothing out her skin with the smudge tool, duplicating and screening the layers, etc.
PS: I did this the stupid, long way. It's one of the first icons I've ever done like this. But I think it works better than the "lazy" way.^_^
So, starting with this:

You need to duplicate Layer 1, and then hit "Ctrl+U" then on the bottom right, hit the colorize square. Now muck around until you get a color you like. This will be the color of your lips.
I finished up with:

Now, hit the "Mask" button on the bottom of the layer palete:

You'll notice that the only colours are black and white. Well, flood fill your Mask layer with black. Now, using a soft edge brush, with the color white. Just color in her lips. You'll notice the red shows up again. Now, she has bright red lips.

Well that's a LITTLE too bright, sooo..Set the layer to Darken

Now that we're done with the lips - it's time to fix up her eye.
Hit "Ctrl+U" again, and colorize.

Now, use the mask tool again, but this time on her eyes.

Well, the eyes are a tad dark, sooo...I made the Blend more to "Color Dodge"

But, that makes it look like she has beady eyes, so let's duplicate the layer. Yes, this one is on Color Dodge as well.

Time for the extras.
Now, grab this brush:

and whack it in your icon.

Grab this:

Now, mash it somewhere across her face, in the center of the icon.

We all love borders.

Because, it's a simple icon, just give it a plain black border.
Dada:

There's one extra option.
If you want your icon darker, like this:

I used #13102D

and set it to Soft Light, opacity: 80%. UNDER the brushes.
Final layers palete:

Brush Credits: HERE