Tutorial 1
My first tutorial! ^^
From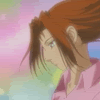
to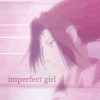
This is used in Photoshop CS, but should translate to other programs well.
First off, get your base. Here's mine:
Duplicate the first layer and add a 2.4-3.0 Gaussian Blur.
Duplicate the first layer again, drag it above the blur, and set it to "Overlay".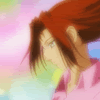
Duplicate base layer again, drag it above the overlay layer. Go to Image>Adjustments>Hue/Saturation, and set the Saturation to -50. Set the blending mode to "color".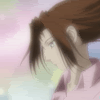
Yes, another duplicate of the base layer. Drag this to the top, desaturate (Image>Adjustments>Desaturate), and set to overlay.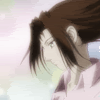
Now for the fun part, color! ^.^ Add this gradient by crumblingwalls
, or a similar one, and set it to "hard light". It should turn out like this: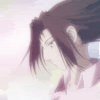
This is where you can experiment a little. There are two ways I go from here.
The first way, is adding this
gradient, also by crumblingwalls, and setting it to hard light, giving you this: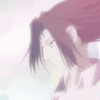
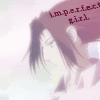
To get this text effect, type whatever you want in black. Set it to overlay. Voila! Note: MAKE SURE THIS IS ON A *DARK* COLOR! OTHERWISE YOU WON'T SEE IT AT ALL!
The second way is adding a purpleish gradient, but setting it to overlay, giving you: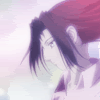
.
On the final one, I did the two hard light laters. Added some brushes from quebelly and here's the final outcome:
.
Simple, ne? For the layer order, here it is):


This was used for these icons: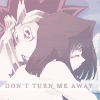
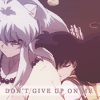

I hope this made sense! ^^
From

to

This is used in Photoshop CS, but should translate to other programs well.
First off, get your base. Here's mine:

Duplicate the first layer and add a 2.4-3.0 Gaussian Blur.

Duplicate the first layer again, drag it above the blur, and set it to "Overlay".

Duplicate base layer again, drag it above the overlay layer. Go to Image>Adjustments>Hue/Saturation, and set the Saturation to -50. Set the blending mode to "color".

Yes, another duplicate of the base layer. Drag this to the top, desaturate (Image>Adjustments>Desaturate), and set to overlay.

Now for the fun part, color! ^.^ Add this gradient by crumblingwalls

, or a similar one, and set it to "hard light". It should turn out like this:

This is where you can experiment a little. There are two ways I go from here.
The first way, is adding this

gradient, also by crumblingwalls, and setting it to hard light, giving you this:


To get this text effect, type whatever you want in black. Set it to overlay. Voila! Note: MAKE SURE THIS IS ON A *DARK* COLOR! OTHERWISE YOU WON'T SEE IT AT ALL!
The second way is adding a purpleish gradient, but setting it to overlay, giving you:

.
On the final one, I did the two hard light laters. Added some brushes from quebelly and here's the final outcome:

.
Simple, ne? For the layer order, here it is):


This was used for these icons:


I hope this made sense! ^^