icon post + icon tut#3 ♥
Yipee~ This time I'll be presenting an icon post + tutorial. Neat, ne? ;x
program: ps cs3
translatable: no
involves: selective coloring/curves/color balance
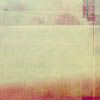
base: eww..
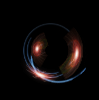
result: hot lil' mama
one. re-size/sharpen/blur/whatever you usually do to your base, then crop.
two. duplicate your image then set it to soft light.
•••••••> note: if your image is lightly coloured, set it to multiply or color burn.
three. layer -> new adjustment layer -> selective coloring. input these settings:
red: -100, 0, 0, 0
yellow: -100, -34, 79, 0
cyan: -100, -100, 100
blues: 53, -56, -51, 0
magenta: -74, 17, -39, 0
neutrals: 27, 16, -5, 0
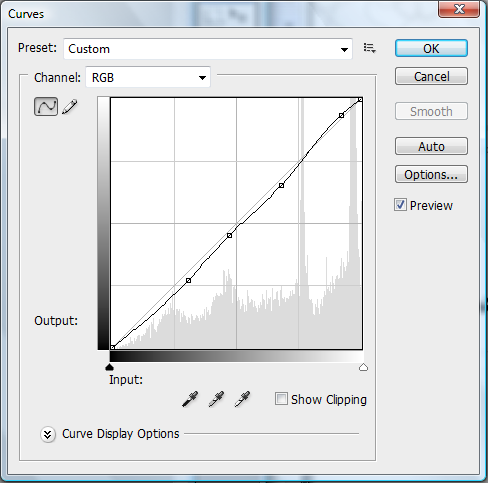
four. layer -> new adjustment layer -> curves. copy what's in this picture.
five. layer -> new adjustment layer -> color balance. input these setting on the midtones option: 100, 42, -28
six. add this texture and this light texture, and some small text. then you're done!
••••> don't forget that you should always experiment to get the icon effect you really like. all credit for the textures are on the resource post. :) Oh yeah, show me what your results were. I'd love to see how creative people are nowadays. Other examples are found the icons below this.
001 002 003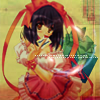
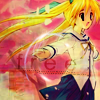
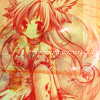
004 005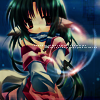

remember!
♥ credit is necessary. either angeliipika or bubbliicons
♥ comment when taking
♥ no hotlinking! upload to your own servers~
♥ don't take the 'i eated' icon
enjoy! ♥ ♥
program: ps cs3
translatable: no
involves: selective coloring/curves/color balance
base: eww..
result: hot lil' mama
one. re-size/sharpen/blur/whatever you usually do to your base, then crop.
two. duplicate your image then set it to soft light.
•••••••> note: if your image is lightly coloured, set it to multiply or color burn.
three. layer -> new adjustment layer -> selective coloring. input these settings:
red: -100, 0, 0, 0
yellow: -100, -34, 79, 0
cyan: -100, -100, 100
blues: 53, -56, -51, 0
magenta: -74, 17, -39, 0
neutrals: 27, 16, -5, 0
four. layer -> new adjustment layer -> curves. copy what's in this picture.
five. layer -> new adjustment layer -> color balance. input these setting on the midtones option: 100, 42, -28
six. add this texture and this light texture, and some small text. then you're done!
••••> don't forget that you should always experiment to get the icon effect you really like. all credit for the textures are on the resource post. :) Oh yeah, show me what your results were. I'd love to see how creative people are nowadays. Other examples are found the icons below this.
001 002 003
004 005
remember!
♥ credit is necessary. either angeliipika or bubbliicons
♥ comment when taking
♥ no hotlinking! upload to your own servers~
♥ don't take the 'i eated' icon
enjoy! ♥ ♥