(no subject)
It's been awhile since I wrote a tutorial. D: I hope this one makes sense to people. If you have any questions, please don't hesitate to ask. :) Also, this tutorial involves Colour Balance so it may not translate into GIMP or PSP. But if it does, please let me know! This tutorial is NOT dial-up friendly so I'm very sorry for those on 56k in advance. D:
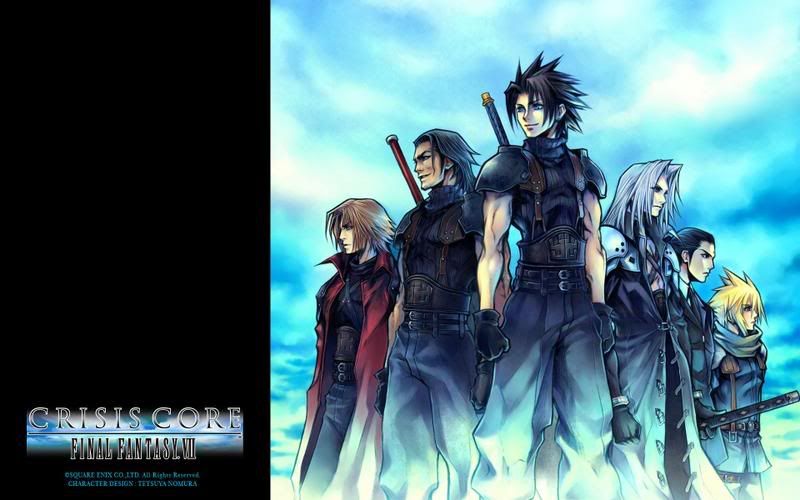
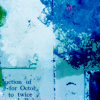
We'll be going from this to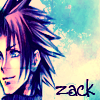
Step 1
Crop out your base from the original image. Afterwards, hit shift + ctrl + l to automatically adjust the levels of the icon.

Step 2
Hit ctrl + j to copy your base image. Afterwards, set your blending option to screen at 53% opacity.

Step 3
Okay. This may be where the tutorial will get a little tricky for some beginners. But don't worry, it's not selective colouring! I don't really like to use selective colouring to be honest so I prefer to use Colour Balance. To use Colour Balance go into Layer > New Adjustment Layer > Colour Balance and use these numbers in the three boxes in this order:
Midtones: - 50, + 27, + 33
Shadows: + 26, - 47, - 28
Highlights: + 75

Step 4
Create a new layer by using the following shortcut shift + ctrl + n. After this we're going to flood fill the layer with #993399 and set it Colour Burn with 28% opacity. (coloura)

Step 5
Create another new layer and fill it #000066. Set your layer to Exclusion with the opacity set to 52%.
D: no preview, sorry!
Step 6
Create a new layer and drag it below Layer 3. After this, take Layer 2 from step 4 and drag it below the new layer. Flood fill this layer with #6666FF. Set your layer to Saturation at 42%.

Step 7
Use the following base/texture by gender. Copy and paste this into a new layer. Afterwards, drag this layer underneath your colour balance layer. Set this layer to Overlay at 75%.

Step 8
Last step is some text! It's just Zack's name in Tall Paul at 30 pt with the kerning set at 25. To get to the Character window, go to Window > Character and it will pop up on the screen. The kerning is in the same window as the text size in the opposite corner.
Layout profile code thanks to ReversesCollide
And there you have it! I'd love to see what you've taken out of this. Please don't copy this tutorial exactly as this is just an example of how to make an icon. ^^ Thanks!
We'll be going from this to
Step 1
Crop out your base from the original image. Afterwards, hit shift + ctrl + l to automatically adjust the levels of the icon.
Step 2
Hit ctrl + j to copy your base image. Afterwards, set your blending option to screen at 53% opacity.
Step 3
Okay. This may be where the tutorial will get a little tricky for some beginners. But don't worry, it's not selective colouring! I don't really like to use selective colouring to be honest so I prefer to use Colour Balance. To use Colour Balance go into Layer > New Adjustment Layer > Colour Balance and use these numbers in the three boxes in this order:
Midtones: - 50, + 27, + 33
Shadows: + 26, - 47, - 28
Highlights: + 75
Step 4
Create a new layer by using the following shortcut shift + ctrl + n. After this we're going to flood fill the layer with #993399 and set it Colour Burn with 28% opacity. (coloura)
Step 5
Create another new layer and fill it #000066. Set your layer to Exclusion with the opacity set to 52%.
D: no preview, sorry!
Step 6
Create a new layer and drag it below Layer 3. After this, take Layer 2 from step 4 and drag it below the new layer. Flood fill this layer with #6666FF. Set your layer to Saturation at 42%.
Step 7
Use the following base/texture by gender. Copy and paste this into a new layer. Afterwards, drag this layer underneath your colour balance layer. Set this layer to Overlay at 75%.
Step 8
Last step is some text! It's just Zack's name in Tall Paul at 30 pt with the kerning set at 25. To get to the Character window, go to Window > Character and it will pop up on the screen. The kerning is in the same window as the text size in the opposite corner.
Layout profile code thanks to ReversesCollide
And there you have it! I'd love to see what you've taken out of this. Please don't copy this tutorial exactly as this is just an example of how to make an icon. ^^ Thanks!