Icon Tutorial // Requested at gimp_tutorial

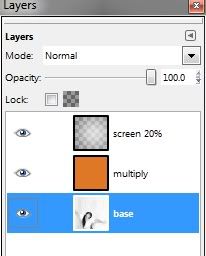
It's a minimum of two layers: the base and the color. (On mine, I included a white brush layer which I screened at 20%)

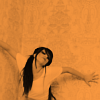
You start with a regular image. (In my example, it's this image.) Crop and resize, creating the base. Desaturate the image (Colors > Desaturate). Create a new layer (Layer > New) and set to mulitply at 100%. Fill new layer with an orangish color. I used #ff9b41.
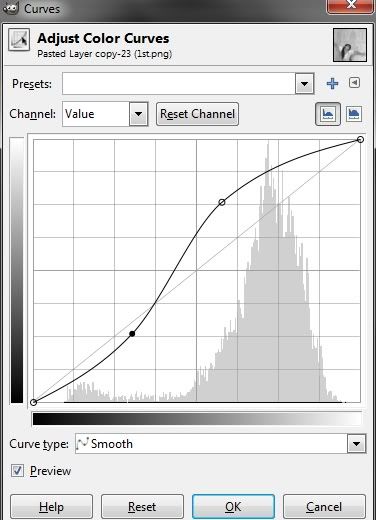
Reselect your base. Go to Colors > Curves. Adjust shadows and brightness until you are satisfied.

That's it.