(no subject)
Tutorial for Blue Padme...

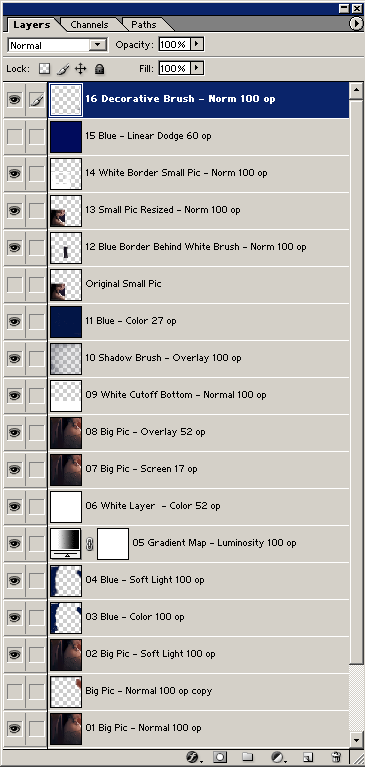
Okay, so I'm lazy. XP It's just a few pics here... if you need more information on each layer, just comment.
Brush 1 ("Shadow Brush" in the below layer pic)
Brush 2 ("White Border Small Pic brush" in the below layer pic)
Brush 3 ("Decorative Brush" in the below layer pic)

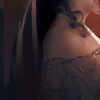
I used this picture for my icon. Now, I basically only used two colors here: 000B5C (Blue) and FFFFFF (White). Brushes 1 and 3 were BLUE, while I shrunk down the size of brush 2 and replicated and repositioned it many times in order to create the white border for the smaller picture. I then cleared away what I did not need and flattened those layers.
Note that I really use a LOT of layers... much of it may be unnecessary, but I needed just the right hue for the background or a certain position. Anyways, I've included each layer's blending property and opacity so, I hope it's enough. n_n
Below is what the icon looks like after the addition of each layer:
01
02
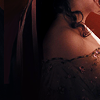
03

04
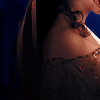
05
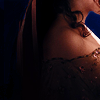
06
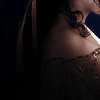
07
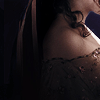
08
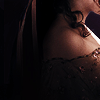
09

10

11

12

13

14

15

16

If you turn layer 15 off, this is what the icon looks like:
I actually like it more than the one I submitted... but it had to be blue for the contest... so... yeah. lol
Okay, so I'm lazy. XP It's just a few pics here... if you need more information on each layer, just comment.
Brush 1 ("Shadow Brush" in the below layer pic)

Brush 2 ("White Border Small Pic brush" in the below layer pic)

Brush 3 ("Decorative Brush" in the below layer pic)

I used this picture for my icon. Now, I basically only used two colors here: 000B5C (Blue) and FFFFFF (White). Brushes 1 and 3 were BLUE, while I shrunk down the size of brush 2 and replicated and repositioned it many times in order to create the white border for the smaller picture. I then cleared away what I did not need and flattened those layers.
Note that I really use a LOT of layers... much of it may be unnecessary, but I needed just the right hue for the background or a certain position. Anyways, I've included each layer's blending property and opacity so, I hope it's enough. n_n

Below is what the icon looks like after the addition of each layer:
01

02

03

04

05

06

07

08

09

10

11

12

13

14

15

16
If you turn layer 15 off, this is what the icon looks like:

I actually like it more than the one I submitted... but it had to be blue for the contest... so... yeah. lol