Перенос рисунка на свечку с помощью фена
Оригинал здесь - http://www.cometogetherkids.com/2011/02/artwork-candles.html
Artwork Candles
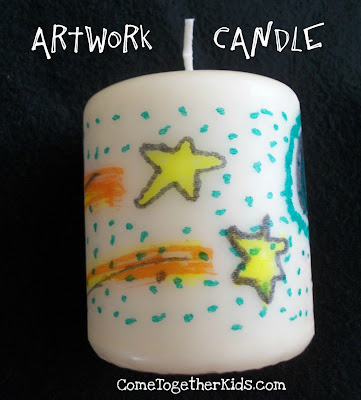
Pretty cool, isn't it?
Here's what you need:
* white tissue paper
* markers
* pillar candles (white or other light colors would work best)
* waxed paper or parchment paper
* hair dryer or heat embossing gun
Here's what to do:
1. Cut a piece of tissue paper to fit around the outside of your candle. You'll want it a little smaller than the candle itself.
2. Using markers, have your child decorate the tissue paper. The tissue paper is pretty delicate (obviously!), so encourage simple drawings and discourage coloring in large areas or the paper might tear.

Cute drawing and inexpensive dollar store candle.
3. When the drawing is completed, get a piece of waxed paper slightly larger than the candle. Wrap the tissue paper artwork around the outside of the candle, then wrap the waxed paper on top of that, using the extra length as a little handle.

Wrap the drawing around the candle.
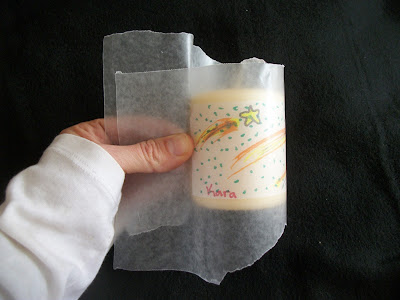
Then, wrap the waxed paper around, making a handle.
4. Next, use the hairdryer or heat gun to melt the design onto the candle. (The hairdryer works fine, it just takes a little while to warm up enough. Put it on the highest heat setting and hold it blowing as close as possible to the candle.) As the wax melts, the tissue paper will become part of the candle. You'll be able to see it change color through the waxed paper, going from white to the color of the candle. Continue until you can't see any more white tissue paper.
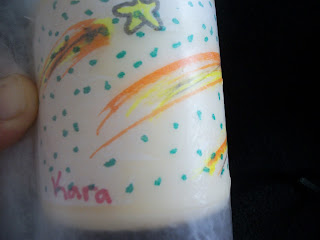
Notice how the tissue paper near the name is still white, but it's the color of the candle to the right of the name
.
5. Carefully pull back the waxed paper to reveal your child's artwork now as part of the candle. You can burn the candle just as you would any other candle.
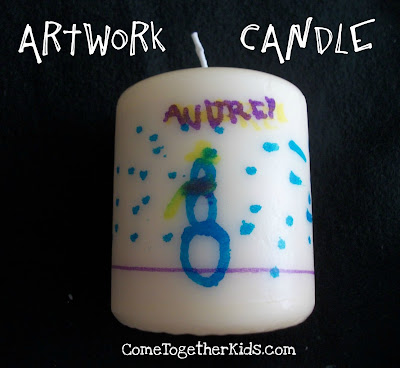
My youngest made a cute one too!
Artwork Candles

Pretty cool, isn't it?
Here's what you need:
* white tissue paper
* markers
* pillar candles (white or other light colors would work best)
* waxed paper or parchment paper
* hair dryer or heat embossing gun
Here's what to do:
1. Cut a piece of tissue paper to fit around the outside of your candle. You'll want it a little smaller than the candle itself.
2. Using markers, have your child decorate the tissue paper. The tissue paper is pretty delicate (obviously!), so encourage simple drawings and discourage coloring in large areas or the paper might tear.
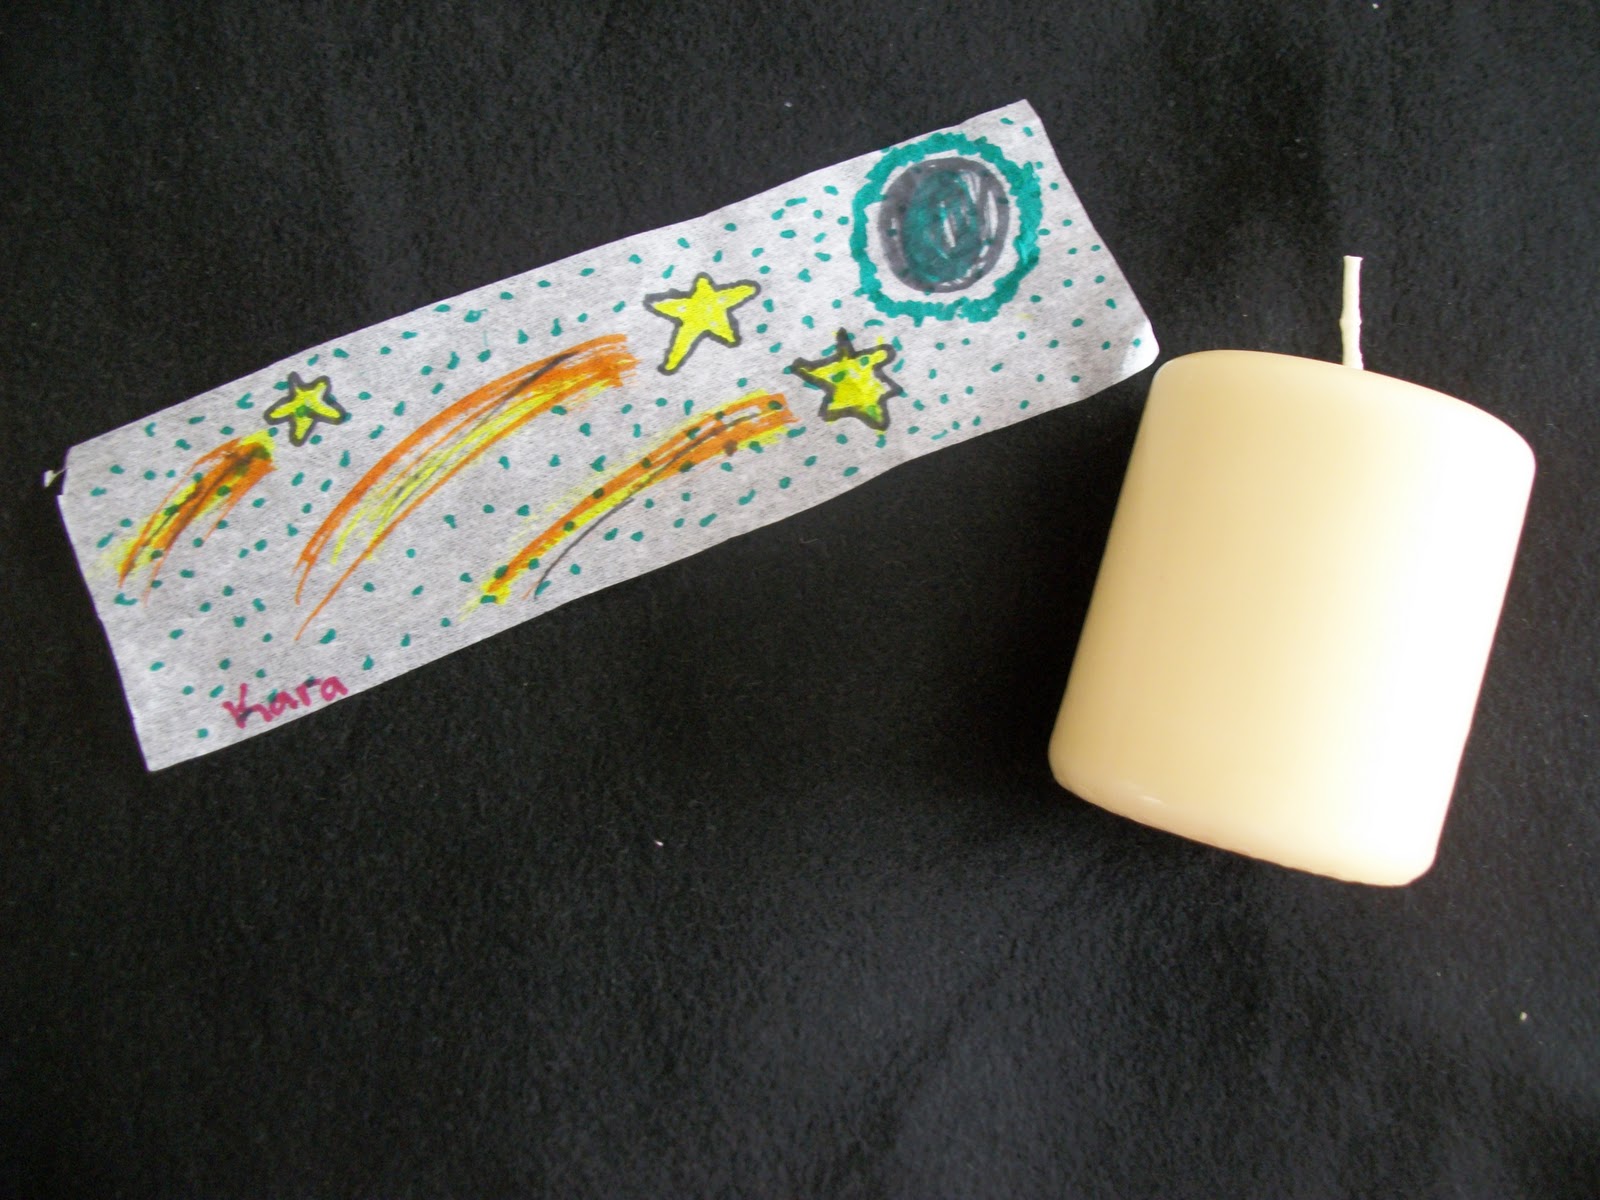
Cute drawing and inexpensive dollar store candle.
3. When the drawing is completed, get a piece of waxed paper slightly larger than the candle. Wrap the tissue paper artwork around the outside of the candle, then wrap the waxed paper on top of that, using the extra length as a little handle.

Wrap the drawing around the candle.
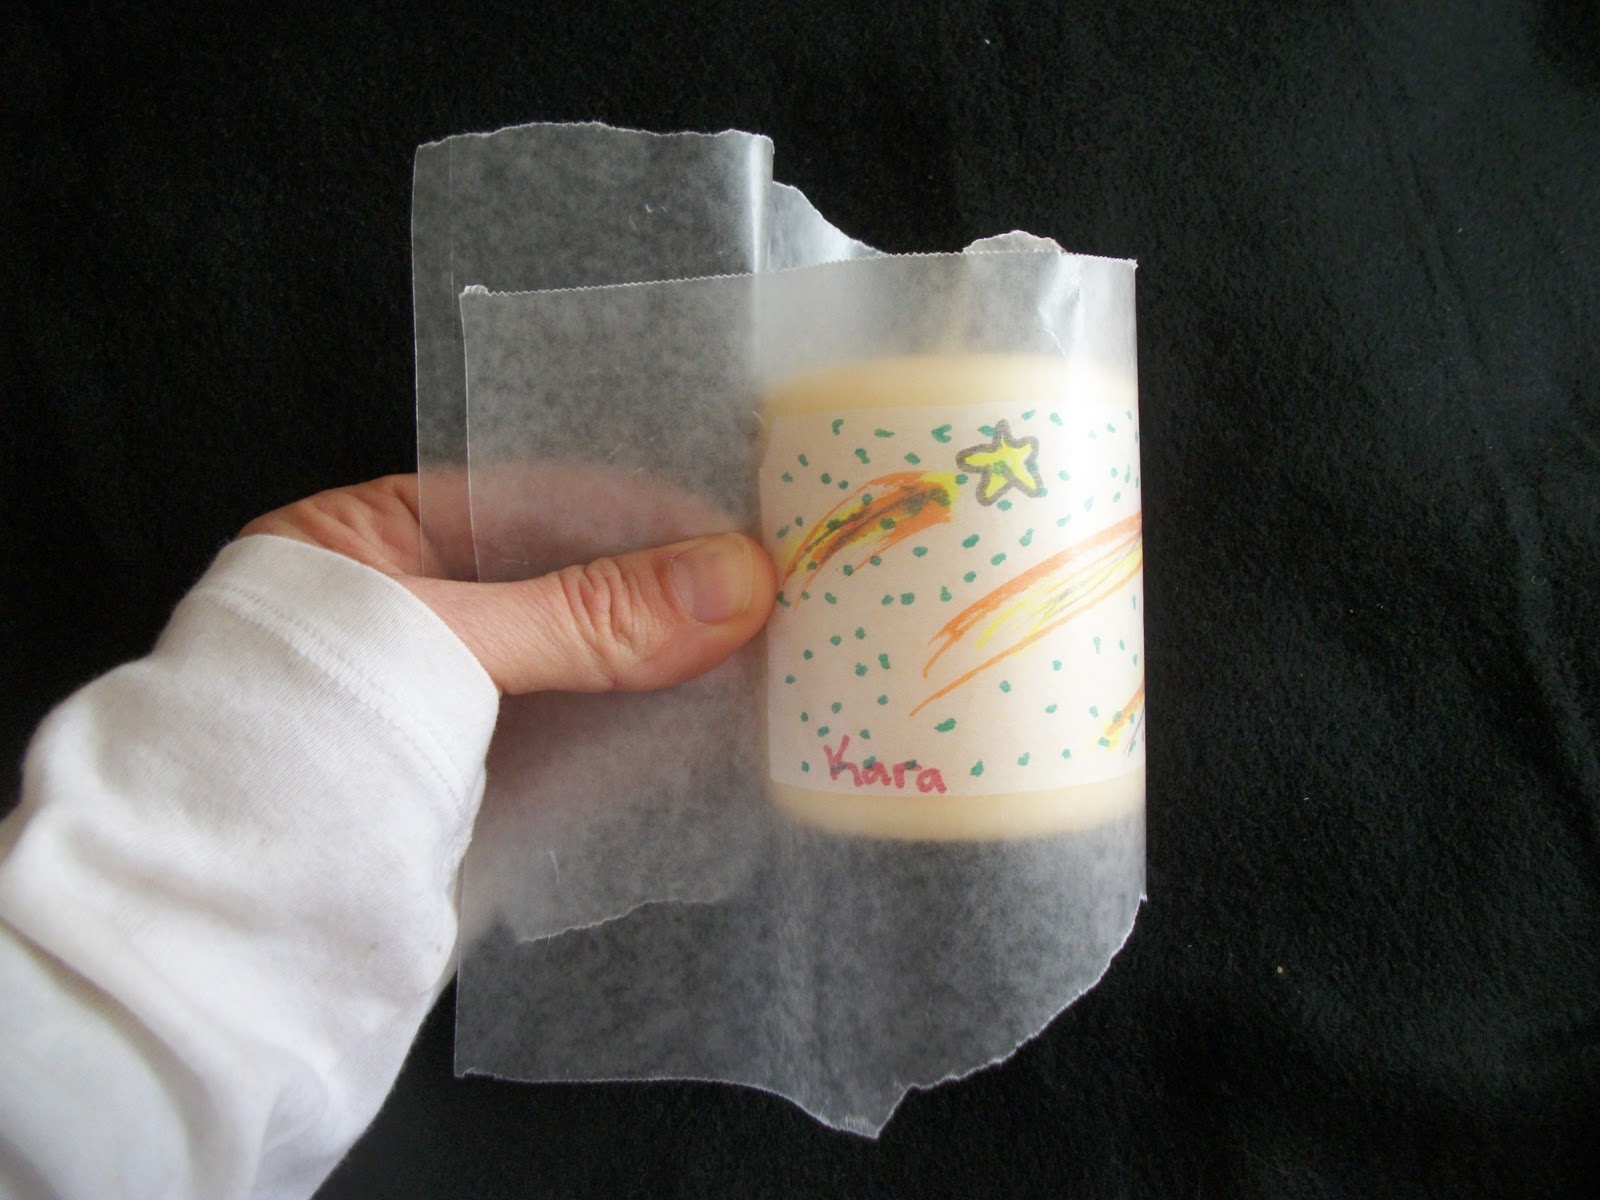
Then, wrap the waxed paper around, making a handle.
4. Next, use the hairdryer or heat gun to melt the design onto the candle. (The hairdryer works fine, it just takes a little while to warm up enough. Put it on the highest heat setting and hold it blowing as close as possible to the candle.) As the wax melts, the tissue paper will become part of the candle. You'll be able to see it change color through the waxed paper, going from white to the color of the candle. Continue until you can't see any more white tissue paper.
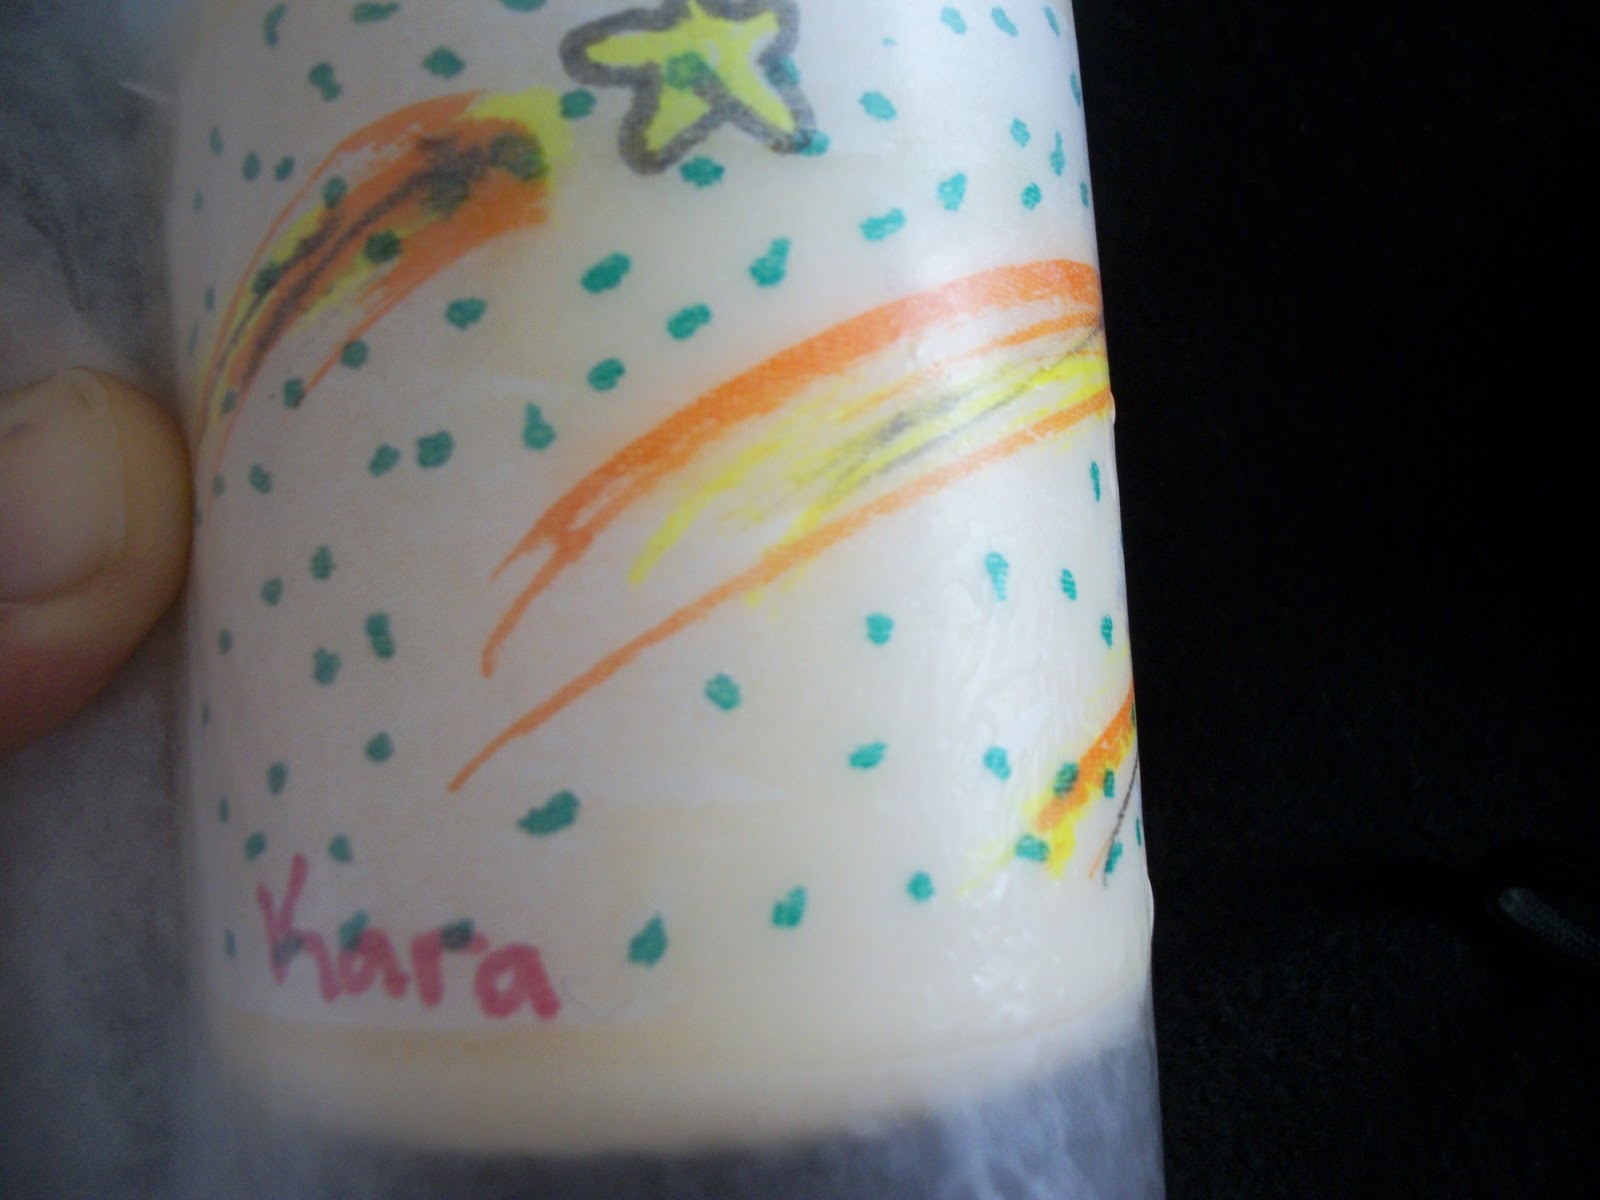
Notice how the tissue paper near the name is still white, but it's the color of the candle to the right of the name
.
5. Carefully pull back the waxed paper to reveal your child's artwork now as part of the candle. You can burn the candle just as you would any other candle.

My youngest made a cute one too!