I've Got Worms!
It's true. A few weeks ago, a large box arrived in the mail. Knowing how much Husband and I have suddenly become interested in gardening since we bought a house, our dear friend bought us a worm farm as a combined Christmas/wedding present.
I apologise in advance for the photospam, but I wanted to show the whole process of setting up the farm.
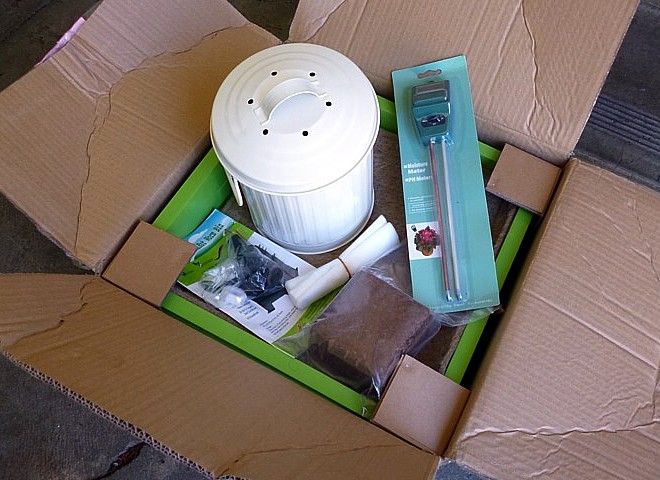
Here's the open box. It's the deluxe kit with the food collection bin and soil moisture/pH indicator, which will come in handy for a lot of things in the garden.
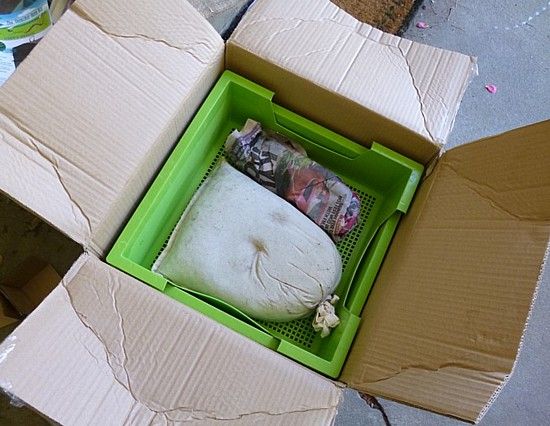
Underneath this were the worms themselves, in a cotton bag. Next to them was a soft drink bottle filled with water and wrapped in newspaper (presumably it was frozen when the journey began). This kept the environment nice and damp for the worms.
Putting together the base of the box. I screwed the legs to the base with wingnuts. I should say at this point that my workspace was the carport. We don't have a proper workspace set-up yet, so I was using the display cart that the old owners of the house left behind in the garden, in combination with the car bonnet to store extra parts. We got a real professional set-up here.
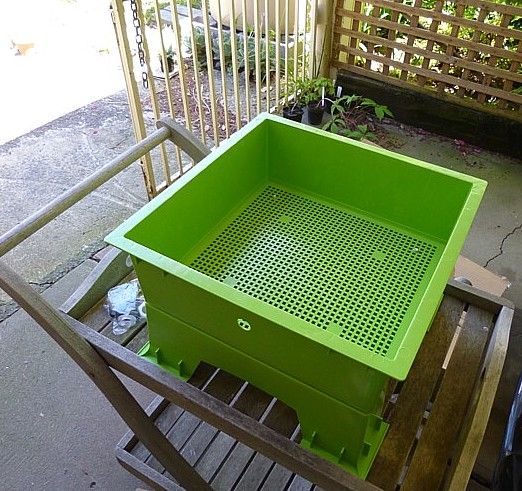
The base with the collection tray in place and the tap inserted.
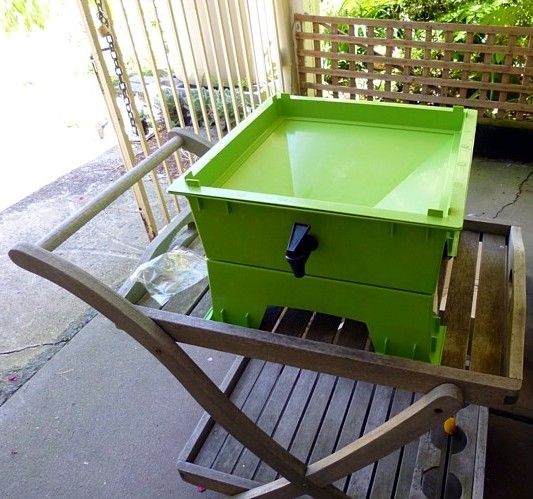
Putting the lid on, just to see how it all fits together.
Now for preparation of the worm bedding. I had to wait 2 hours for the coconut fibre to soak into the water. It was a really long 2 hours! I think I spent the time perusing bonsai blogs. ;)
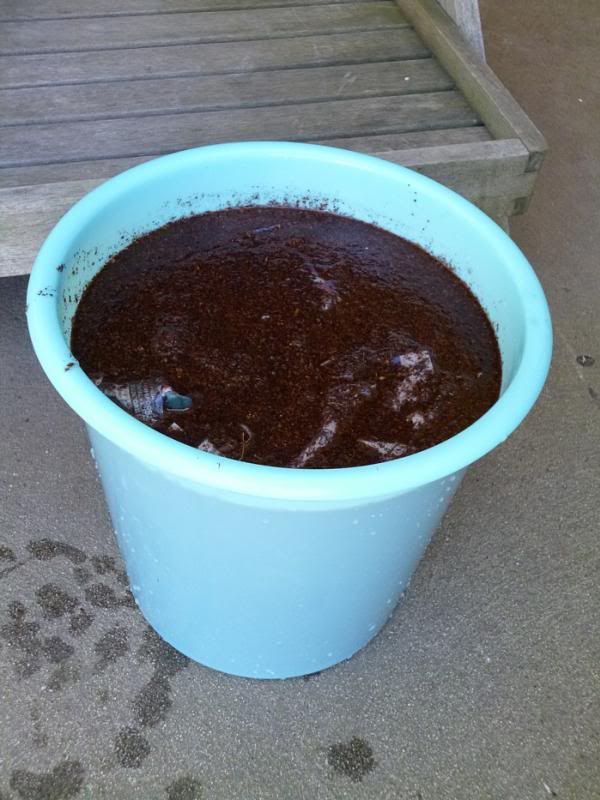
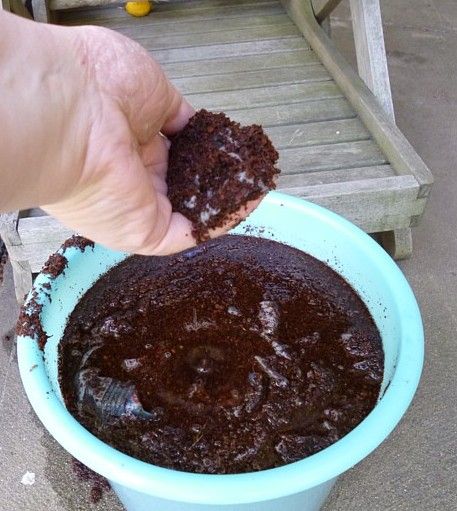
Testing the fibre. Unfortunately it was way too watery, so I spent some time carefully scooping out water and dumping it on the azaleas.
Time to lay the bedding. The instructions said to lay down 2-3 layers of newspaper in the tray. Who has newspapers anymore??! Thankfully we had a Bunnings catalogue lying around, which is made of the same type of paper.
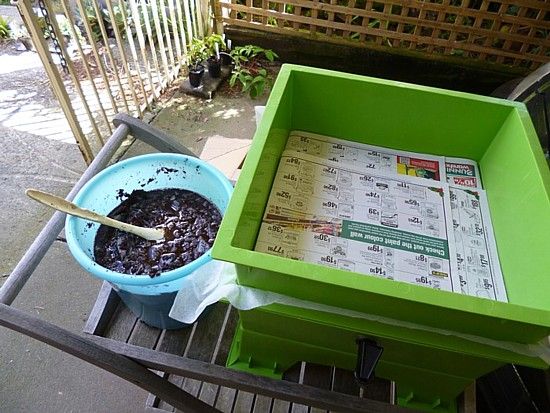
Here I am scooping coconut fibre into the tray with a handy scoop that the old owners left behind in the shed. Spreading it nice and flat and even. It must be even, it must be flat. Flaaaaaat....
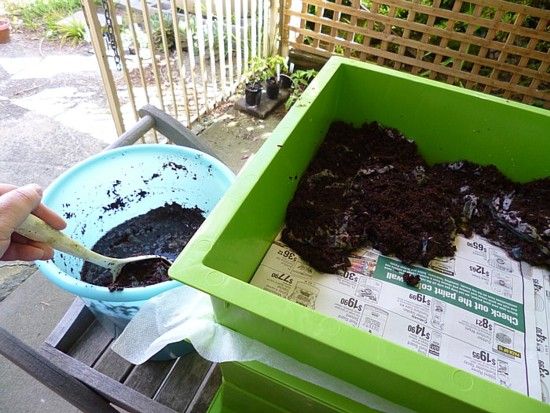
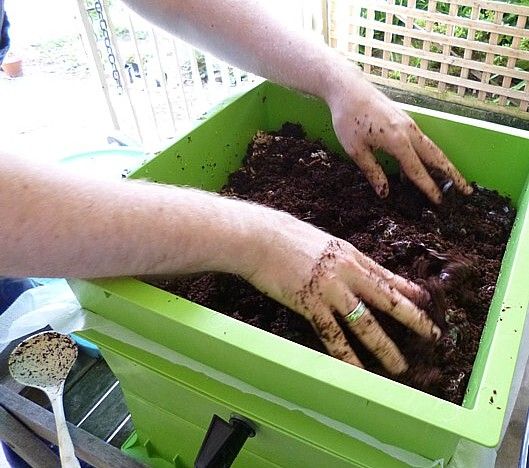
Then I re-read the instructions which said that the bedding must be loosely piled onto the base so the worms can get around easily. So Husband stuck his hands in and fluffed it up a bit.
Now finally for the worms!
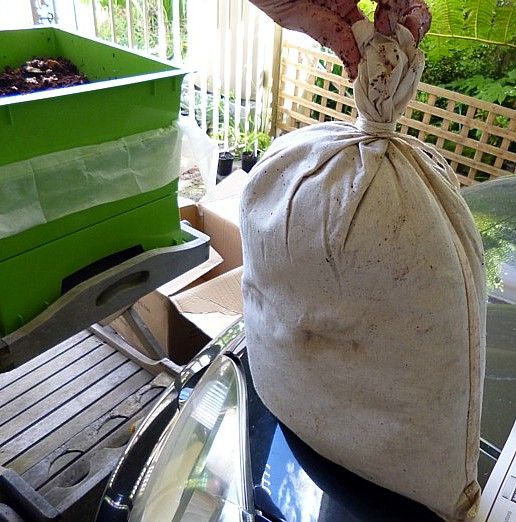
Opening the bag was a lot of fun! There they were, wriggling around, wondering what's going on.... I'll spare you the close-up. The bag was full of a lot of shredded paper and worm food to keep them going during their journey to their new home.
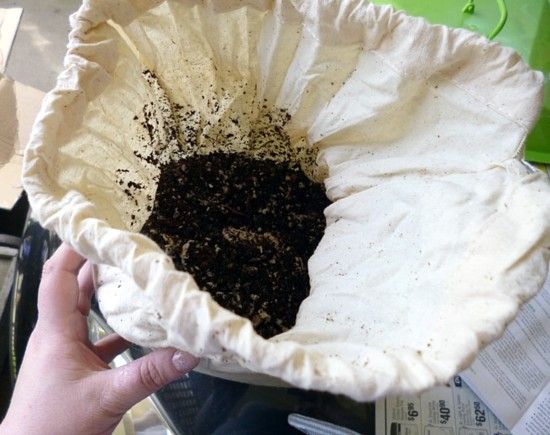
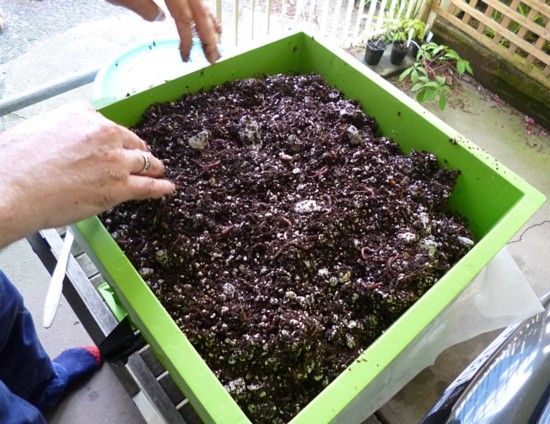
As per the instructions, we dumped out the bag, and Husband bravely stuck his hands in again to distribute it evenly. The worms wriggled down into the bedding immediately, just as the instructions said they would.
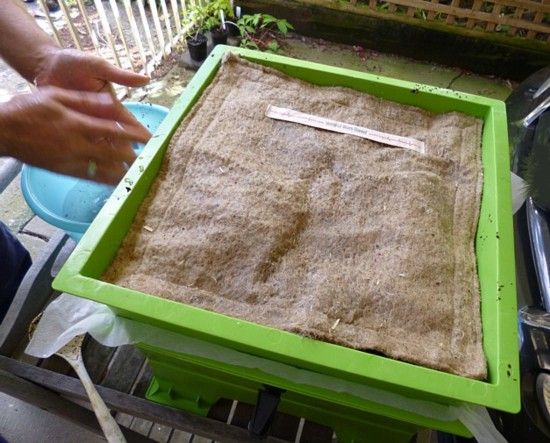
We put the worm blanket on top of the bedding and sprinkled it with a bit of water to keep the worms all snug and happy.
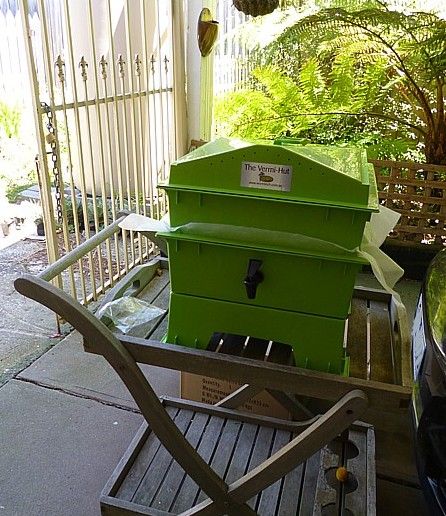
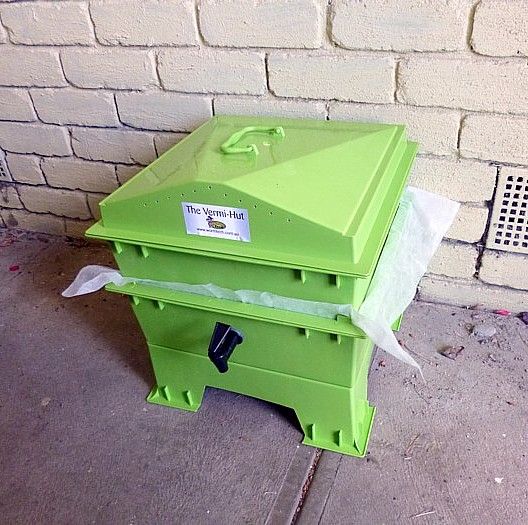
The last step was to put the Vermi-Hut in its new home, in our carport. The system is very compact and fits in nicely out of the way.
I've been checking it regularly and, while I can't tell if the worms are actually happy, at least they're still alive. And no, I'm not going to name them all! :P
Thank you very much Ms E for our wonderful present!
xx