Tutorial
First tutorial! Pwee!
Today we will be learning how to make this pretty icon using Adobe PhotoShop 7.0: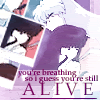
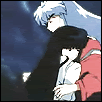
Chose a base. Crop, resize, screen, softlight, sharpen-- whatever. You may need/want to use different effects, depending on your base. Mine looks something like this after all the pre-work is finished:
First, let's apply this gradient, which comes bundled in with photoshop, and set the layer properties to "screen":

-->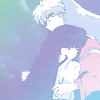
Yeck. Inuyasha and Kikyou have dissapeared behind the layer. Duplicate the base twice and drag the new layers to the top.
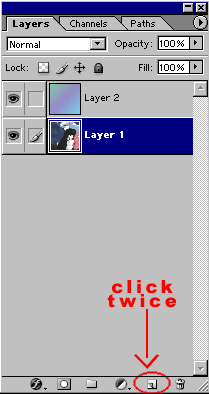
Desaturate both the new layers by clicking (Ctrl+Shift+U) or (Image >> Adjustments >> Desaturate). Set them both to soft light. You should now have something like this:
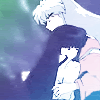
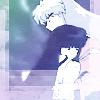
Wow. Still looks ugly. But, at least you can see Inu and Kikyou. Now, let's add this brush by soulkiller on a new layer. Set to screen.

>>
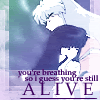
Okay, now for another brush! Fun! Add this brush in a slightly darker shade than the last brush (I don't remember who made it...):

>>
All right, now that we've gotten our text in, it's time for the snapshots! Use this brush by yuko in white and rotate it to your desire. Mine was about 20 degrees.

>>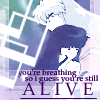
Now, to fill in the little white squares, copy three 35*35 squares from your picture and paste on top of the polariod brush. Rotate until they fit over their respective squares. They're going to overlap, so you'll want to erase parts of the edges, depending on which one you want to be on top.
Almost finished! You could stop there if you chose, but I wanted the snapshots to have a little more color too them. Let's add this gradient and set it to soft light:

>>
I love what it does to the text. Isn't your icon nice now? Let's look at a cap of all the layers:
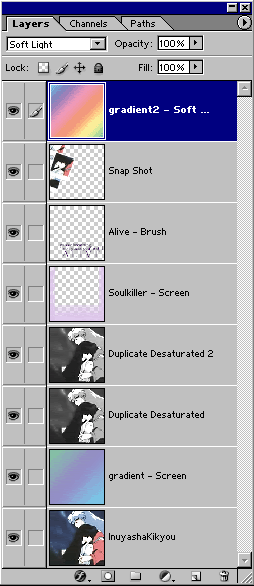
Feel free to change the settings, use different gradients, whatever. I'd love to see what you come up with!
Today we will be learning how to make this pretty icon using Adobe PhotoShop 7.0:

Chose a base. Crop, resize, screen, softlight, sharpen-- whatever. You may need/want to use different effects, depending on your base. Mine looks something like this after all the pre-work is finished:

First, let's apply this gradient, which comes bundled in with photoshop, and set the layer properties to "screen":

-->

Yeck. Inuyasha and Kikyou have dissapeared behind the layer. Duplicate the base twice and drag the new layers to the top.

Desaturate both the new layers by clicking (Ctrl+Shift+U) or (Image >> Adjustments >> Desaturate). Set them both to soft light. You should now have something like this:

Wow. Still looks ugly. But, at least you can see Inu and Kikyou. Now, let's add this brush by soulkiller on a new layer. Set to screen.

>>

Okay, now for another brush! Fun! Add this brush in a slightly darker shade than the last brush (I don't remember who made it...):

>>

All right, now that we've gotten our text in, it's time for the snapshots! Use this brush by yuko in white and rotate it to your desire. Mine was about 20 degrees.

>>

Now, to fill in the little white squares, copy three 35*35 squares from your picture and paste on top of the polariod brush. Rotate until they fit over their respective squares. They're going to overlap, so you'll want to erase parts of the edges, depending on which one you want to be on top.

Almost finished! You could stop there if you chose, but I wanted the snapshots to have a little more color too them. Let's add this gradient and set it to soft light:

>>

I love what it does to the text. Isn't your icon nice now? Let's look at a cap of all the layers:

Feel free to change the settings, use different gradients, whatever. I'd love to see what you come up with!