Tutorial!
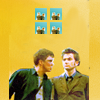
How to go from this to this:

Using Photoshop CS.
Tutorial by mizzybox.001: First get your base, crop it to size and sharpen if necessary.
002: Next we're going to make a selective color layer above the base by going into LAYER>NEW ADJUSTMENT LAYER>SELECTIVE COLOR.
Reds:
-75, 0, +75, 0
Yellows:
-75, +50, +75, 0
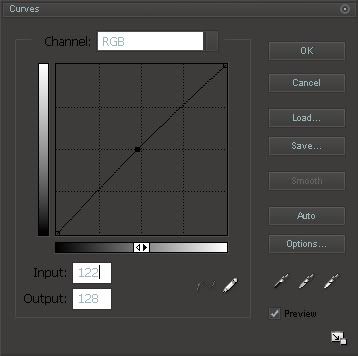
003: Now we're going to make a curves layer by going into LAYER>NEW ADJUSTMENT LAYER>CURVES.
Input: 122
Output: 128
It should look something like this.
004: Make a new layer and fill it with

#BCD958, set to: soft light 50%.
005: Up the saturation by +20, or whatever you think looks best.
006: Now merge all the layers (Ctrl+Alt+Shift+E). Your base should now look something like this.
007: Now we need to cut out the image of Harry.
To do this click on the magnetic lasso tool

and drag the cursor around the image you want cut out. Copy (Ctrl+C) and paste (Ctrl+V) the cut out image onto a new layer.
008: Create a new layer behind the cut out image and fill it with

#C5CC7A.
009: Create another new layer below the cut out image.
010: Select the freeform pen tool

and roughly draw around the image of Harry.
Note: Make sure it's on these settings!! >

011: Right click on the solid line around the image, and click fill path. To get the green outline around Harry choose a brighter color, I chose

#D5DF5E.
012: Next I added textures set to: screen, 100% to make the color stand out more. I used this by
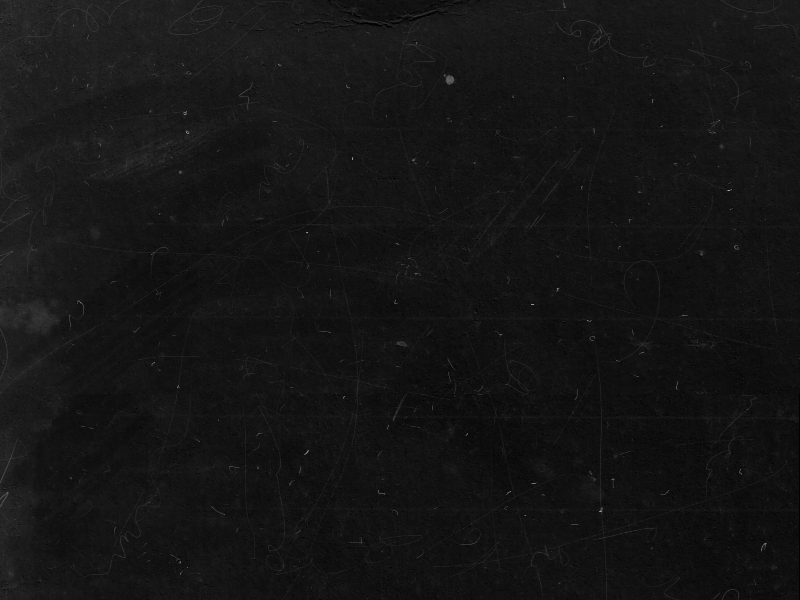
loveicon and this by (I forgot, please tell me so I can credit correctly!)
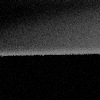
And thats pretty much it!
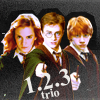
The finished result:
Other examples using a similar technique:

I hope this tutorial is useful! I'd love to see what you make, and remember no image is the same so experiment, don't copy it exactly! Comments are much appreciated :)