Tutorial #2: Boiler Room Kiss
My second tutorial, as requested by julie_dicaprio. I made this icon using Photoshop Elements, though I’m guessing it will translate to other programs. I didn't save this as .psd, so I'm doing it from memory; hopefully I come pretty close!
A simple tutorial on how to go from this: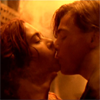
to this: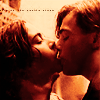
1. First, crop your image down to 100x100. I used a screencap from Titanic by spikesbint.

2. Sharpen your base once.
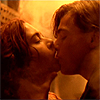
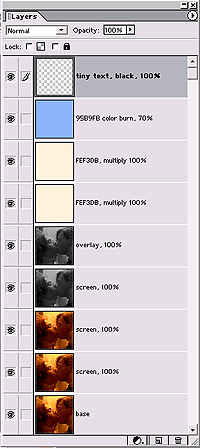
3. Duplicate the base four times. I set the first three on screen and the last one on overlay, all at 100% opacity. Then I desaturate (ctrl+shift+u) the overlay layer and the top screen layer.
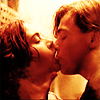
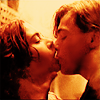
4. I make two new layers, and fill both with a light tan color (FEF3DB). Set both layers on multiply, 100%. It doesn’t make a very big difference, but I like it.


>>>
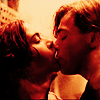
5. I set a blueish color (95B9FB) on color burn, 70% opacity.

>>>
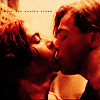
6. And that’s it! You can add brushes or textures or whatever you want to it now. I just add a tiny text brush by ??, and I’m done :)
Here’s what my layer palette looks like in case anything was confusing:
Let’s see how close I came…
Original:
New:
The original looks a little pinker and not quite as bright, I think, but otherwise I'd say that's pretty close :)
If you have any questions, feel free to ask!
A simple tutorial on how to go from this:

to this:

1. First, crop your image down to 100x100. I used a screencap from Titanic by spikesbint.

2. Sharpen your base once.

3. Duplicate the base four times. I set the first three on screen and the last one on overlay, all at 100% opacity. Then I desaturate (ctrl+shift+u) the overlay layer and the top screen layer.

4. I make two new layers, and fill both with a light tan color (FEF3DB). Set both layers on multiply, 100%. It doesn’t make a very big difference, but I like it.


>>>

5. I set a blueish color (95B9FB) on color burn, 70% opacity.

>>>

6. And that’s it! You can add brushes or textures or whatever you want to it now. I just add a tiny text brush by ??, and I’m done :)

Here’s what my layer palette looks like in case anything was confusing:

Let’s see how close I came…
Original:

New:

The original looks a little pinker and not quite as bright, I think, but otherwise I'd say that's pretty close :)
If you have any questions, feel free to ask!