New Tutorial: Rupert Grint 2
Made with Photoshop CS. Should be translatable.
1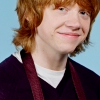
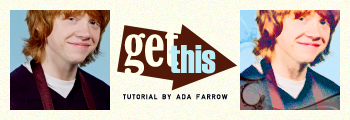
Prepare your base. Mine's Rupert again. Sharpen it. This tutorial gives an interestingly flat effect. It works best on close-ups of faces.
2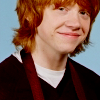
Create another color fill layer with a fleshy pink #FBD2BB. Set it to Color Burn.
3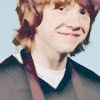
In your pallet, set your foreground color to #004B7A (or whatever...I find that blue or dark brown work best) and your background color to white. Duplicate your base. Set it to Screen 50%. Go to Filter > Sketch > Photocopy. Use Detail 9 and Darkness 7. Then go to Filter > Noise > Add Noise. Use 4.5%, Uniform.
4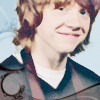
On the SAME LAYER from step 3, add a layer mask (Layer > Add Layer Mask > Reveal All). Click on to the layer mask. Make sure your foreground color is white and your background is black. Use the eraser tool with brushes by ca_pris to clear a design around Rupert. Using the brush tool, fill in any parts on the mask that obscure his face.
5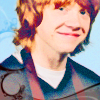
Add a new Hue/Saturation layer. Your adjustments will vary directly with your base.
Saturation: +60
Merge all layers and it's done!
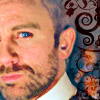
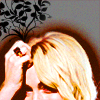
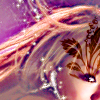
Other icons I made using this effect:

1

Prepare your base. Mine's Rupert again. Sharpen it. This tutorial gives an interestingly flat effect. It works best on close-ups of faces.
2

Create another color fill layer with a fleshy pink #FBD2BB. Set it to Color Burn.
3

In your pallet, set your foreground color to #004B7A (or whatever...I find that blue or dark brown work best) and your background color to white. Duplicate your base. Set it to Screen 50%. Go to Filter > Sketch > Photocopy. Use Detail 9 and Darkness 7. Then go to Filter > Noise > Add Noise. Use 4.5%, Uniform.
4

On the SAME LAYER from step 3, add a layer mask (Layer > Add Layer Mask > Reveal All). Click on to the layer mask. Make sure your foreground color is white and your background is black. Use the eraser tool with brushes by ca_pris to clear a design around Rupert. Using the brush tool, fill in any parts on the mask that obscure his face.
5
Add a new Hue/Saturation layer. Your adjustments will vary directly with your base.
Saturation: +60
Merge all layers and it's done!
Other icons I made using this effect: