Pupusas - Two Trials and Two Shaping methods
WARNING: This post is picture heavy so I used several cuts.
Back in August of 2012, I posted some pictures of these Salvadoran "stuffed tortillas", which I had sampled for the first time at a local restaurant. That's not what they ARE but it's a good analogy, I think. I've been wanting to try to make them at home ever since.
Finally, I had a chance to pick up some regular corn flour (Maseca brand) good for pupusas, tamales, arepas, gorditas, sopes etc. And a couple of days ago, at 11pm, I banged out a couple and fried them up before going to bed. They weren't an unqualified success ... ok, they had a vague resemblance to very thin tortillas with some cheddar cheese in the middle, because that's all the filling I had available at that time of the night.
In my defense, the recipe I followed claimed that you could get 4 pupusas out of the masa formed from 1 cup of Maseca. I made half that amount for the trial and this was the result. NOTE: I used cold water from the tap to form the dough, which I found on further research is not the best idea.
I ate one plain before I went to bed and had the second with a "breakfast for supper" meal the next day. Not bad for what it was. But NOT a pupusa. :)
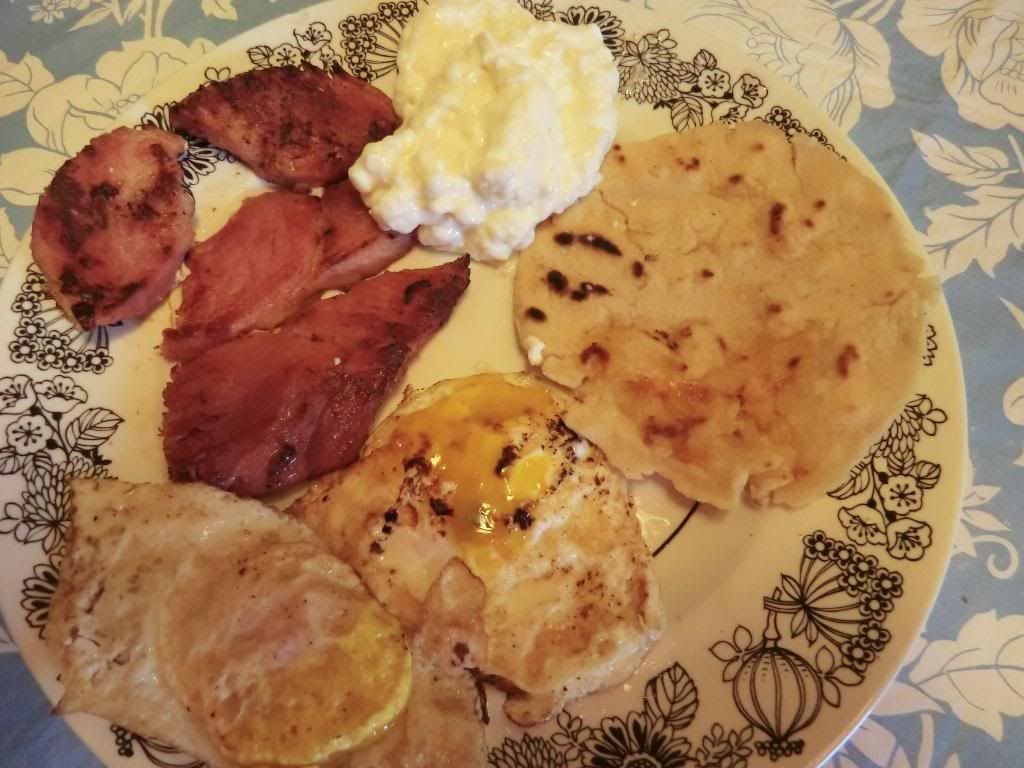
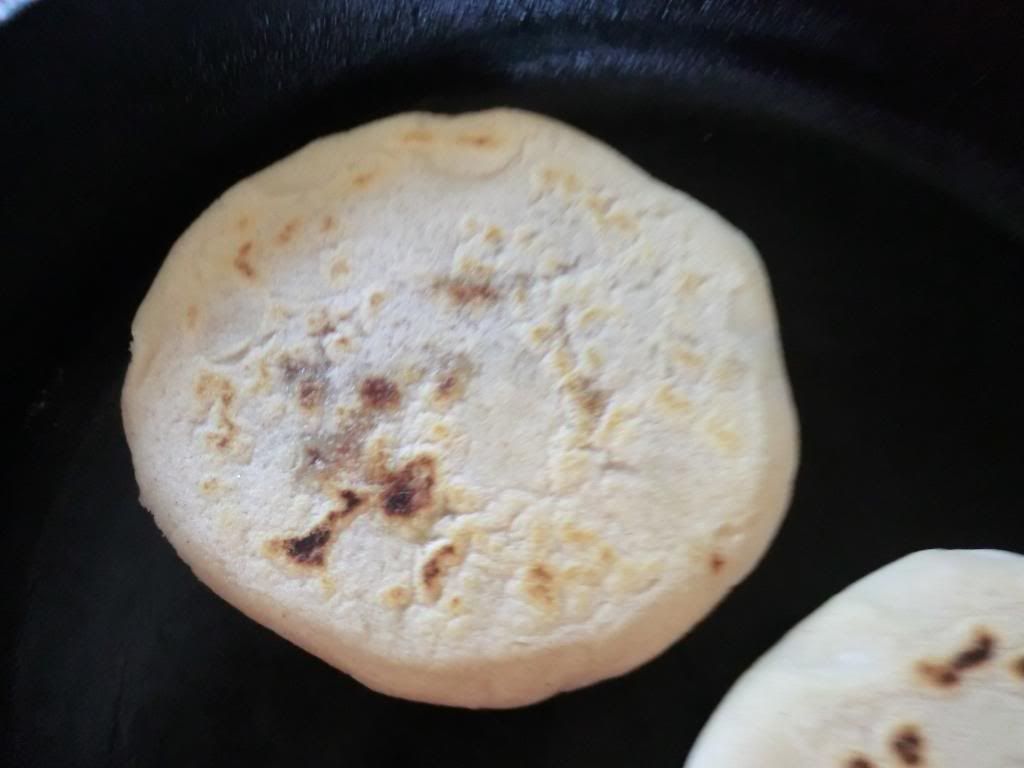
Much too thin for a pupusa - About 1/8" thick including the melted cheese. I couldn't put a lot of filling inside as the dough kept cracking as I was shaping it.

On the next trial I decided to try to get 3 pupusas from the masa resulting from mixing 1 cup of Maseca, 1/4 tsp salt and about 3/4 cup of very warm water from the tap.
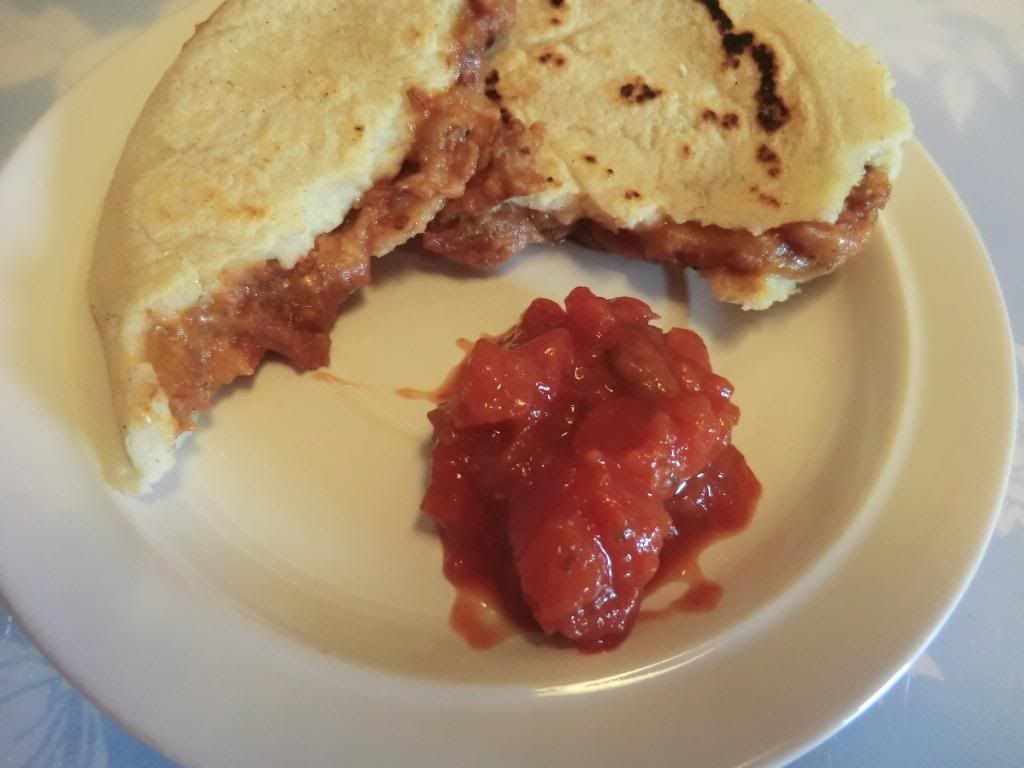
Successful Trial 2 - Pupusa with salsa
Mise en place for "pupusas revueltas" which are filled with equal parts cheese (grated cheddar in this case), ground pork cracklings (chicharónnes) and refried beans. I used canned refried beans that were flavoured with chipotle. You can make your own if you wish to.
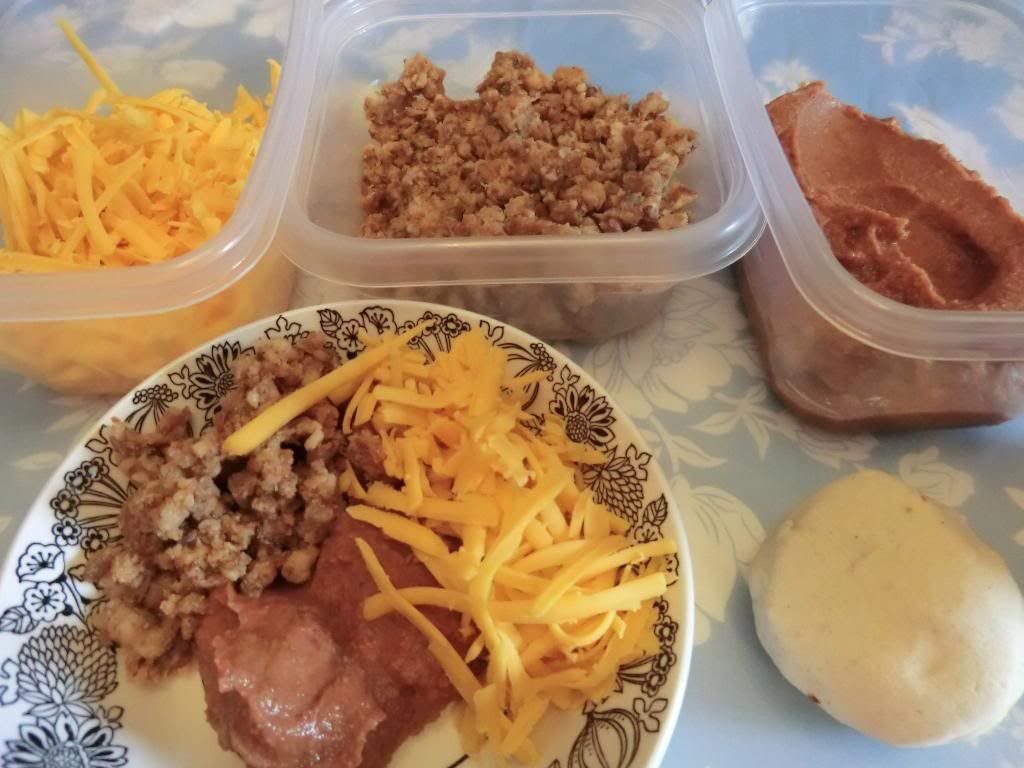
Filling - To make it easier to fill the three pupusas, I mixed 2 tbsp of each of the three ingredients together and roughly divided the mixture into 3 portions of 2 tbsp each.
Two different methods of shaping the pupusas were used in the various sources I found.
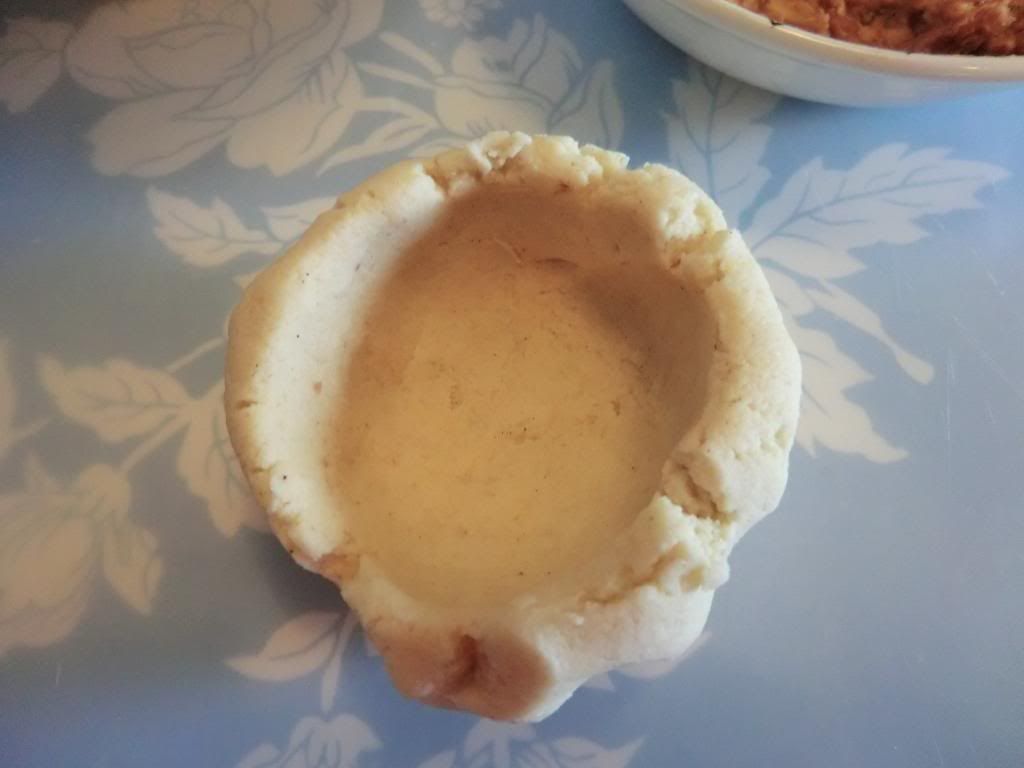
1. Forming the ball of masa dough into a cup
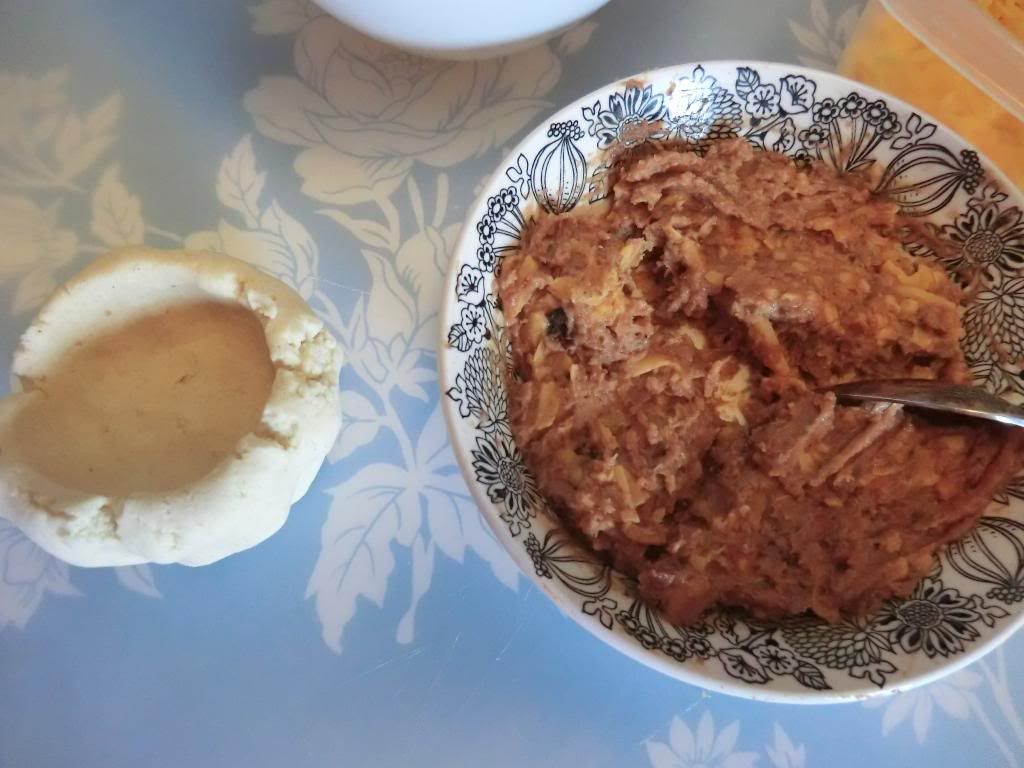
Cup shaped masa dough - try to get the sides an even thickness when you make yours
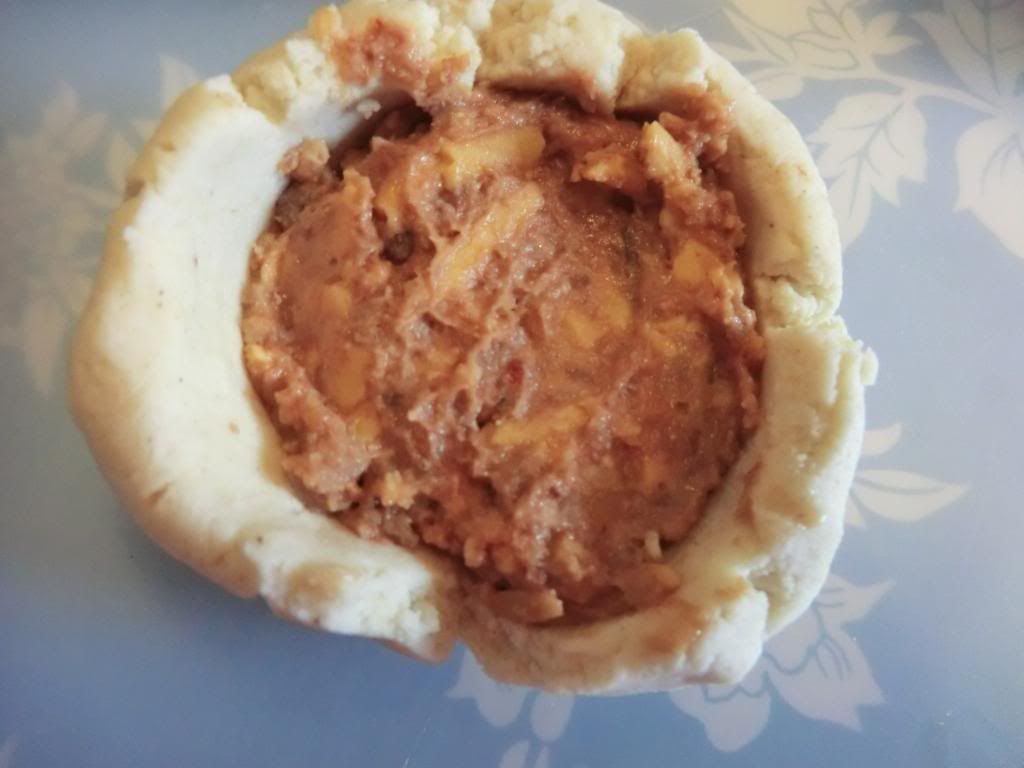
Cup with 2 tbsp of filling inside
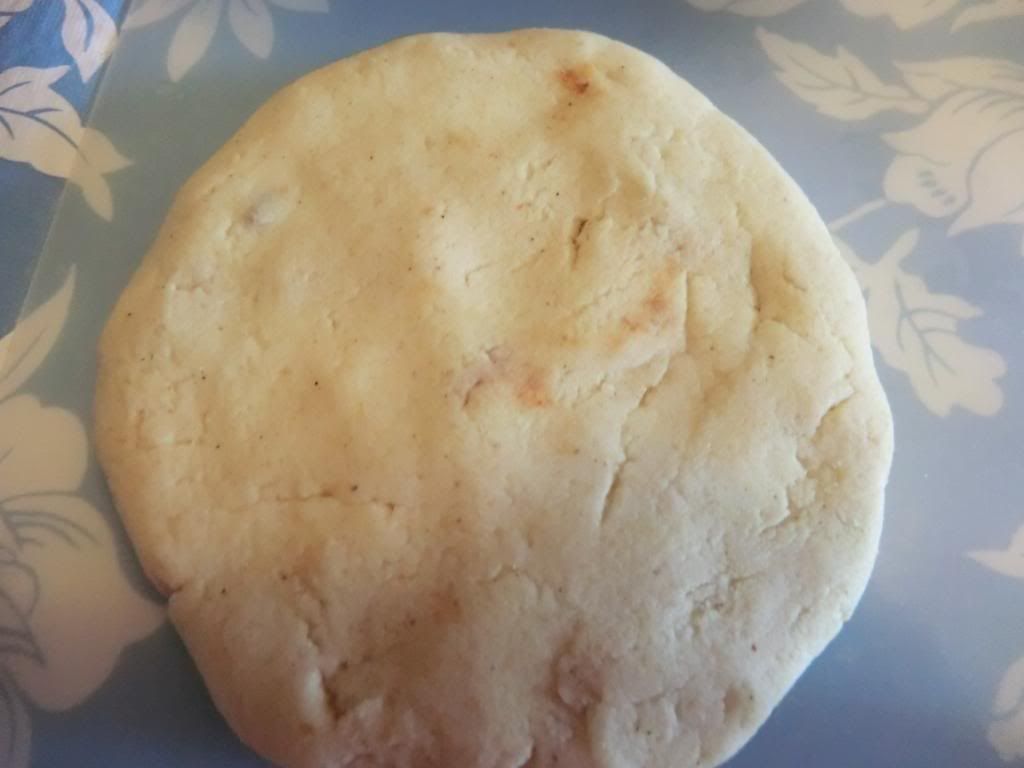
Finished pupusa - top view, about 4" diameter
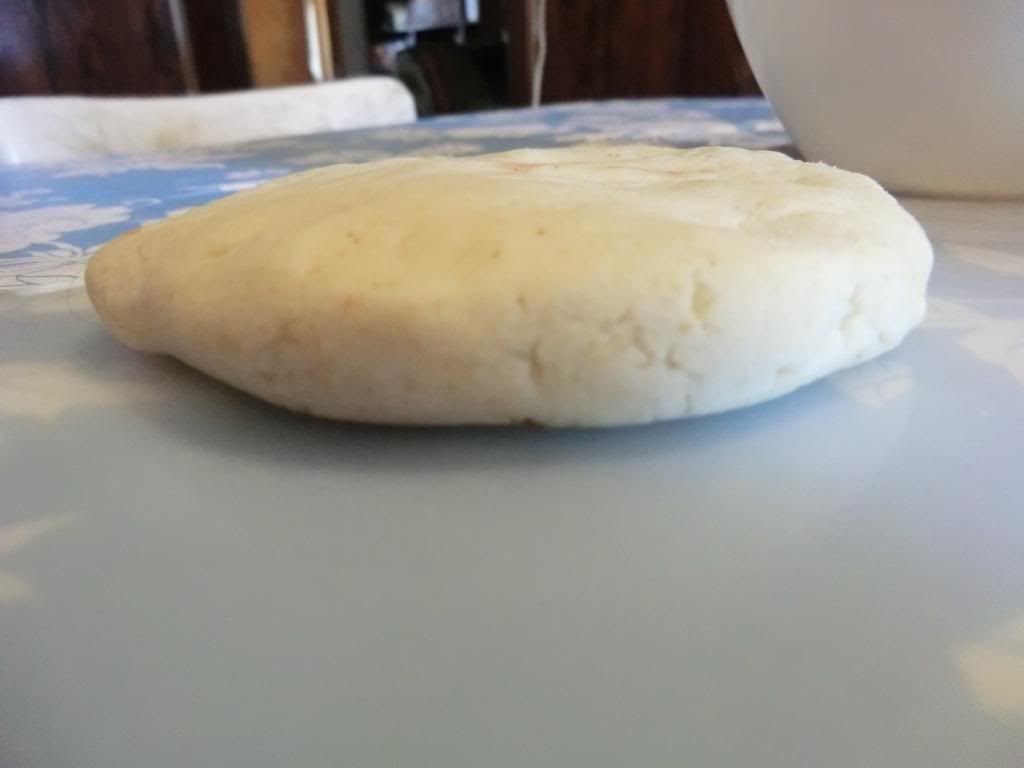
Side view of the finished pupusa - The pupusa doesn't look too even but I was in a hurry to take the picture :)
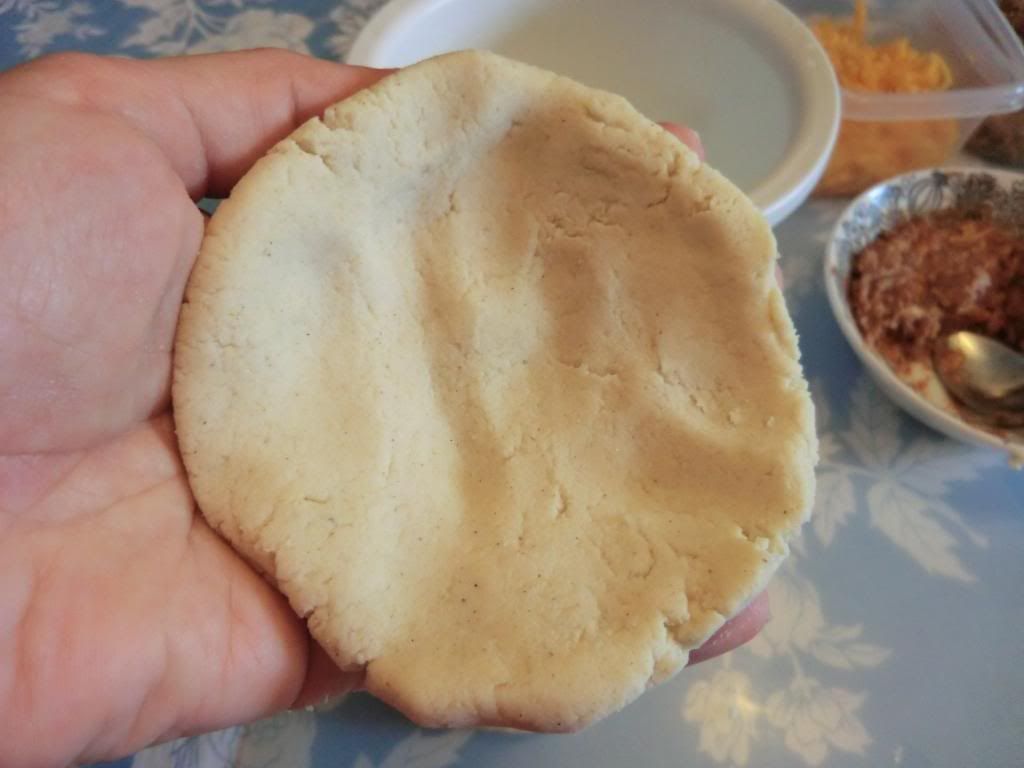
2. Forming the ball of masa dough into a rough baseball glove shape in the palm of your hand
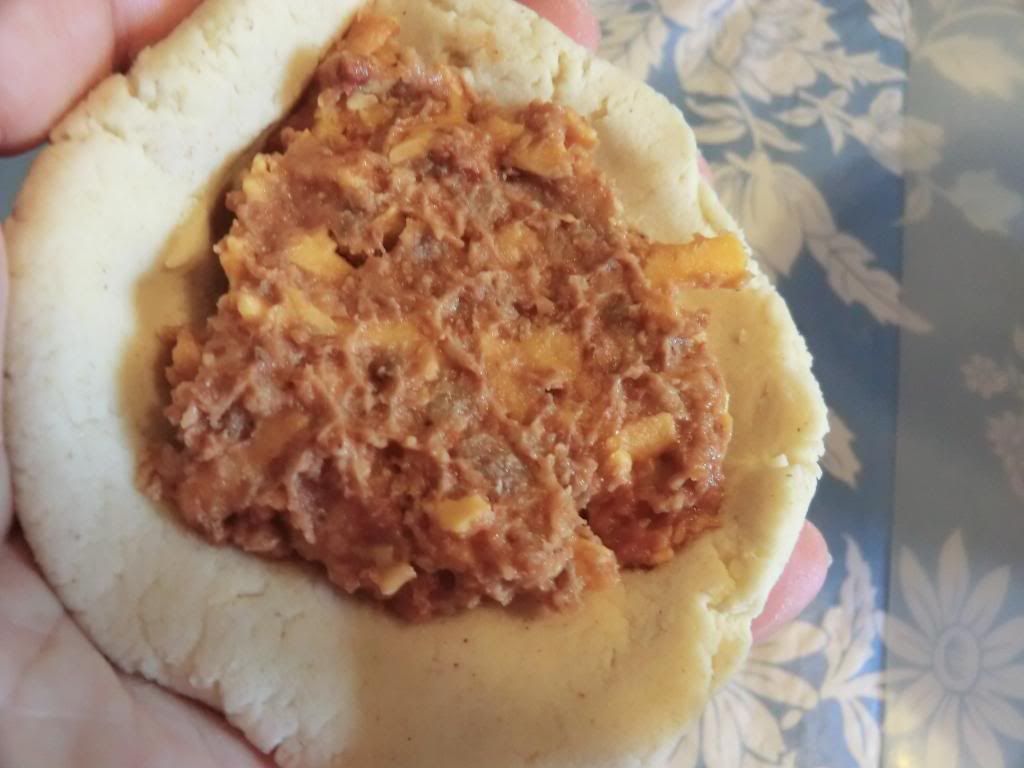
Glove shaped masa with 2 tbsp of filling inside
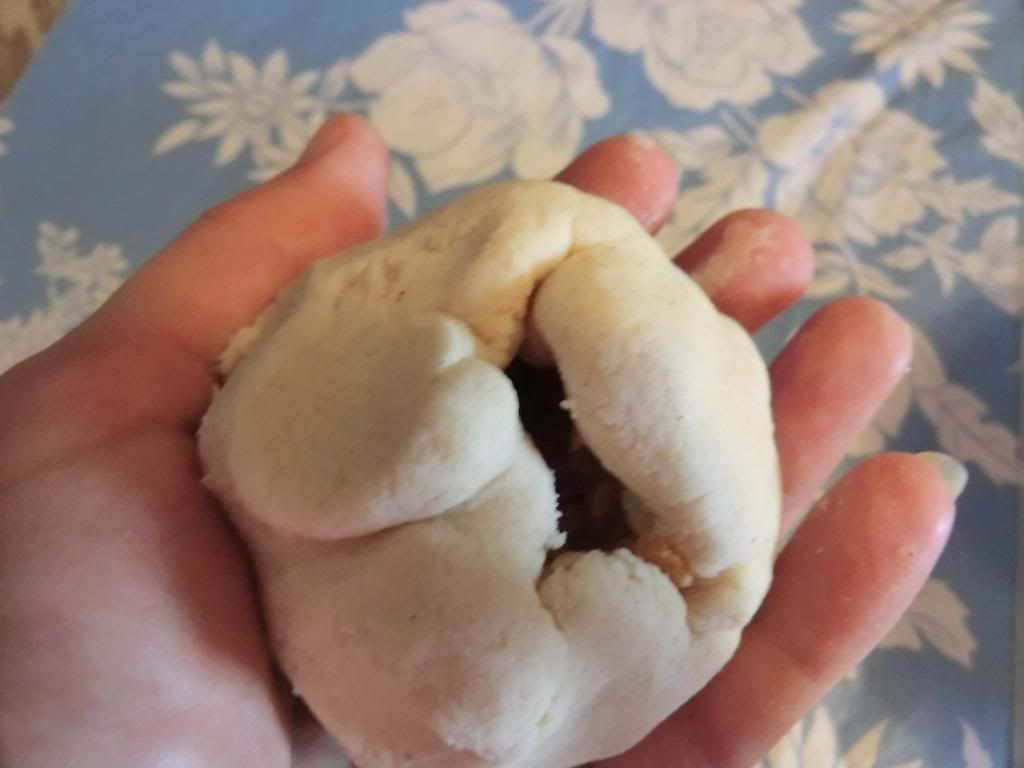
Closing the masa around the filling
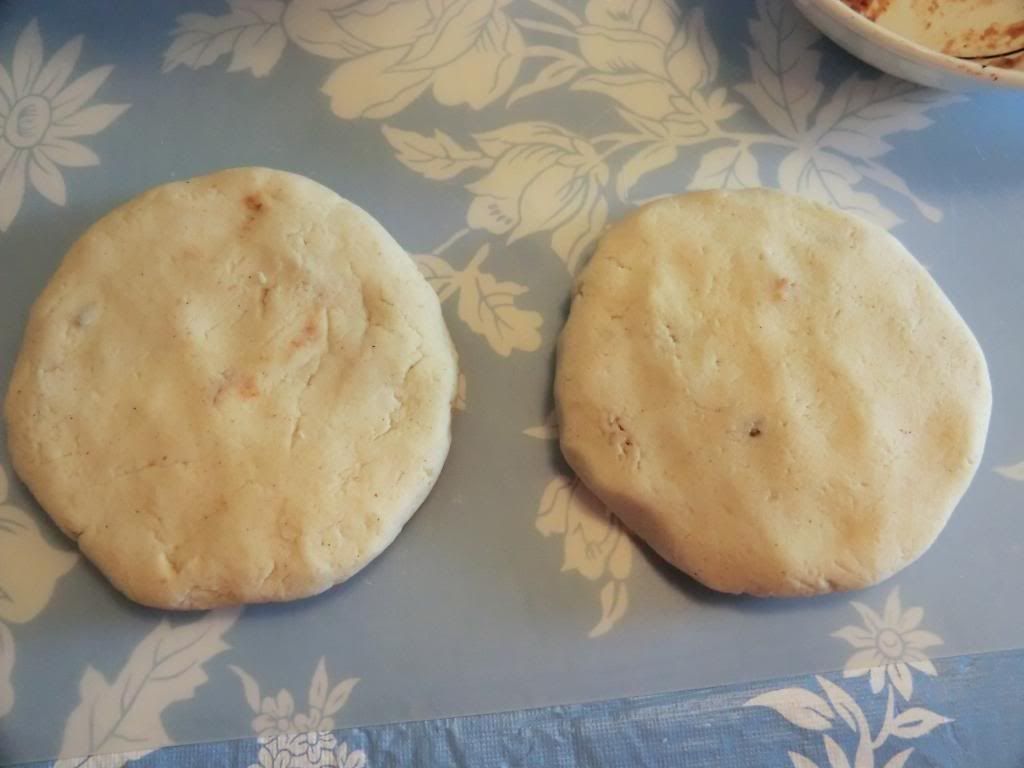
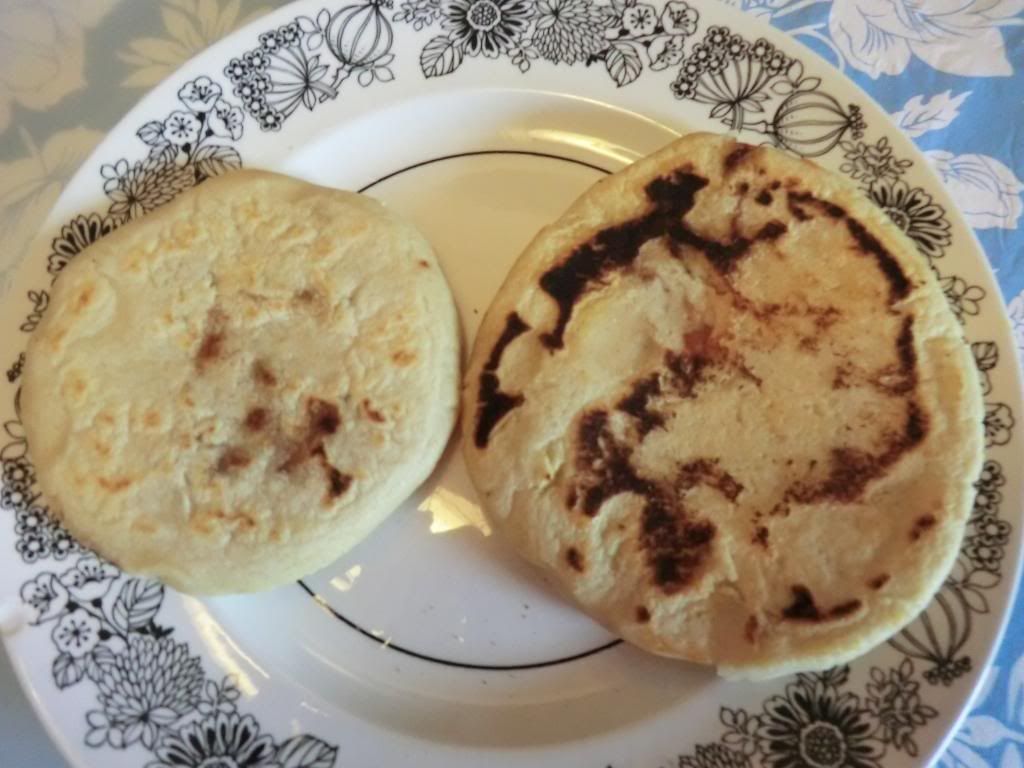
Formed pupusas - The pupusa on the left was made using the cup method, while the one on the right was made using the glove method. Both methods worked ... so use whichever one you like. :)
Fried pupusa - about 4" in diameter and 5/8" thick, a bit thicker than I wanted
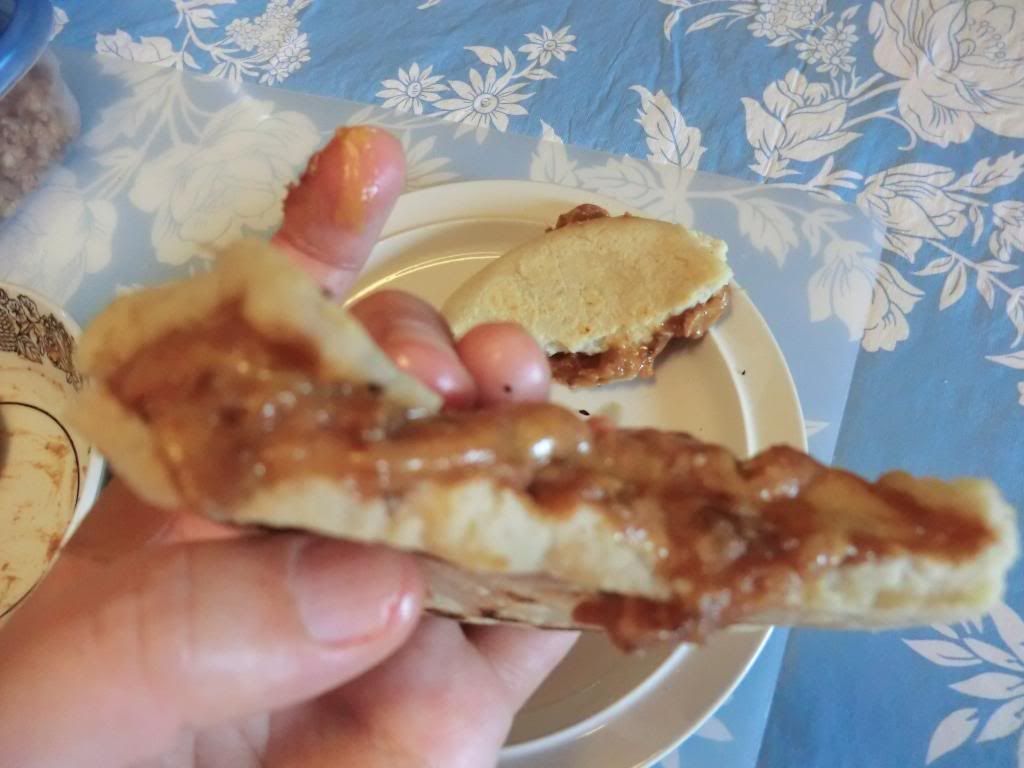
I broke open the fried pupusa and, other than having the filling ooze out all over my fingers, the inside seemed perfectly fried after 3 minutes on each side at medium-medium high heat in a well seasoned frying pan brushed with a very thin layer of vegetable oil.
Pupusas - 4" and 5" diameter.
TIPS/THINGS LEARNED: I would turn down the heat to medium the next time as my frying pan got too hot by the time I fried the larger pupusa. A little more time in the frying pan is worth preventing your pupusa from burning. I'd also re-oil the frying pan between frying each pupusa as they stuck a bit where the seasoning on the pan wasn't the best.
Back in August of 2012, I posted some pictures of these Salvadoran "stuffed tortillas", which I had sampled for the first time at a local restaurant. That's not what they ARE but it's a good analogy, I think. I've been wanting to try to make them at home ever since.
Finally, I had a chance to pick up some regular corn flour (Maseca brand) good for pupusas, tamales, arepas, gorditas, sopes etc. And a couple of days ago, at 11pm, I banged out a couple and fried them up before going to bed. They weren't an unqualified success ... ok, they had a vague resemblance to very thin tortillas with some cheddar cheese in the middle, because that's all the filling I had available at that time of the night.
In my defense, the recipe I followed claimed that you could get 4 pupusas out of the masa formed from 1 cup of Maseca. I made half that amount for the trial and this was the result. NOTE: I used cold water from the tap to form the dough, which I found on further research is not the best idea.
I ate one plain before I went to bed and had the second with a "breakfast for supper" meal the next day. Not bad for what it was. But NOT a pupusa. :)

Much too thin for a pupusa - About 1/8" thick including the melted cheese. I couldn't put a lot of filling inside as the dough kept cracking as I was shaping it.

On the next trial I decided to try to get 3 pupusas from the masa resulting from mixing 1 cup of Maseca, 1/4 tsp salt and about 3/4 cup of very warm water from the tap.
Successful Trial 2 - Pupusa with salsa

Mise en place for "pupusas revueltas" which are filled with equal parts cheese (grated cheddar in this case), ground pork cracklings (chicharónnes) and refried beans. I used canned refried beans that were flavoured with chipotle. You can make your own if you wish to.

Filling - To make it easier to fill the three pupusas, I mixed 2 tbsp of each of the three ingredients together and roughly divided the mixture into 3 portions of 2 tbsp each.
Two different methods of shaping the pupusas were used in the various sources I found.
1. Forming the ball of masa dough into a cup

Cup shaped masa dough - try to get the sides an even thickness when you make yours

Cup with 2 tbsp of filling inside

Finished pupusa - top view, about 4" diameter

Side view of the finished pupusa - The pupusa doesn't look too even but I was in a hurry to take the picture :)

2. Forming the ball of masa dough into a rough baseball glove shape in the palm of your hand

Glove shaped masa with 2 tbsp of filling inside

Closing the masa around the filling

Formed pupusas - The pupusa on the left was made using the cup method, while the one on the right was made using the glove method. Both methods worked ... so use whichever one you like. :)

Fried pupusa - about 4" in diameter and 5/8" thick, a bit thicker than I wanted

I broke open the fried pupusa and, other than having the filling ooze out all over my fingers, the inside seemed perfectly fried after 3 minutes on each side at medium-medium high heat in a well seasoned frying pan brushed with a very thin layer of vegetable oil.

Pupusas - 4" and 5" diameter.
TIPS/THINGS LEARNED: I would turn down the heat to medium the next time as my frying pan got too hot by the time I fried the larger pupusa. A little more time in the frying pan is worth preventing your pupusa from burning. I'd also re-oil the frying pan between frying each pupusa as they stuck a bit where the seasoning on the pan wasn't the best.
