tutorial -18- gilmore
From 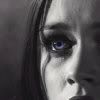
to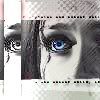
Remember guys, all of the tutorials featured on my LJ are made using PSP 8.
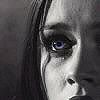
First off, I sharpened the image twice. Using the Smudge tool (hardness 40, opacity 40), I smoothed out the skin.

->
->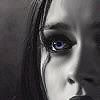
I duplicated the base twice. I set the topmost layer to HARD LIGHT 28%, and the middle layer to SCREEN 58%.
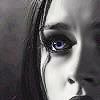
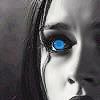
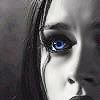
I created a new raster layer (Layers > New Raster Layer), and using the Paint Brush Tool (colour #159FFF, opacity 71, hardness 31) I coloured in the eye. I set this layer to OVERLAY 38%.
->
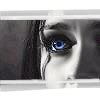
I merged all the layers. Then I took this texture, made by domeofstars, and I set it to LIGHTEN 100%.
->
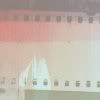
I then took this texture, made by gender, and I set it to DARKEN 100%.
->
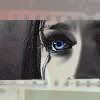
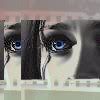
I merged the layers again. Using the Selection tool, I selected a rectangular portion of the face, and then I copy & pasted it as a new layer. I moved this new layer to the side, and then I desaturated it. (Adjust > Hue & Saturation > Hue/Saturation/Lightness > Saturation -100).
->
->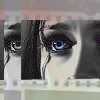
I then noticed that this new layer still doesn’t pop out much, so I decided to give it a Drop Shadow effect. (Effects > 3-D Effects > Drop Shadow > Opacity 100, Blur 10.14)
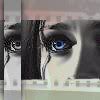
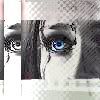
I merged the layers once again. Then I took this texture, made using a portion of a texture created by gender, and I set it to OVERLAY 100%. Using the Smudge tool (hardness 40, opacity 40), I smoothed out some of the areas of the texture that covered the face.
->
->
I merged all the layers, and then I added some text.

Check out my Icon community _elite_icons_. New members are always welcome. I'm looking for one or two people to help me promote the community, as well as come up with new ideas to draw in more members and make the site active. If you're interested, please leave a message to this LJ tutorial and let me know. :)
to
Remember guys, all of the tutorials featured on my LJ are made using PSP 8.
First off, I sharpened the image twice. Using the Smudge tool (hardness 40, opacity 40), I smoothed out the skin.
->
->
I duplicated the base twice. I set the topmost layer to HARD LIGHT 28%, and the middle layer to SCREEN 58%.
I created a new raster layer (Layers > New Raster Layer), and using the Paint Brush Tool (colour #159FFF, opacity 71, hardness 31) I coloured in the eye. I set this layer to OVERLAY 38%.
->
I merged all the layers. Then I took this texture, made by domeofstars, and I set it to LIGHTEN 100%.
->
I then took this texture, made by gender, and I set it to DARKEN 100%.
->
I merged the layers again. Using the Selection tool, I selected a rectangular portion of the face, and then I copy & pasted it as a new layer. I moved this new layer to the side, and then I desaturated it. (Adjust > Hue & Saturation > Hue/Saturation/Lightness > Saturation -100).
->
->
I then noticed that this new layer still doesn’t pop out much, so I decided to give it a Drop Shadow effect. (Effects > 3-D Effects > Drop Shadow > Opacity 100, Blur 10.14)
I merged the layers once again. Then I took this texture, made using a portion of a texture created by gender, and I set it to OVERLAY 100%. Using the Smudge tool (hardness 40, opacity 40), I smoothed out some of the areas of the texture that covered the face.
->
->
I merged all the layers, and then I added some text.
Check out my Icon community _elite_icons_. New members are always welcome. I'm looking for one or two people to help me promote the community, as well as come up with new ideas to draw in more members and make the site active. If you're interested, please leave a message to this LJ tutorial and let me know. :)