018

>>

info ;
program used: photoshop 6.0 // translatable, though
focus: using backgrounds as bases, for cartoon icons
skill level: intermediate
works best with...: images with a light foreground and a darker background
tutorial ;
step 1:
start with your base 100x100 texture. you can use any icon texture, you wish. just a hint, i like textures that aren't too busy, but are still interesting. i chose this texture from colorfilter. then, paste your base image ( this is mine ). set to overlay at 100%.
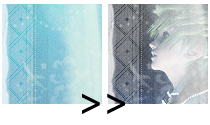
step 2:
now, it's time to add some light to it. paste any sweeping-motion light texture on to your icon. i used this from __darkdreaming. set that to colour dodge at 100%
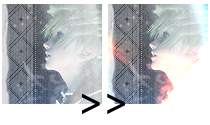
step 3:
let's add some depth, now. take a semilight-to-dark gradient or this texture by my_givenchy, and set to overlay at 100%.
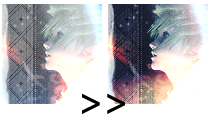
step 4:
take your duplicate your base image. make sure, it is currently your top layer. set to screen at 100%
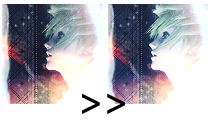
step 5:
now to add some colour; flood the next layer with a bleigh hue. i used #C9CA8F. set to mutiply at 100%
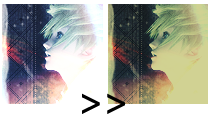
step 6:
we're almost finished! make another duplicate of your base image and set to either overlay or softlight at 100%. add text, extra brushes, and you're done :)
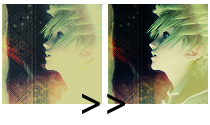
other examples ;


notes ;
don't copy this tutorial, right to the words. please use this tutorial as a "guide". have fun, experiement with the options, and make it your own. if you have any questions, comments, feedback, etc., please post. in additon to that, i'd LOVE to see every and any icons used with this tutorial. :)