Icon Tutorial
PHOTOSHOP CS2 TUTORIAL
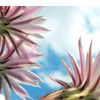
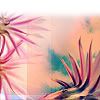
Tutorial for PS CS2, probably translatable
First, I took a picture from Stock Exchange, and (accidentally)
cropped it a little weird.
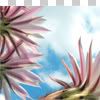
Now for some curves, they can be very tricky but I love the
way it can lighten up your icon without using a Screen layer.
New adjustment Curves layer, leave it on Normal at 100%.
RGB
Point One: Input 80 - Output 100
Point Two: Input 115 - Output 153
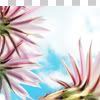
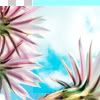
New layer, fill it with #9DFFFE and set to Color Burn (100%).
A bit boring, I think, so I move the layer to the right top.
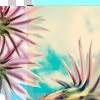
Again, a new layer. Fill it with #011537 and set to Exclusion (100%).
Move this layer to the right as well.
Duplicate the Exclusion layer and move it only a few pixels to the
right and the top.
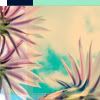
New layer, fill it with #949494 and set it to Color Burn at 20%. Move
this layer to the far right.
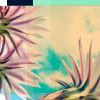
It looks nice, but a bit to yellowish for my taste.
New adjustment Levels layer, leave it on Normal at 100%.
Red Input Levels 0 - 1,52 - 255
Output Levels 0 - 255
Blue Input Levels 0 - 1,52 - 255
Output Levels 0 - 255
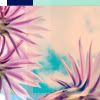
Add texture (by?), set to Soft Light at 100%.
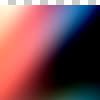
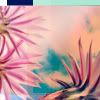
Add a 'blob of doom' by

myrasis, drag it under your first Color Burn
layer. Set to Screen at 100%.
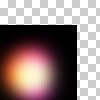
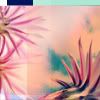
Merge visible. Because it's a bit blurry we're gonna sharpen it. Filter >> Sharpen >> Sharpen. Sharpen is easily overdone, that's why I use Fade Sharpen afterwards.
Edit >> Fade Sharpen >> 68%.
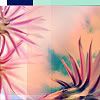
Because of my weird cropping, the top of the icon looks really bad. Make a new layer. Select 15 pixels from the top, fill them with white. To make them look nice and blurry go to Blur >> Gaussian Blur >> 3.0.
You can add brushes and text to your own liking. Because I don't want to overdo my icon, I choose not to add any brushes or text.


That's it! I hope you found it usefull! Please show me your results!
Do not copy exactly!
Like what you see? Friend me!