no.44
First things first, Stenciling is very time consuming. You must have a lot of patience for this type of work. The supplies you will be needing are: an image, a cutting mat, an x-acto knife, a pack of new x-acto blades, and paint. Change the blades to your x-acto knife frequently, this is very important. Also with paint, it is important to use good quality paint. I use mostly Belton Molotow, Krylon, Montana Gold line, Montana Alien and Sabatoz 80. Anything else is probably going to be too sticky or cause drips, runs etc. Paint can be pretty expensive and all together this type of project will put a damper on your wallet.

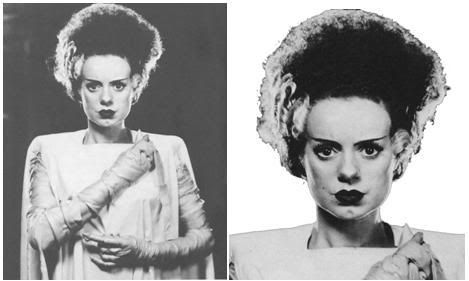
After you have figured out what it is you want to stencil, it is very important to have a good quality and large size image to work from. I normally work with images roughly 400x600 pixels and larger. It’s not very often I work with images smaller than that. If you are going to be painting a portrait of someone the first thing I would do is open the image in Photoshop or any photo editing program. Then make sure to erase or black out the background of the image, this will help simplify your image. Sometimes background can be too distracting and messy. They tend to interfere with the subject of the image you are trying to paint.

As you have noticed the majority of my paintings are done in grayscale. This obviously means I work from grayscale images. If you have an image that is not grayscale you can always change this in Photoshop etc.
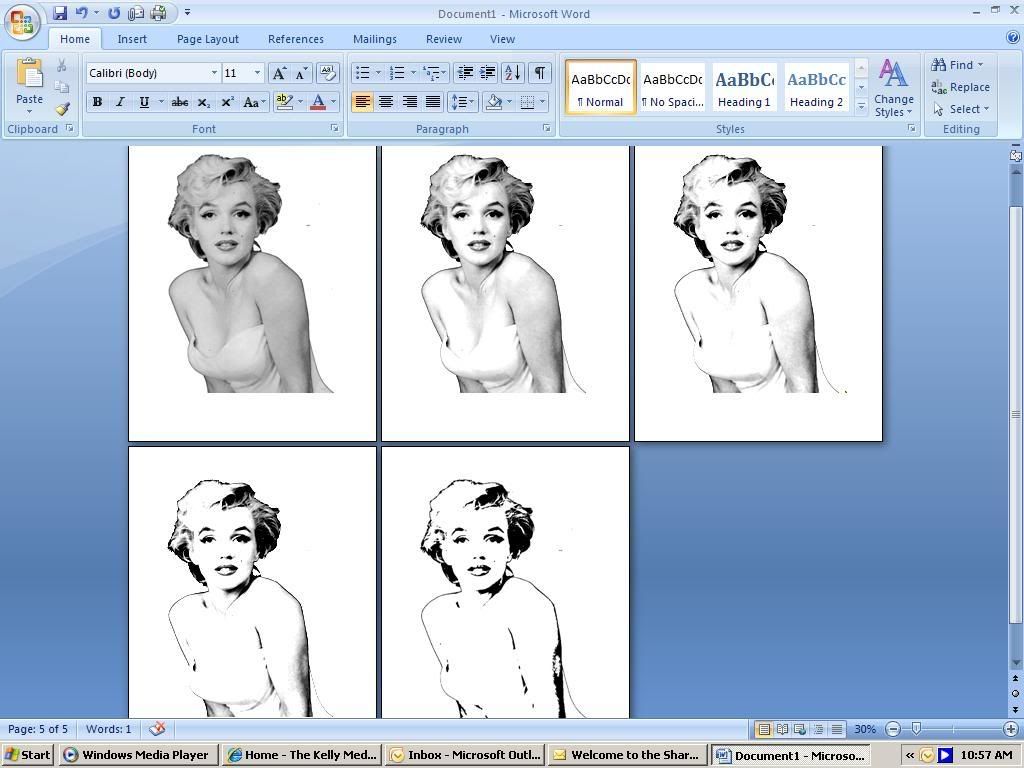
Next I would copy and paste the newly edited image into Microsoft Word. Copy and paste the image several times, depending on how many layers you desire the image to be. Once you have done this go to the second pasted image, turn up the contrast just slightly. Then to the third image and turn the contrast up a little more than the last. Continue doing this for all the images until you get to the last pasted image. On the last image turn the contrast up 100% so it is all black and white. When you are messing with the contrast on the images you may also try messing with the brightness as well. This is the easiest way to get use to cutting out the multi layered stencils.

Always paint lightest to darkest. Do not be afraid to leave gaps or bridges when cutting. You don’t want your stencil to fall apart. Keep handy a roll of scotch tape for repairs incase of mistakes.
Now print them out. I always go to Kinko’s to blow the copies up but you can go to any copy store, they should be able to help you out.
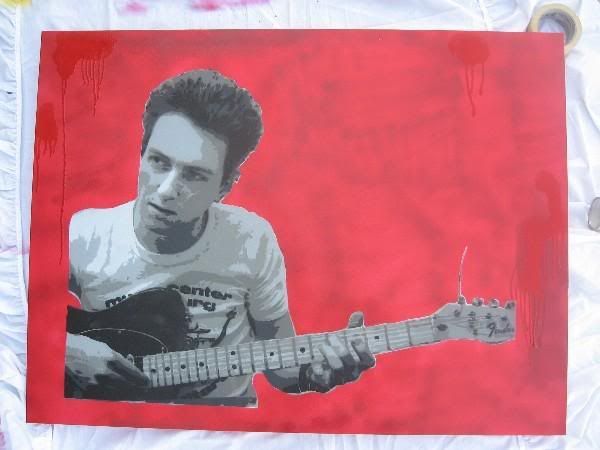
Start with the first layer. This one you are going to cutout the entire object. Way easy. Now things start getting tricky. The second layer, you are going to cut out all the 2nd darkest shade of gray. It’s okay to cut out pieces that are darker than the 2nd shade but be sure to leave all the white in tact. Do this for the rest of the layers. The last layer you will be cutting is the darkest layer (the black).

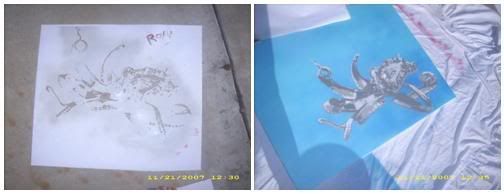
Now that all the layers are cut out you are ready to paint your stencil. Remember to paint lightest to darkest.

As for supplies, I purchase my canvas and x-acto supplies at Aaron Brothers Art Supplies. I purchase all my paint from Artprimo.com and be sure to take care of your stencils, even though they are made from regular printer paper, you should still be able to re-use them.
If you have any other questions or concerns feel free to email me directly at RoxyCrispArt@yahoo.com or find me on Myspace at Myspace.com/rawksy.